Modeling a remote control with Rhino 3D - tutorial p2 |
| |
Please don't translate or copy these tutorials elsewhere. I don't like the tutorials to float around in 10 different versions and places on the net. Feel free to link to this page of course! (see also Terms of Use) |
| Back to Rhinoceros tutorials page |
| |
| Page 1 - Page 2 - Page 3 - Page 4 |
| |
If you discovered this Rhinoceros 3D tutorial page through a direct link or search engine, please note that you're on page 2 of the tutorial! Please complete the previous page first if you haven't done so. |
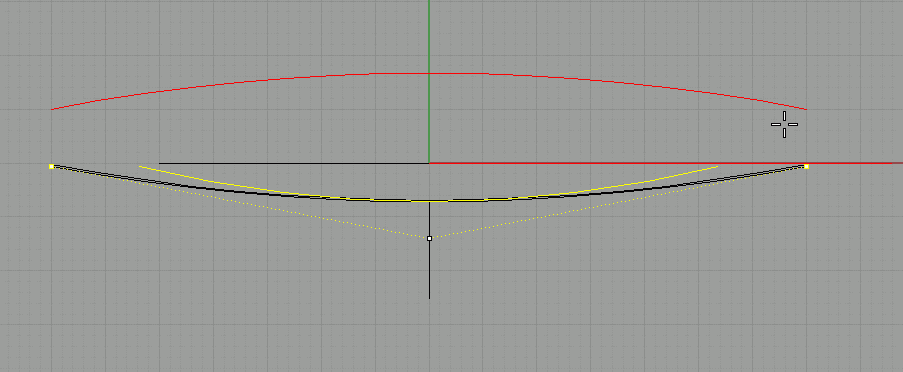
In the front viewport, turn on control points for this curve. Select the two endpoints, and then use 'scale1D' to scale the points in the x direction. This will make the curve narrower.
Use the grid centerpoint as the 'origin' point for the scale, so that when you scale, the curve stays symmetrical. Don't make the curve narrower than the shape we made in top view. |
Select the middle point and move it down (with ortho or shift!!). We now have a much more curved arc.
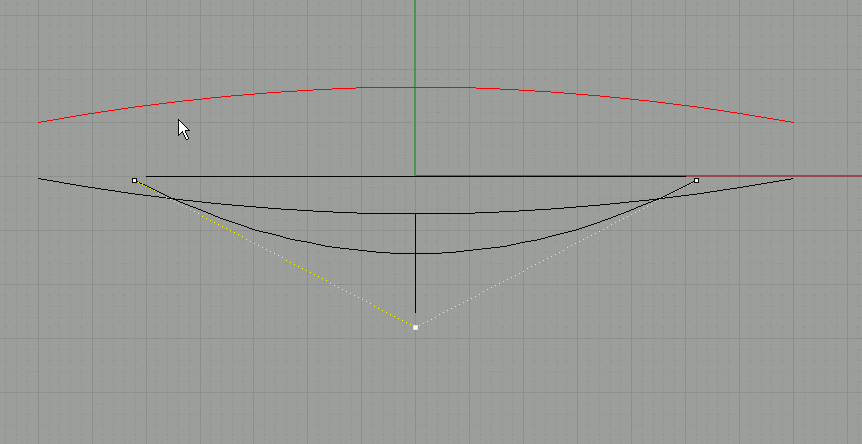
Turn off control points (hit esc a few times) |
Use move to move the curve from its midpoint to the bottom curve's endpoint. |
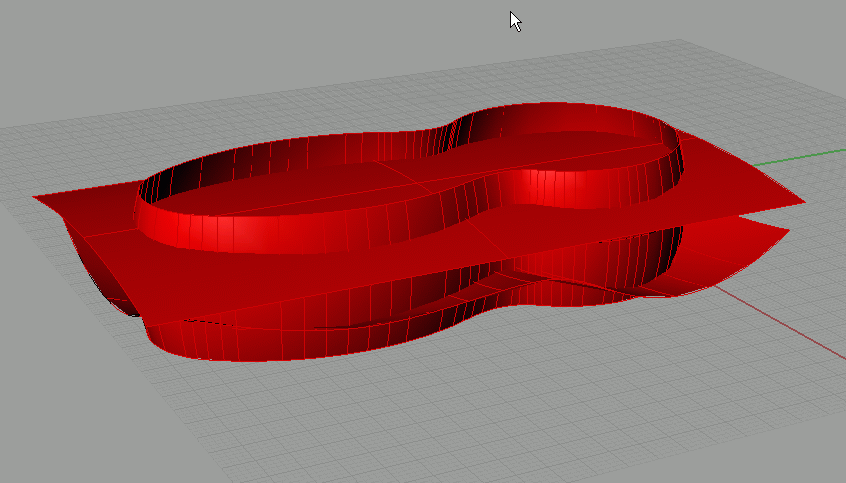
Use sweep 1 rail to create a surface from these curves. The bottom curve is the rail, and the 2 arcs are the cross sections. |
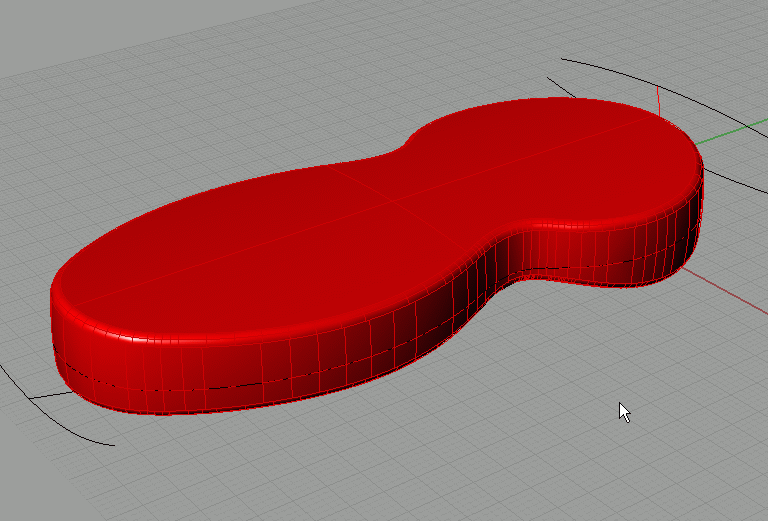
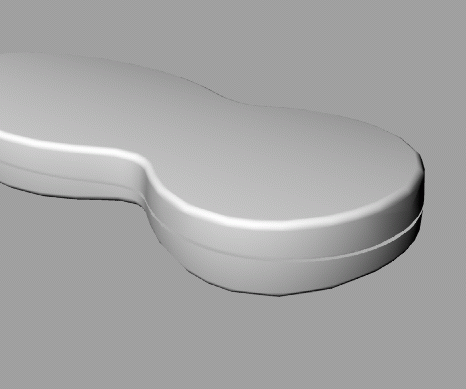
This is what we get, a double curved surface (this is much nicer than when we would have use a straight extrude for example). |
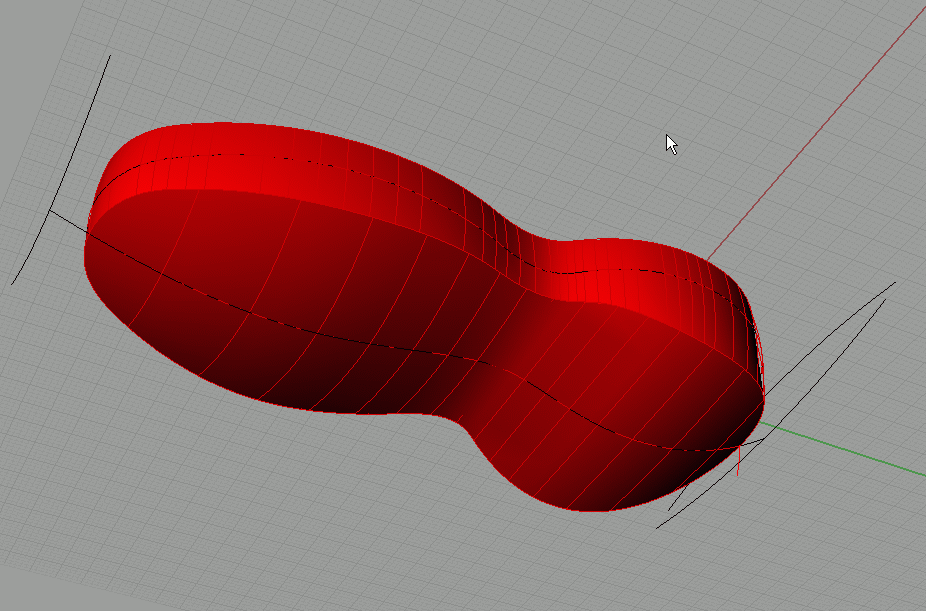
This is how it looks in shaded mode. |
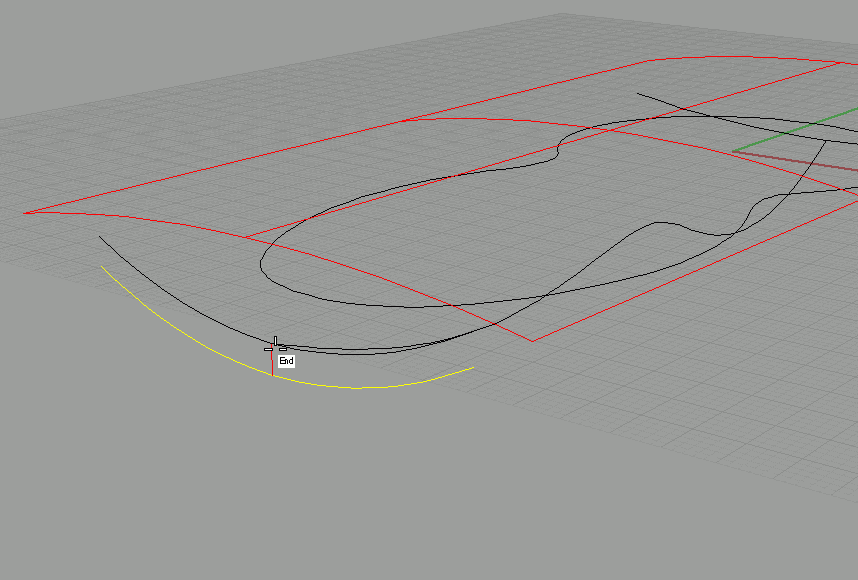
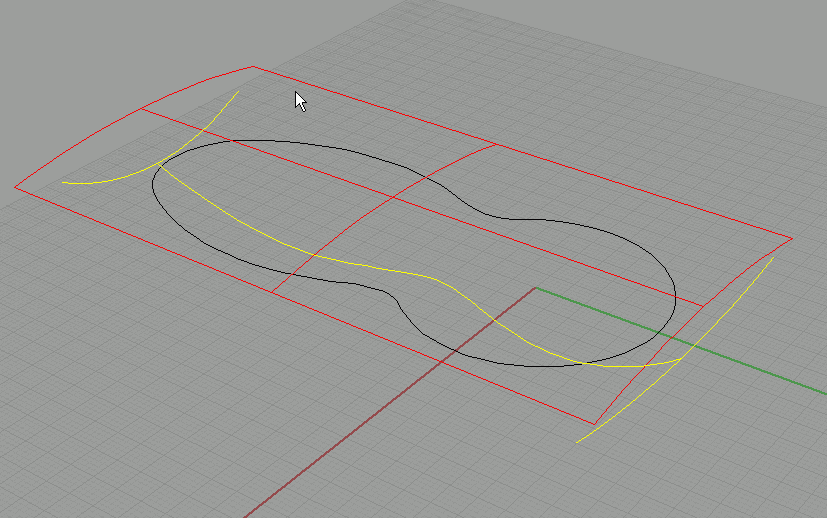
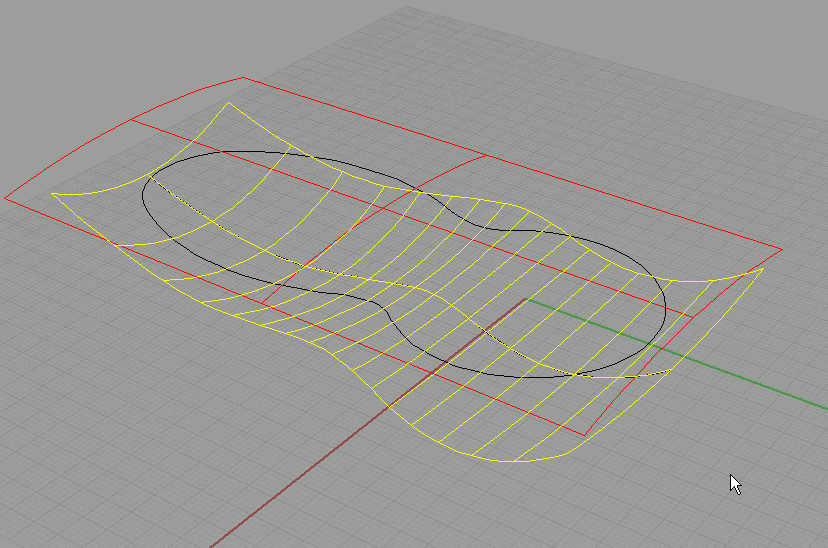
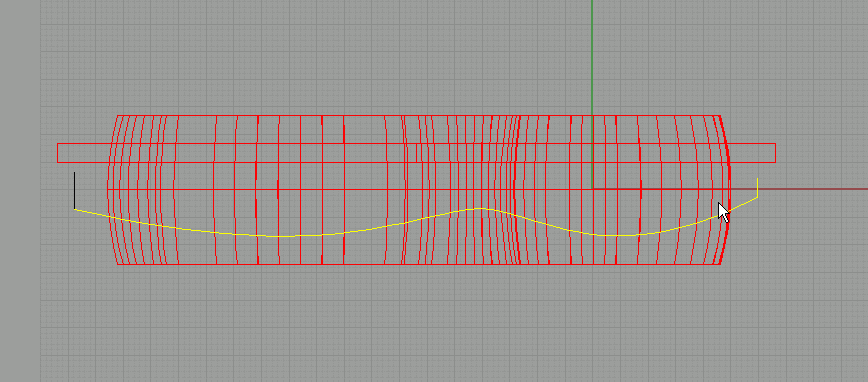
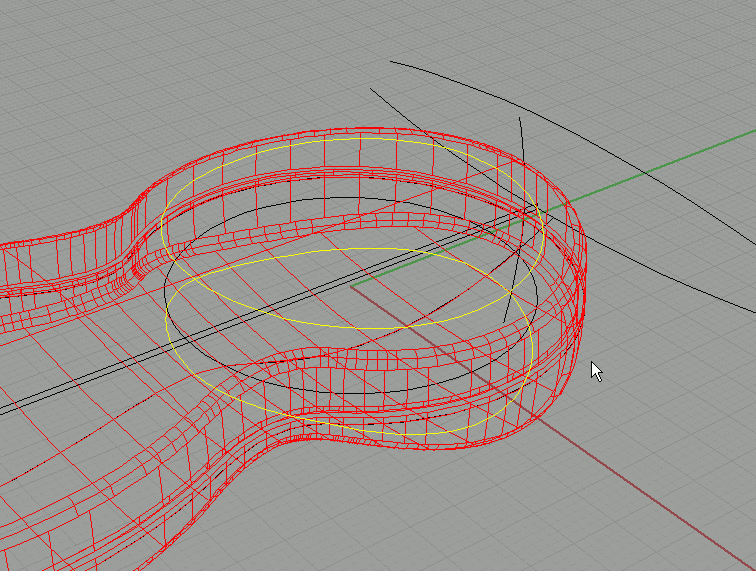
In right view, create an arc like this. Make sure it is larger than the top and bottom surfaces. |
Once again, move this arc from its midpoint to the midpoint of the circle. |
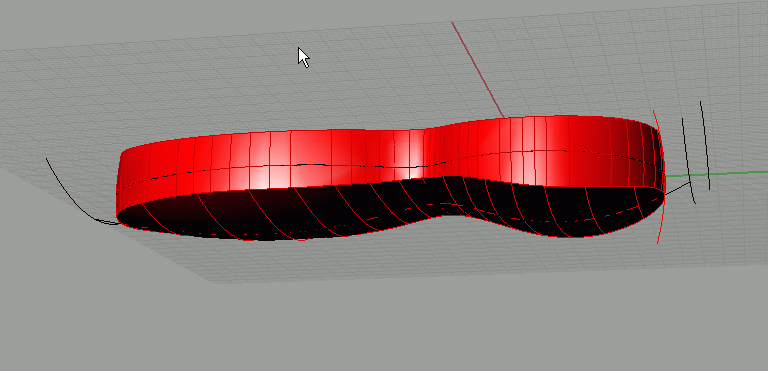
From these two curves we will create a surface, also with sweep 1 rail. The closed curve is the rail, and the arc is the cross section. In the sweep options, make sure freeform is on and also 'do not simplify'. These are the default sweep1rail settings. |
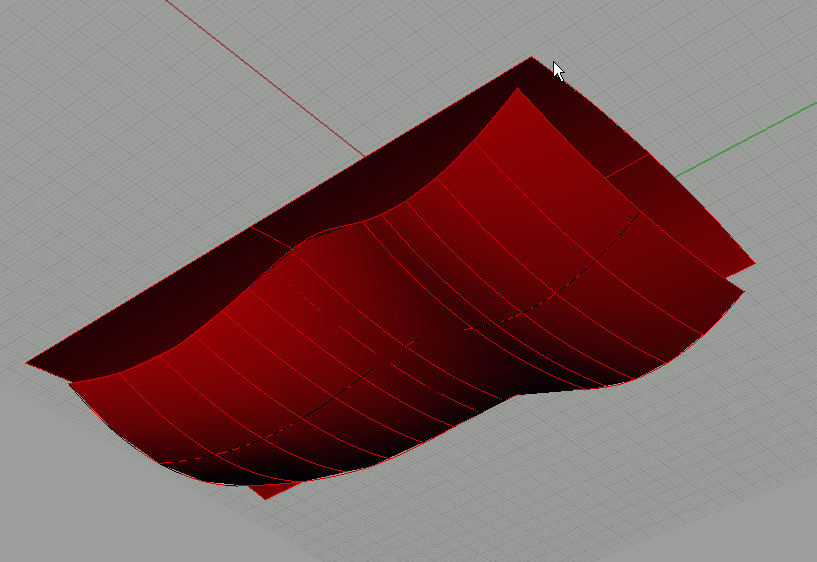
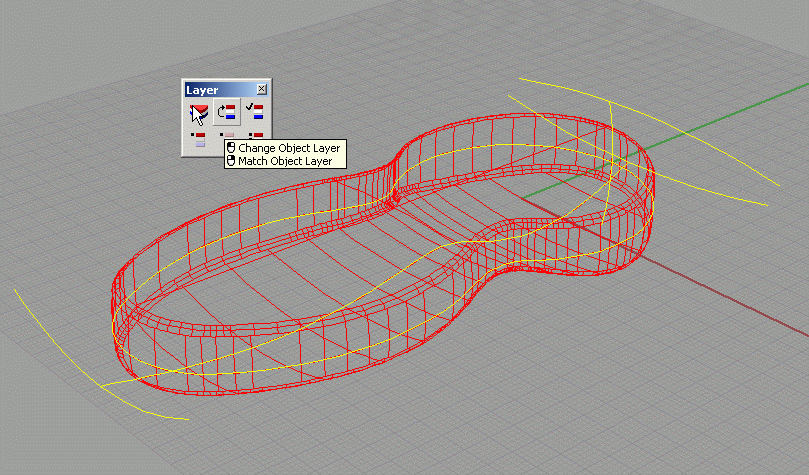
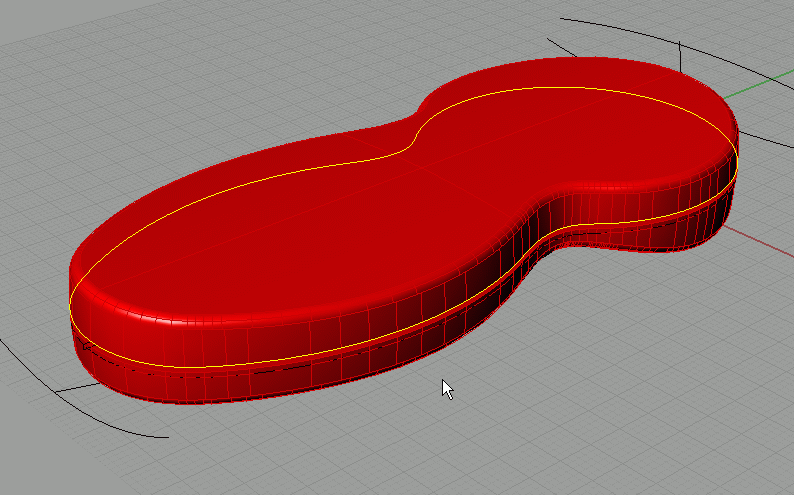
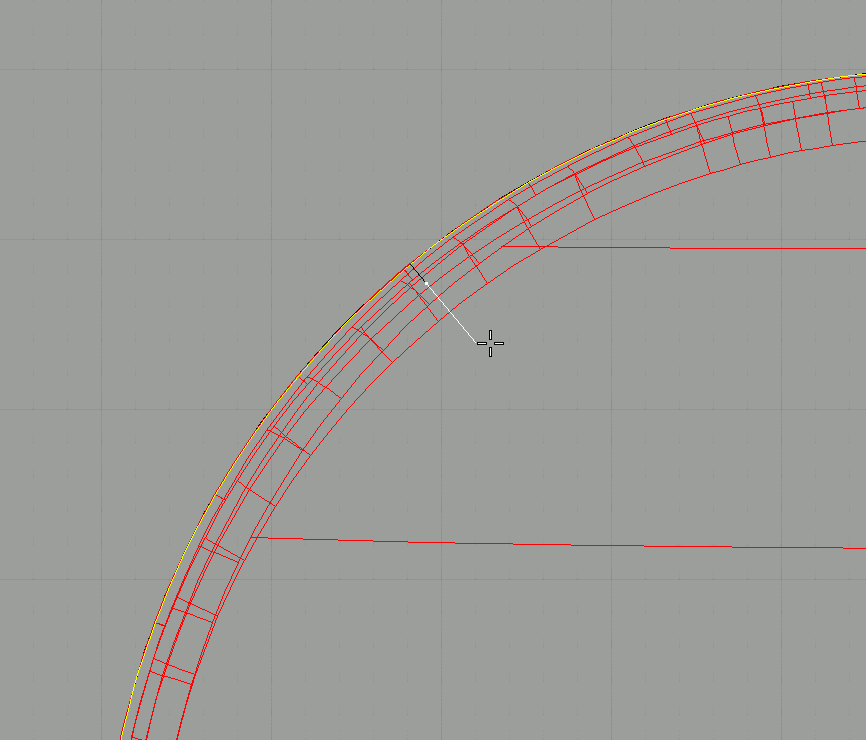
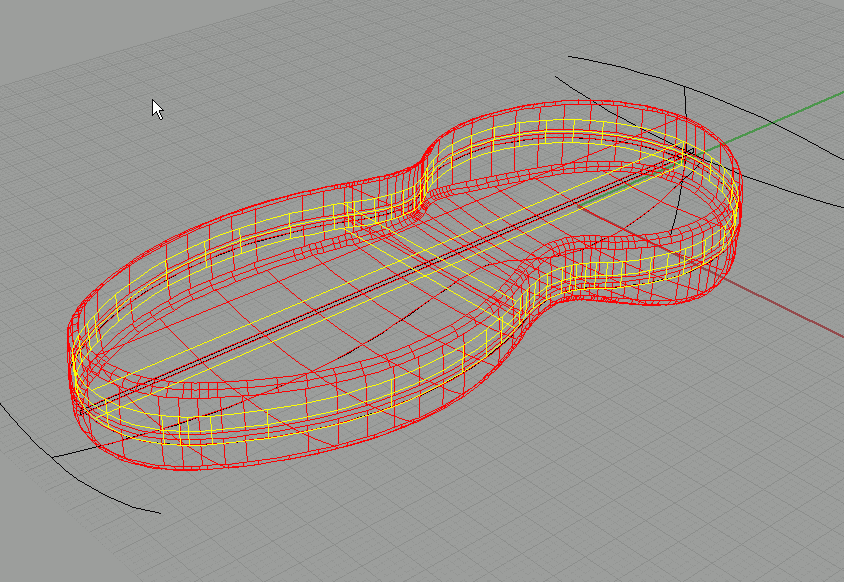
It should look like this. As you can see, all 3 surfaces intersect completely. |
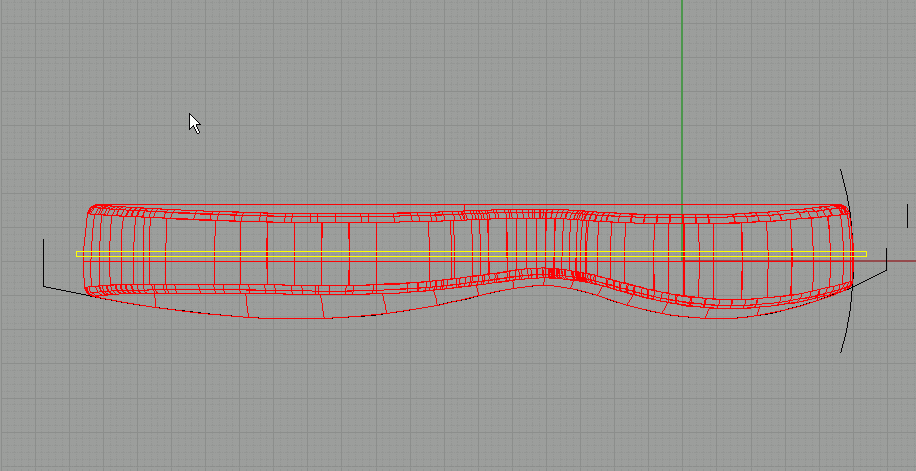
Use trim or split to cut away the excessive surface parts. If trim or split doesn't work, you probably created surfaces that do not intersect properly. The main body looks a bit too thick, so undo the trim/split. |
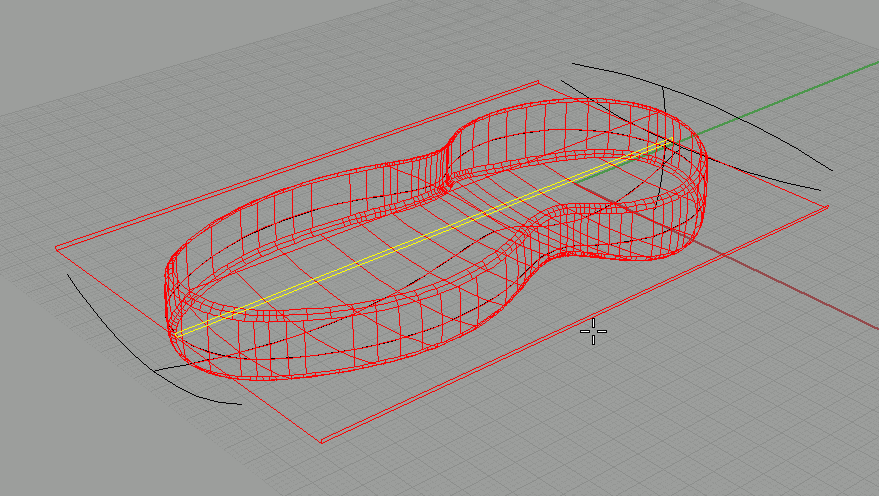
Select the bottom surface, and the curves that you used to create it. Move them all a bit higher. |
Again trim or split. Now it looks better. Join the surfaces into 1 closed solid. |
Use fillet edge to round the edges a bit (don't use a very big radius). |
Select all the curves in the scene, and move them to another layer to keep things organized. |
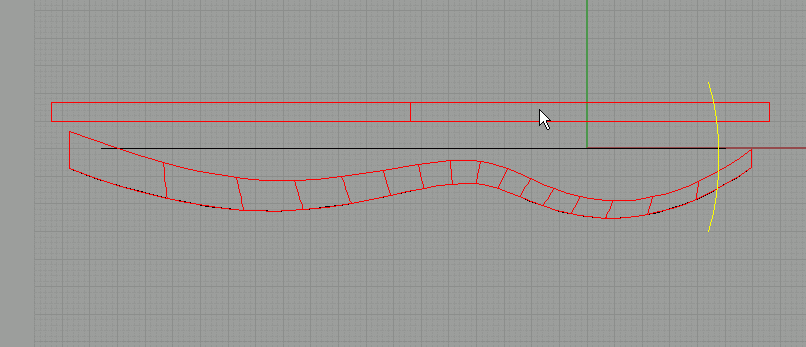
In the right view, create a thin rectangle like in the image. We will use this to create the cutline for the two halves of our remote control. |
Use 'solid-extrude curve' to make it solid (use the bothsides option). |
Now use boolean difference to cut away the rectangle from the main body.
Go to 'curve-curve from object-duplicate edge' to duplicate the edge on the top solid. |
Select the duplicated edge, and use 'curve-offset curve' to offset the curve a certain distance. You can enter a value or you can turn on the 'trough point' option.
|
This is what it should like (enlarge the image). |
Select the inner curve and use solid-extrude to make it solid. Use the both sides option so it extrudes through the top and bottom half of the main body. |
Use solid-union to union the two halves and the middle solid together. |
This is how it looks like: |
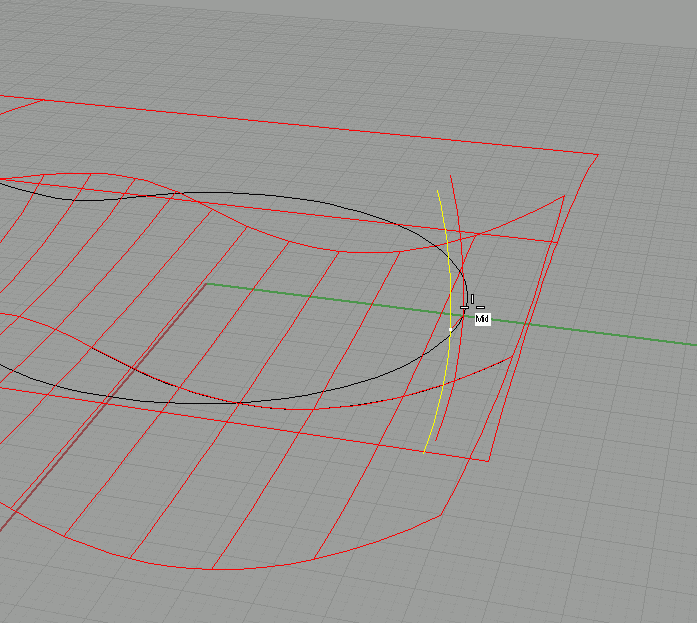
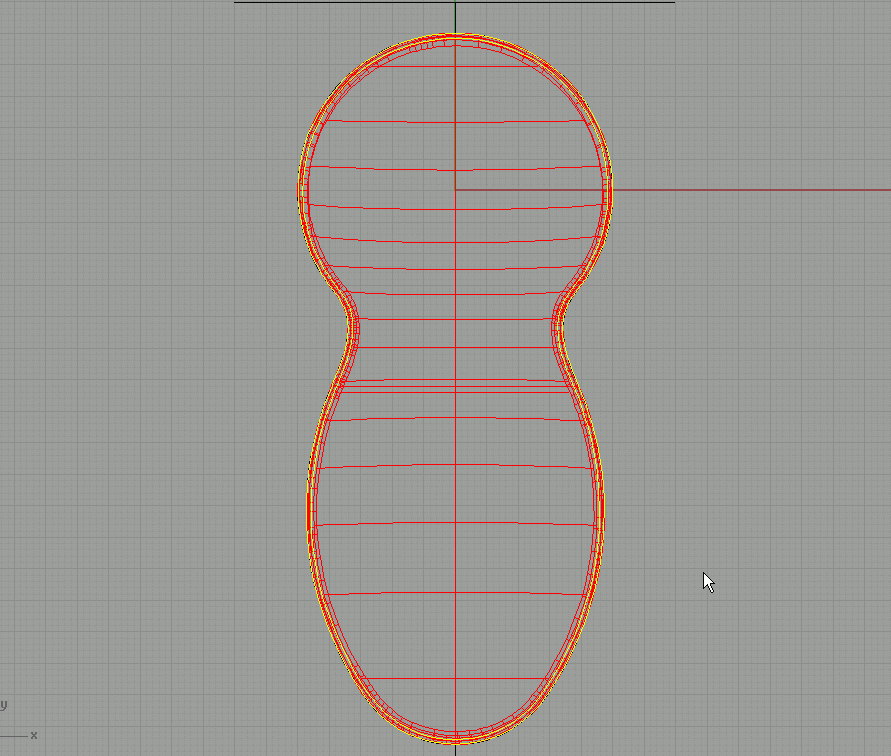
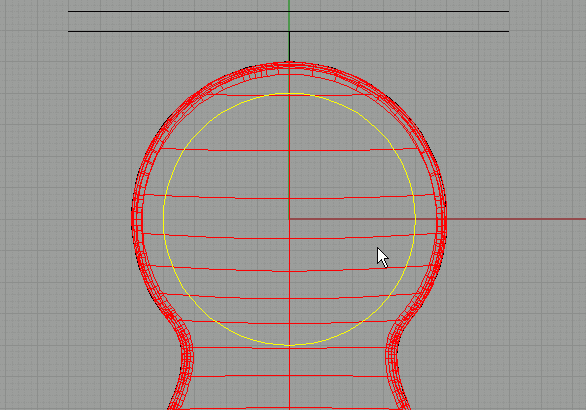
In top view, draw a circle with its midpoint on the center of the grid. |
Project this curve onto the main body, and delete the bottom projected curve. |
|
| Page 1 - Page 2 - Page 3 - Page 4 |
| Back to Rhinoceros tutorials page |