Modeling a remote control with Rhino 3D - tutorial p4 |
| |
Please don't translate or copy these tutorials elsewhere. I don't like the tutorials to float around in 10 different versions and places on the net. Feel free to link to this page of course! (see also Terms of Use) |
| Back to Rhinoceros tutorials page |
| |
| Page 1 - Page 2 - Page 3 - Page 4 |
| |
If you discovered this Rhinoceros 3D tutorial page through a direct link or search engine, please note that you're on page 4 of the tutorial! Please complete the previous page first if you haven't done so. |
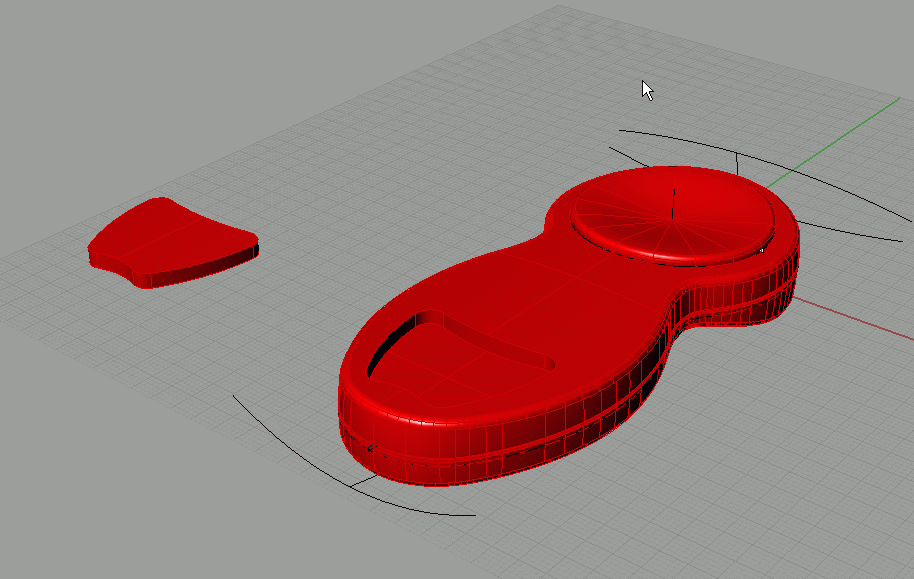
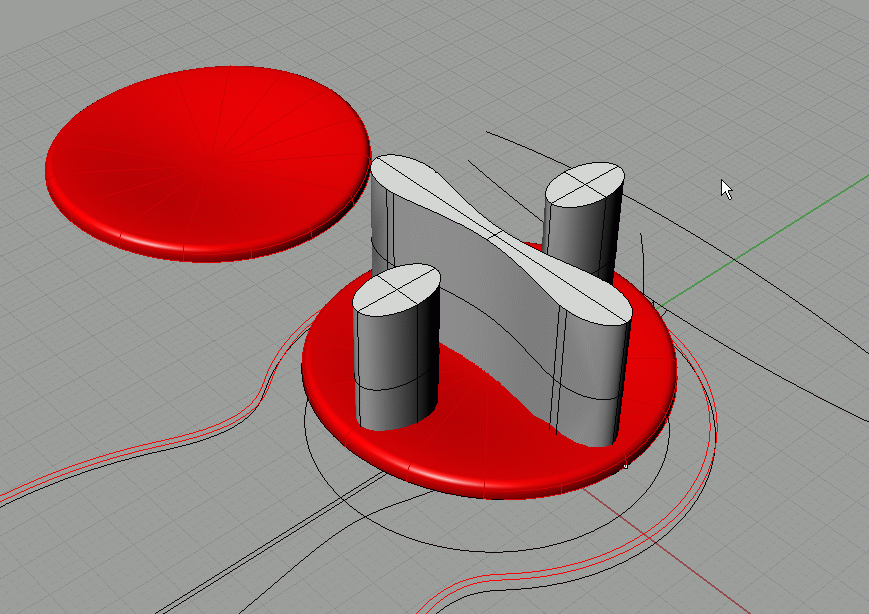
On the right objects, use boolean difference to cut away the extruded shape from the main body.
On the left, use boolean intersection to create the inlay piece.
|
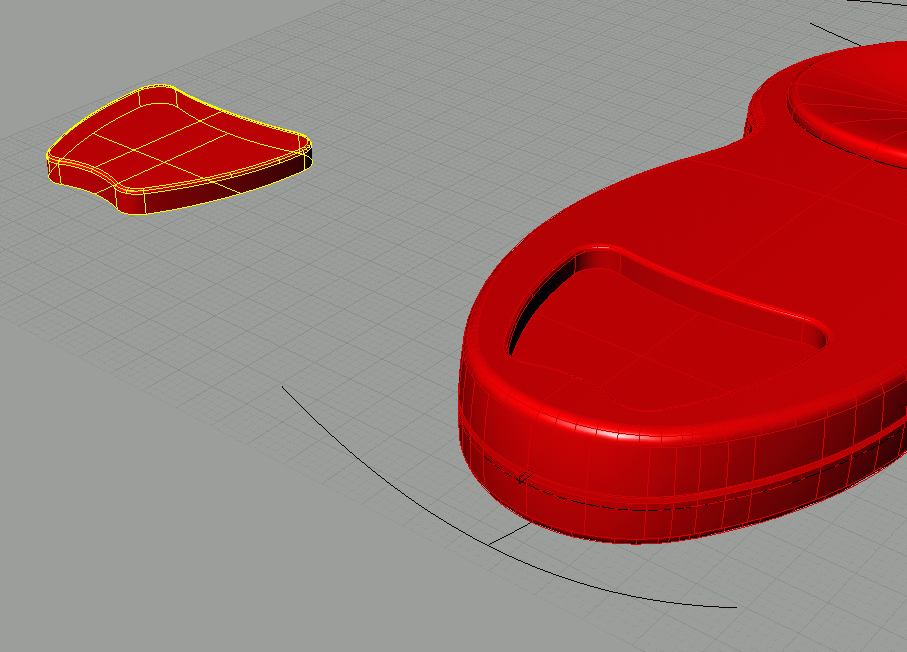
Fillet the edges on the inlay, and also on the main body. |
Using grid snap and ortho, move the inlay back into place. Place the inlay on another layer. |
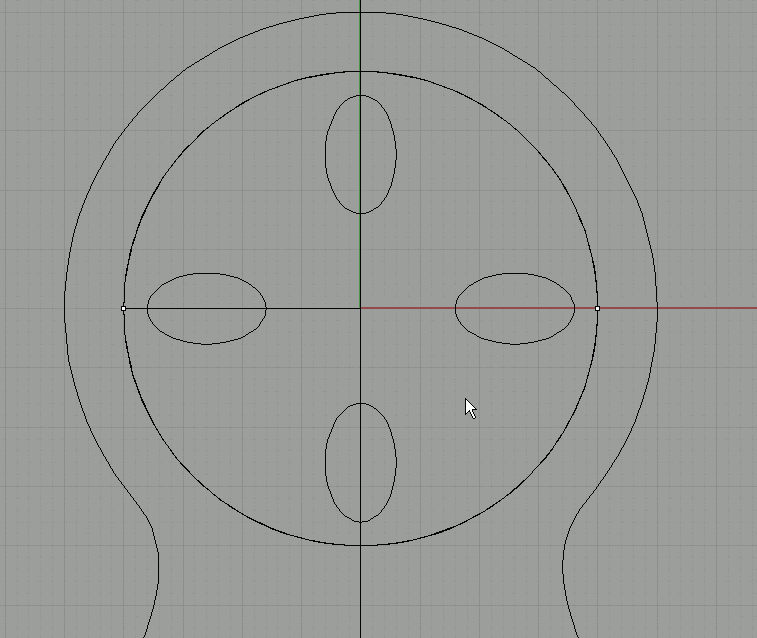
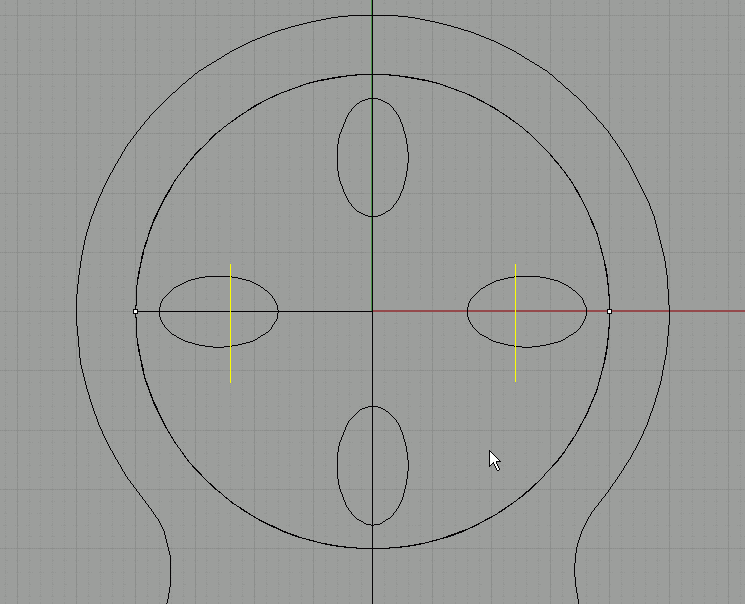
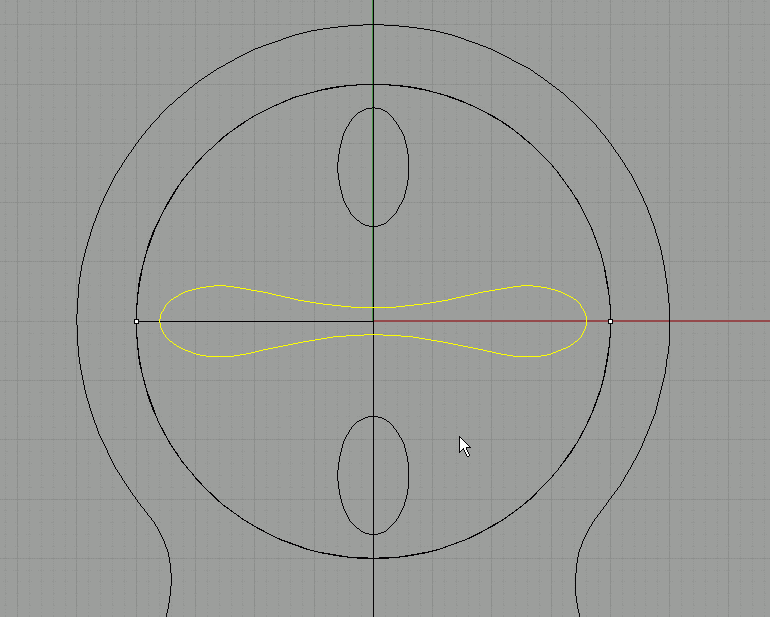
Now the buttons. Create a small ellipse and use mirror or rotate-copy or array polar to make the other 3. |
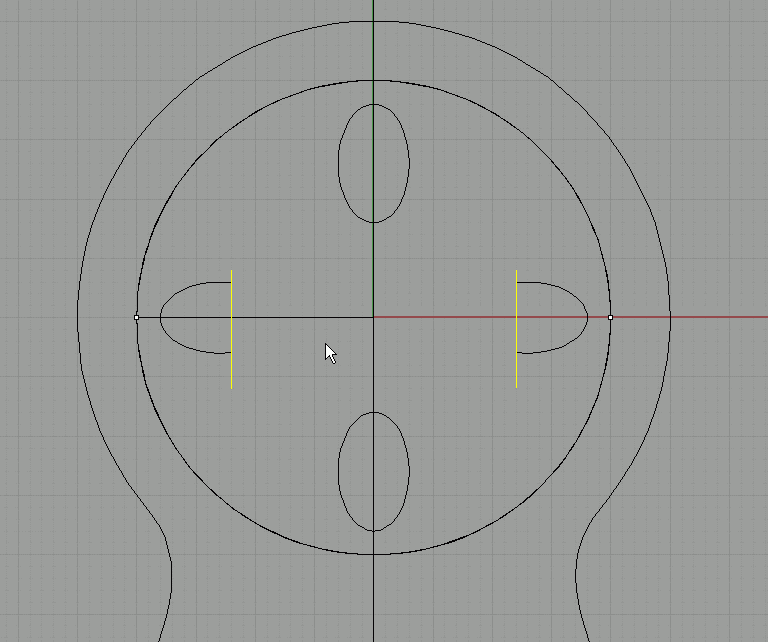
Draw a straight line like this and mirror it: |
Trim away the inner parts. |
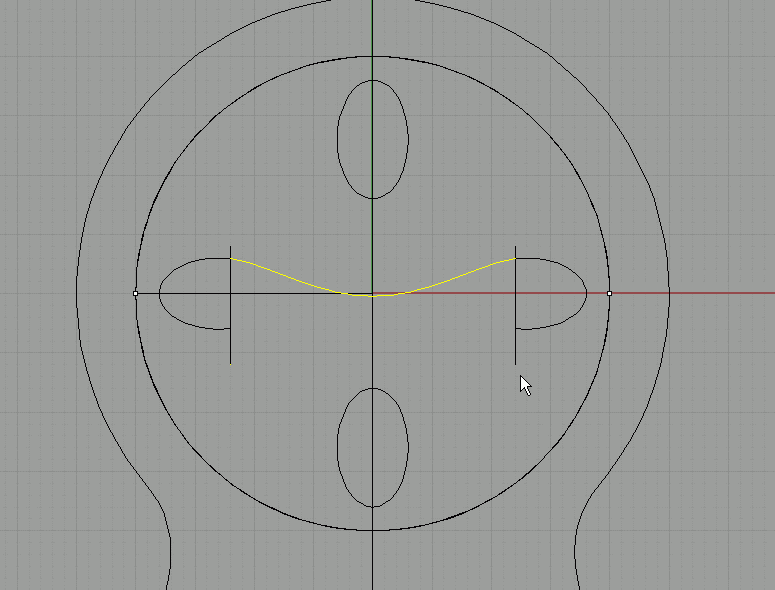
Blend the top opening. |
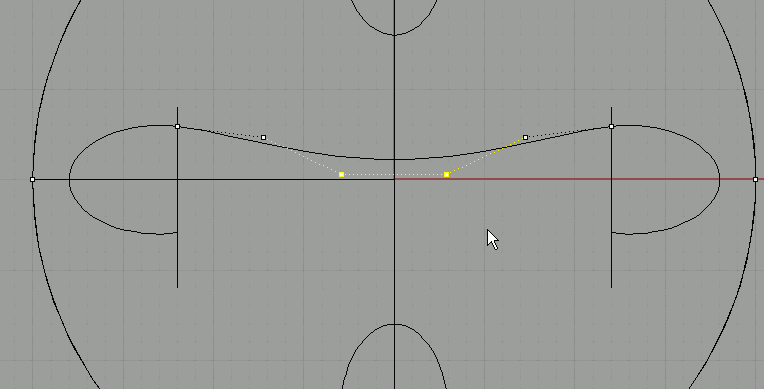
Turn on control points and select the middle 2 points. Move them up a bit. Because we don't touch the other points, the transition of the blend to the ellipses will still be good. |
Mirror the blend and join everything. |
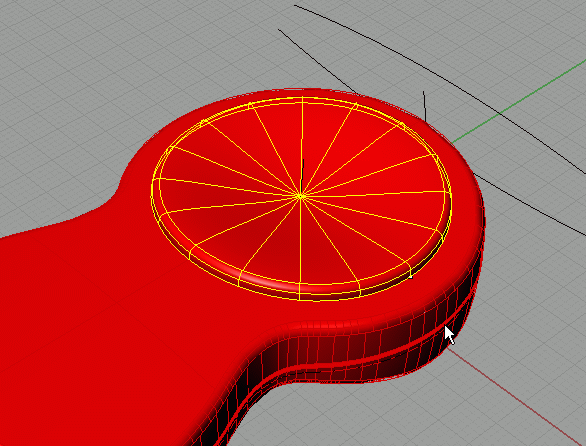
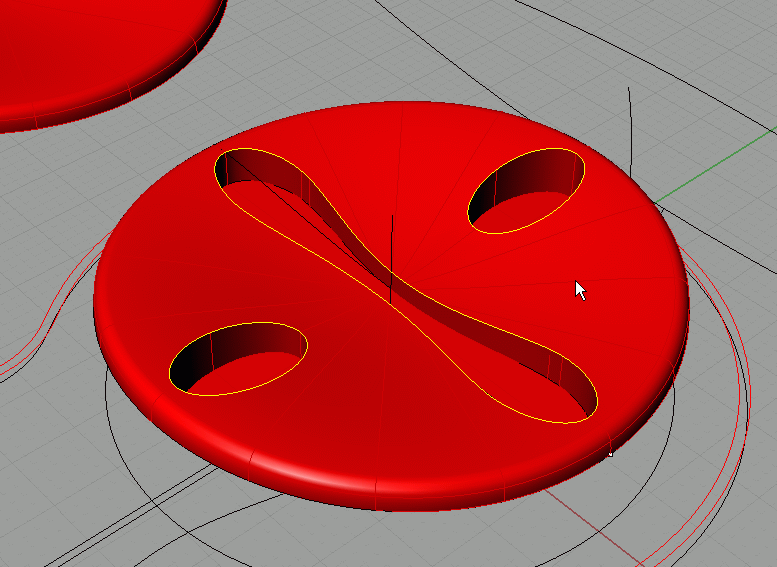
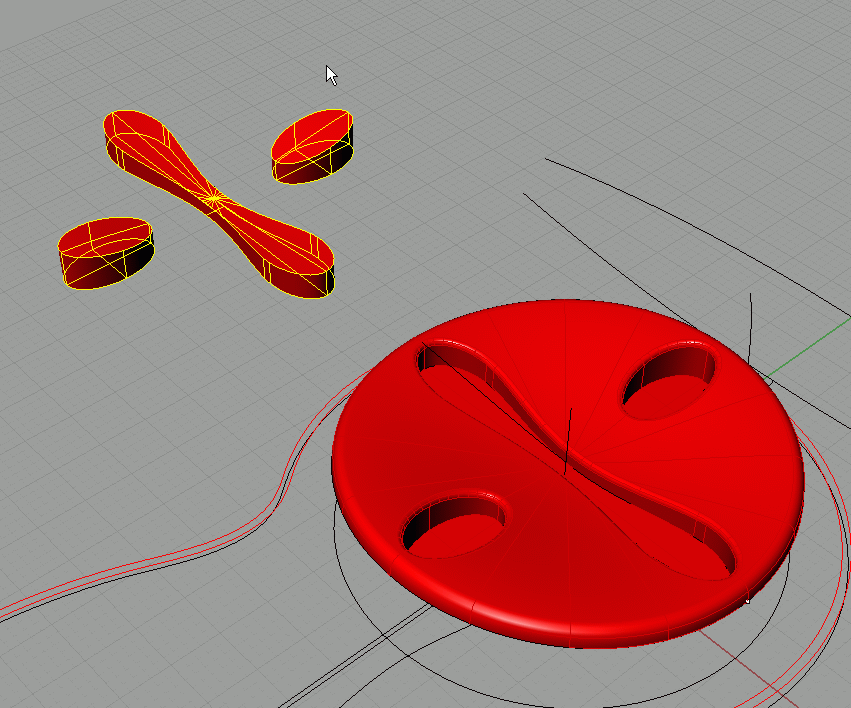
Extract the top surface:
Hide the main body part. |
Select the 3 button curves and the top surface. |
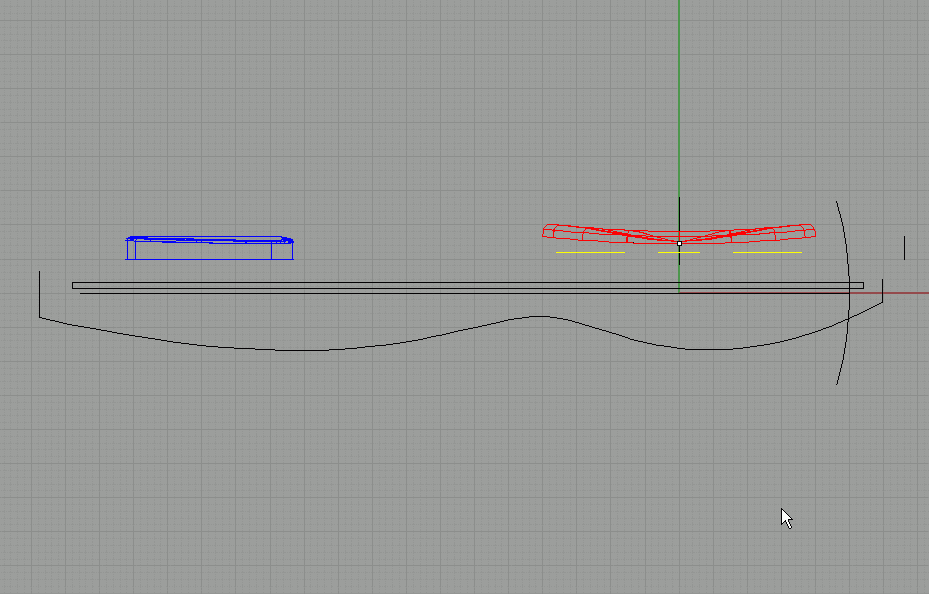
Copy it like before (ortho+grid snap or a fixed distance). |
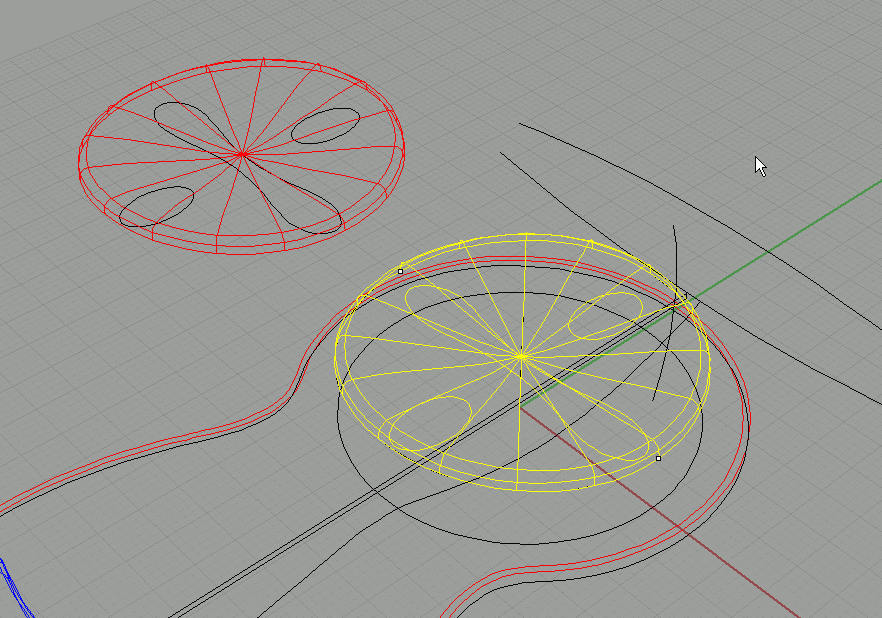
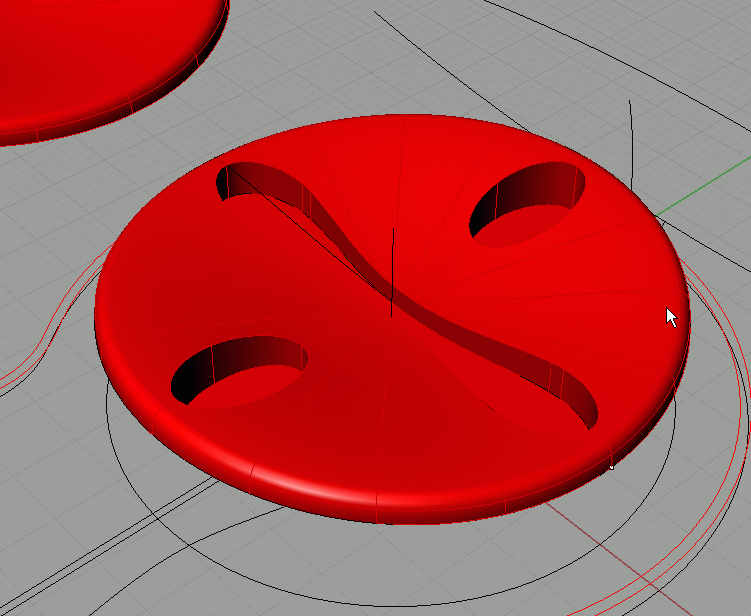
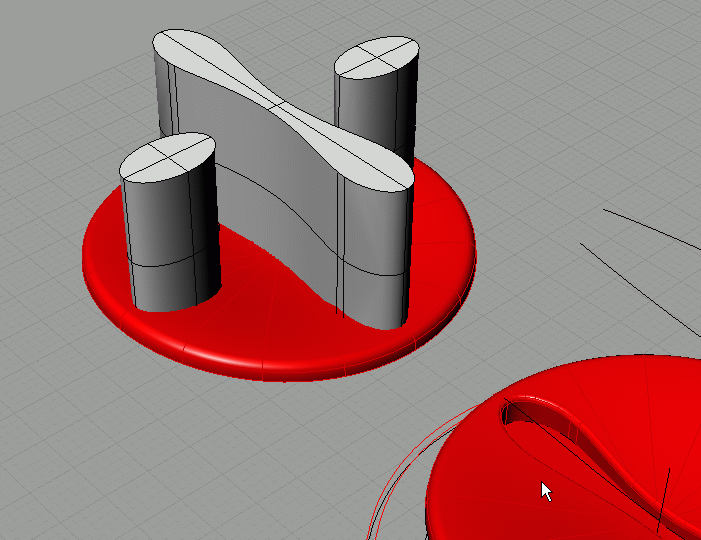
Extrude the 3 button shapes |
Boolean difference them away: |
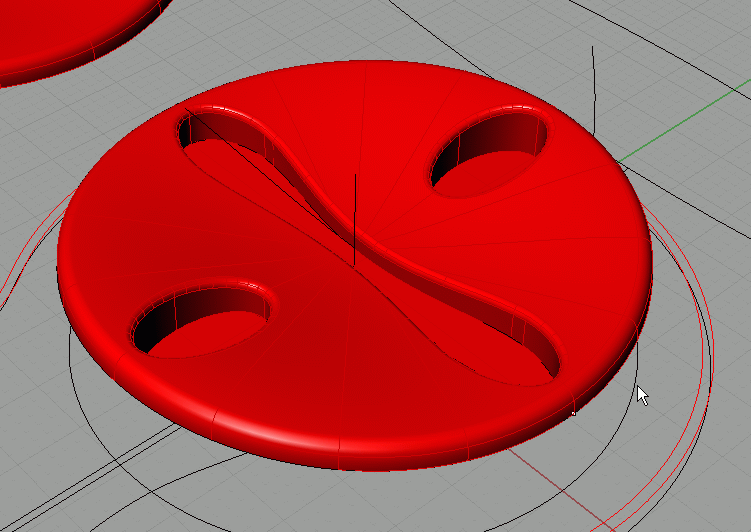
Fillet the edges: |
Result: |
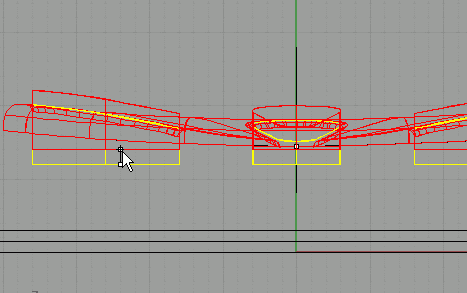
Extrude the copied button curves: |
Use intersection to create the buttons:
Move them back into place.
|
Move them a bit upward: |
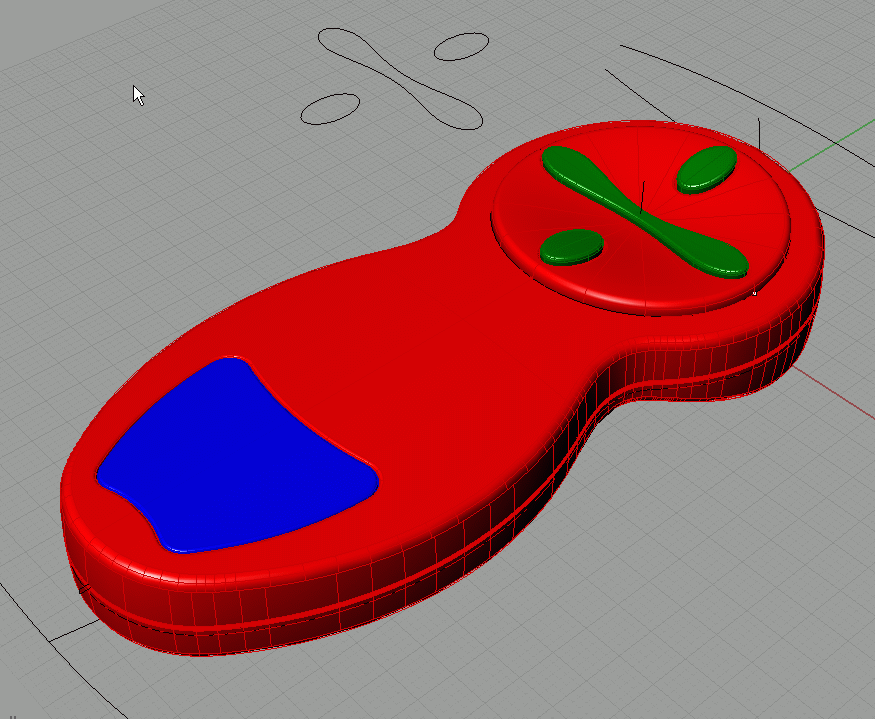
Fillet the button edges and put them on another layer:
|
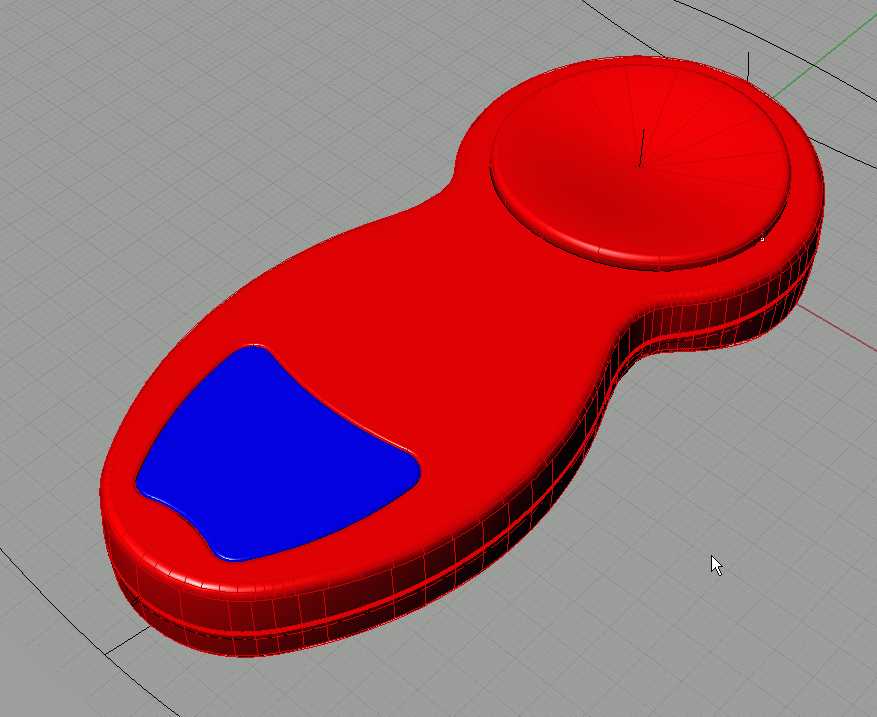
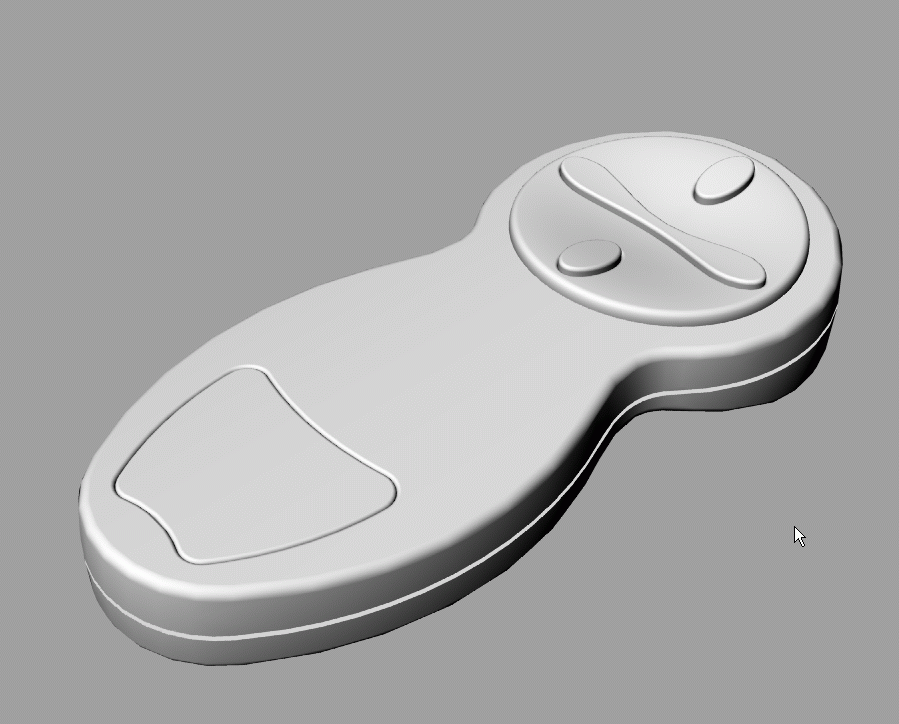
Unhide the main part and join the revolve to it again. This is the result: |
And in grey shade:
As you can see, we spent quite some time creating the base curves for the main part. But once you get them right, creating the main shape is easy. The result is a shape that is organic in every direction, without having to use unprecise methods like deforming a sphere with control points.
The method for creating buttons and the inlay is very effective, and it makes sure that the top surfaces follow the main surface exactly. |
|
| Page 1 - Page 2 - Page 3 - Page 4 |
| Back to Rhinoceros tutorials page |