Modeling a trackball mouse with Rhino 3D - tutorial p2 |
| |
Please don't translate or copy these tutorials elsewhere. I don't like the tutorials to float around in 10 different versions and places on the net. Feel free to link to this page of course! (see also Terms of Use) |
| Back to Rhinoceros tutorials page |
| |
| Page 1 - Page 2 - Page 3 - Page 4 - Page 5 |
| |
If you discovered this Rhinoceros 3D tutorial page through a direct link or search engine, please note that you're on page 2 of the tutorial! Please complete the previous page first if you haven't done so. |
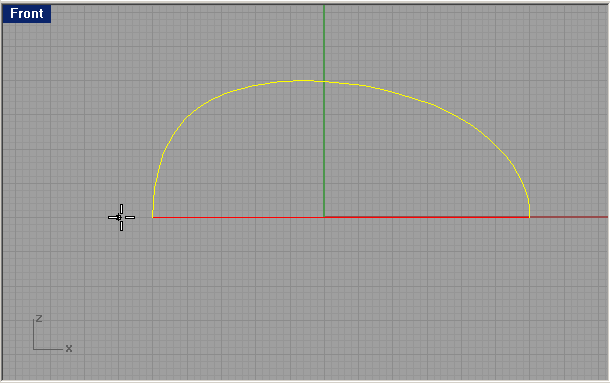
Now we will scale this curve because the shape is too high for our mouse.
Go to "transform - scale - scale1D"
With grid snap on, select a starting point in front view exactly on the X-axis. It's very important to do this with grid snap because the slightest mistake will mess up the start and end point position of our curves. |
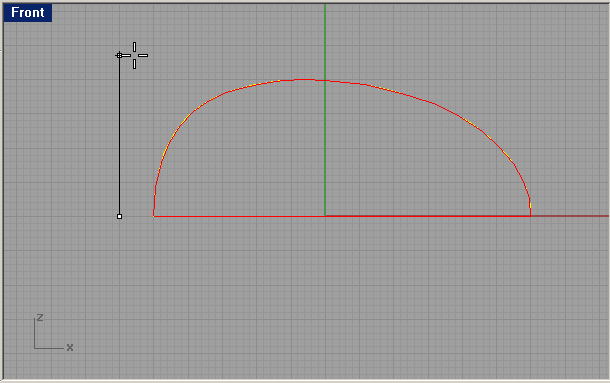
With ortho on, click above your start point and also higher then our profile curve. |
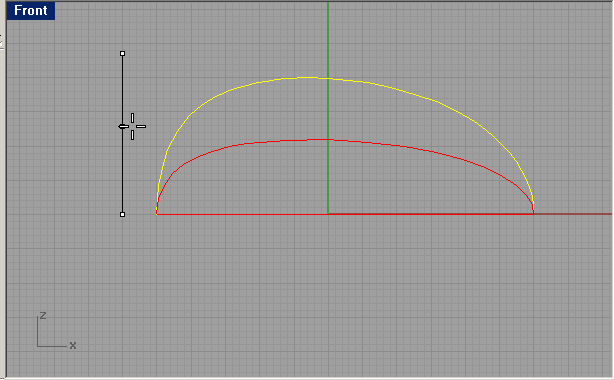
Move down to scale the curve +- halfway. |
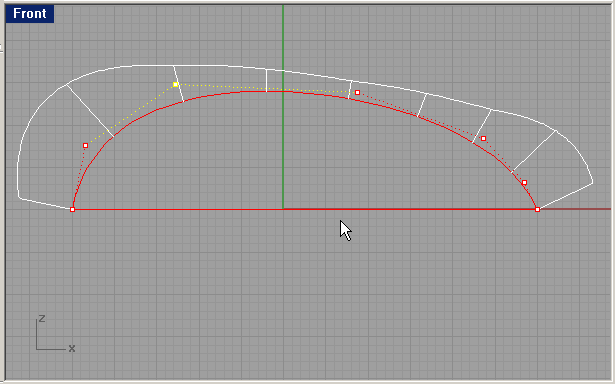
Set curvature graph on and also turn on control points. Move the second and second last point a bit inward. Try to get a smooth curvature graph by slightly moving the other points. (see image) |
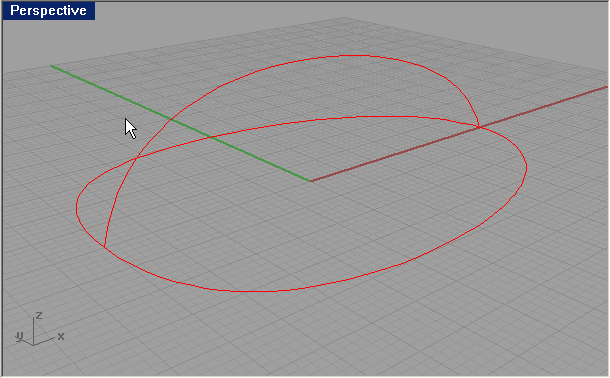
This is the result. Three curves which perfectly meet in their start and end points. All curves have an equal number of points in more or less the same position relative to each other. This is the perfect base to make a lofted surface. |
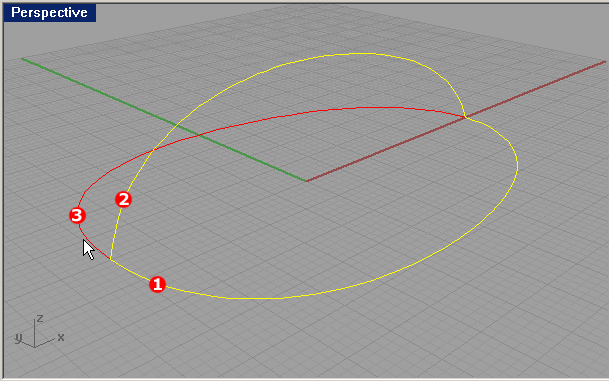
Choose "surface-loft". Select the three curves from right to left or from left to right. Also try to select them in more or less the same position. (see image) |
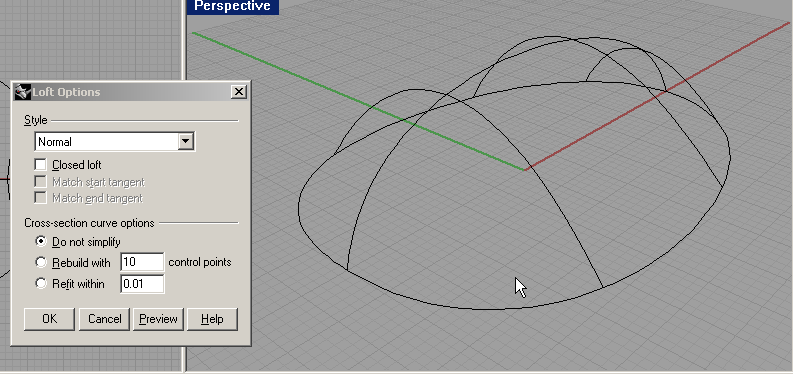
Use the default loft settings and press enter. |
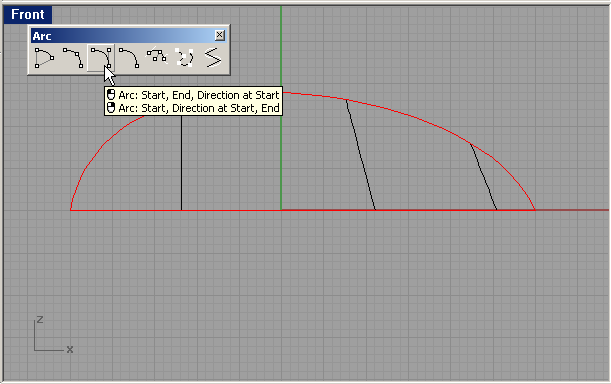
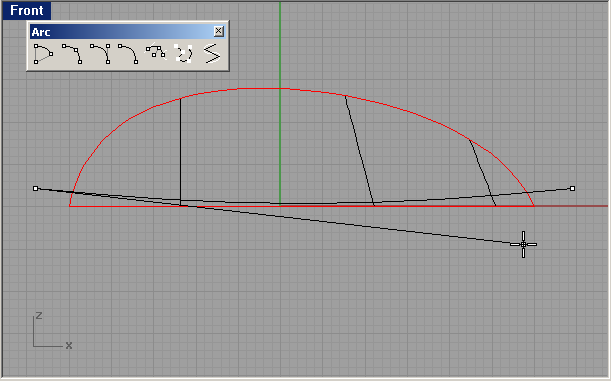
Now we will create the bottom shape. We'll use 'Arc: start, end, direction' to draw a nice curve. |
Click left and right of the lofted shape in front view, and then select a third point like in the image. Make sure the curve is not lower than the lofted shape. We will use this curve to cut of a piece of our mouse. |
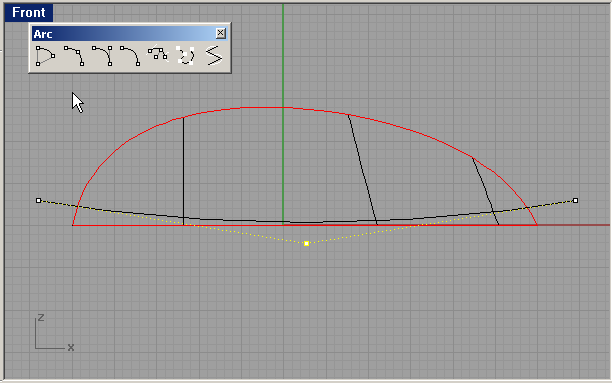
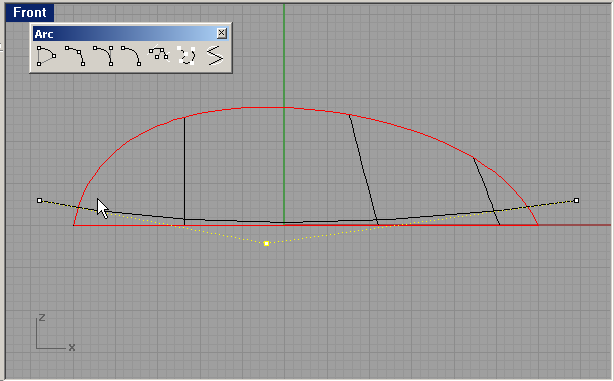
Turn on control points. |
Move the middle point a bit to the left. |
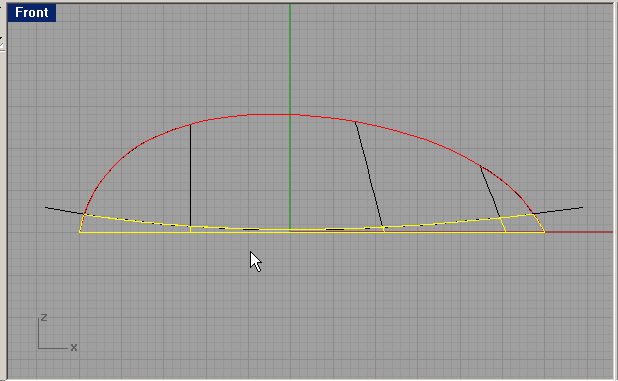
Make sure the front view is still active, and then split the the lofted surface with this curve and delete the bottom part. |
|
| Page 1 - Page 2 - Page 3 - Page 4 - Page 5 |
| Back to Rhinoceros tutorials page |