Modeling a trackball mouse with Rhino 3D - tutorial p5 |
| |
Please don't translate or copy these tutorials elsewhere. I don't like the tutorials to float around in 10 different versions and places on the net. Feel free to link to this page of course! (see also Terms of Use) |
| Back to Rhinoceros tutorials page |
| |
| Page 1 - Page 2 - Page 3 - Page 4 - Page 5 |
| |
If you discovered this Rhinoceros 3D tutorial page through a direct link or search engine, please note that you're on page 5 of the tutorial! Please complete the previous page first if you haven't done so. |
On the other side, split the mouse with the extruded solid. Then split the extruded solid with the small surface that just has been split out.
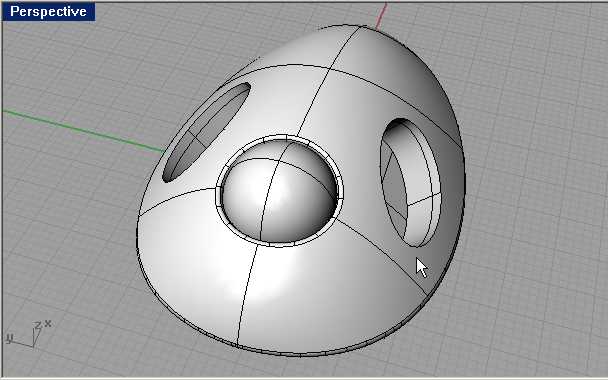
Delete the top part (yellow in image) |
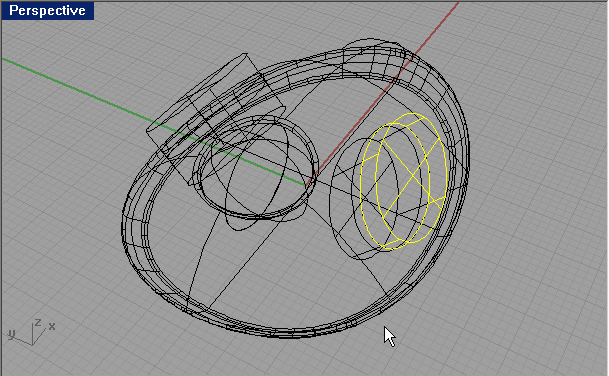
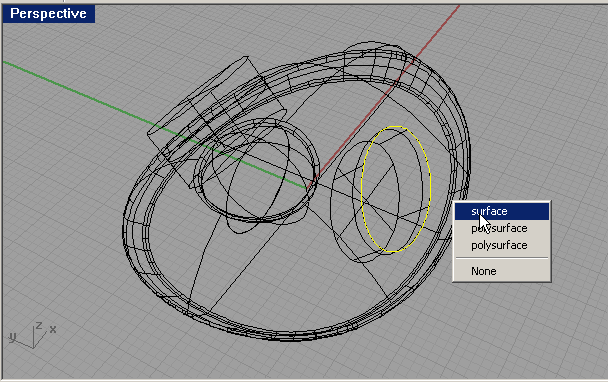
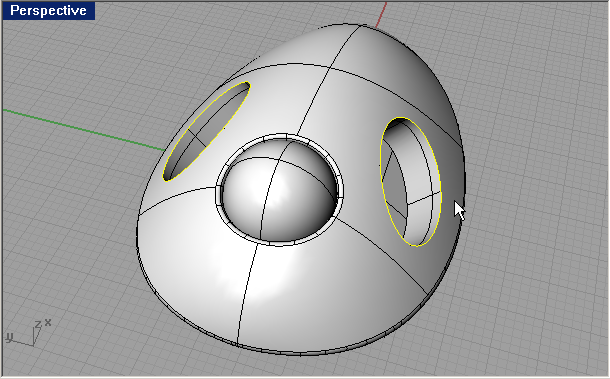
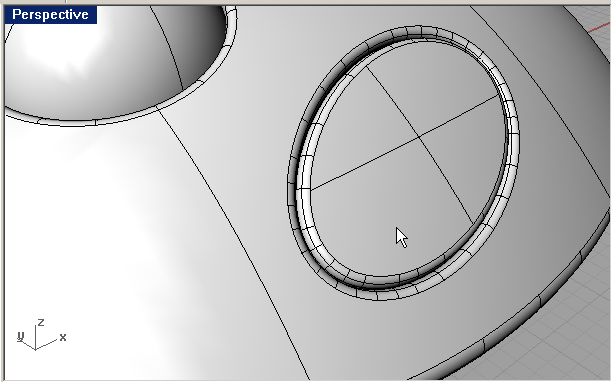
Select the small surface (see image on the right) and choose "surface---edit tools---shrink trimmed surface". This will make the lines on the small surface visible again, which makes it easier to work with. |
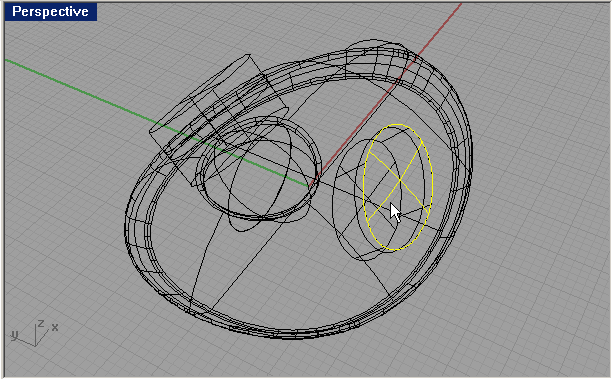
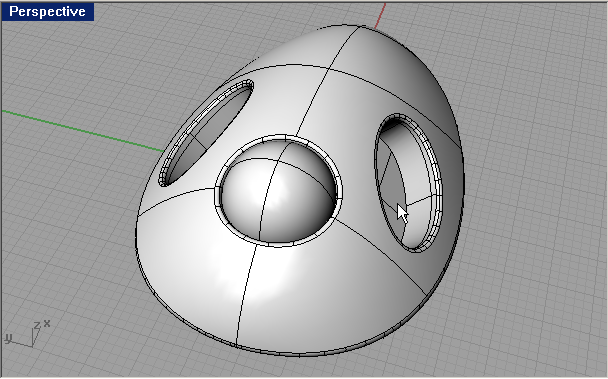
This is how the shrunk surface looks like:
Join the small surface with the lower part of the extruded part. This shape is our button. |
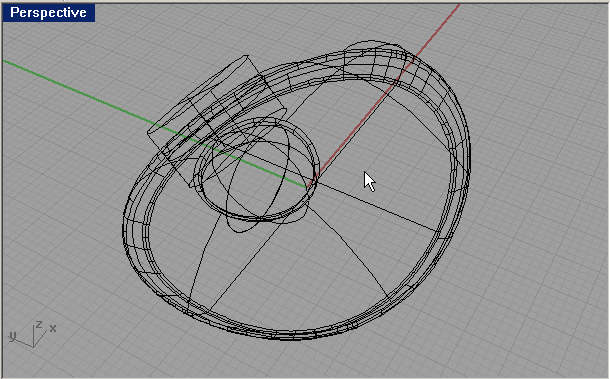
Hide this button-shape and use "surface-edit tools-untrim" to untrim the hole in the mouse. This is a command which is very useful! |
Hole is gone: |
Mirror the extruded part again from the other side and now also difference this out of the mouse. |
Fillet these edges: |
| |
Unhide the button and mirror it |
Also fillet the top edges of the buttons.
I created the buttons in this way, because I wanted their top surface to match up with the mouse shape. That's why I used the mouse shape to create the buttons top surface. |
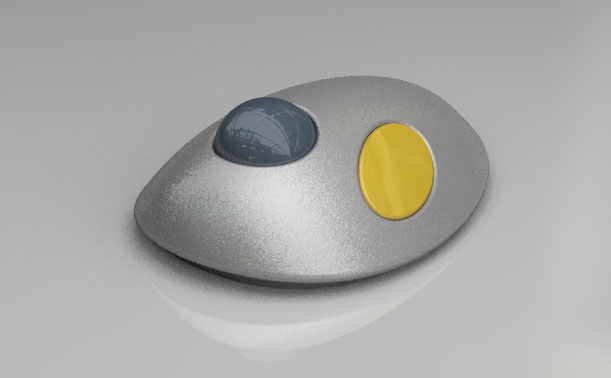
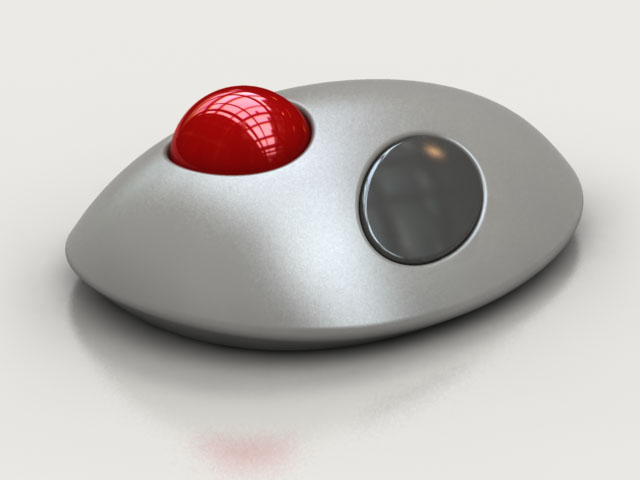
Assign colors, materials, place some lights and render. |
Rhino can export its models to almost any other 3D package. This is a render made with 3DStudioMax and the Vray plugin. |
|
| Page 1 - Page 2 - Page 3 - Page 4 - Page 5 |
| Back to Rhinoceros tutorials page |
|