Modeling a remote control with Rhino 3D - tutorial p1 |
| |
Please don't translate or copy these tutorials elsewhere. I don't like the tutorials to float around in 10 different versions and places on the net. Feel free to link to this page of course! (see also Terms of Use) |
| Back to Rhinoceros tutorials page |
| |
| Page 1 - Page 2 - Page 3 - Page 4 |
| |
In this tutorial, you will model a simple remote control with Rhinoceros 3D, similar to the one on this image. There are no flat surfaces in this model, so almost all of the main surfaces will be created using sweeps, revolves, etc...
Skill level is novice to intermediate. |
First we will draw the outline of the remote in top view. Don't try this with a freeform curve tool. Instead, use a combination of arcs and trim or split pieces away.
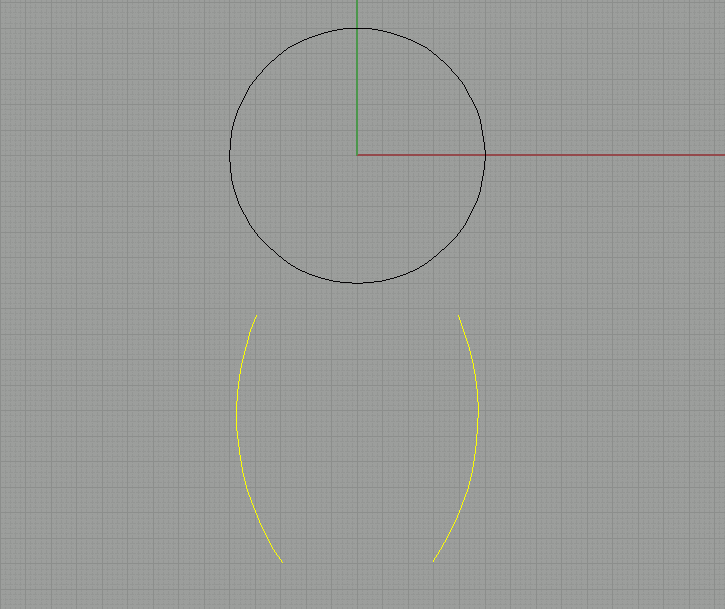
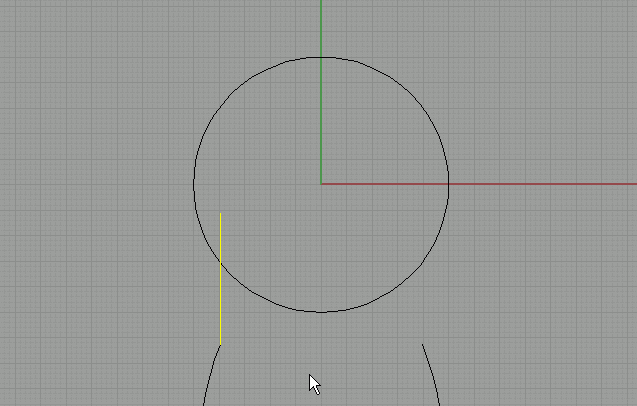
First draw a circle, with its center point placed at 0,0,0 on the grid. |
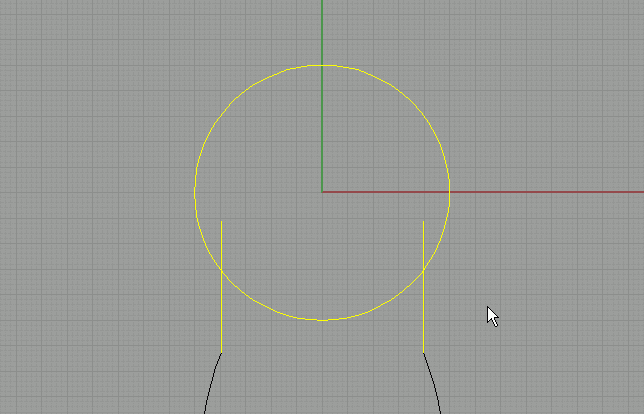
Use the arc tool 'start-end-direction' to draw the side of the body, and mirror this curve around the main y-axis. You can use grid snap to help. |
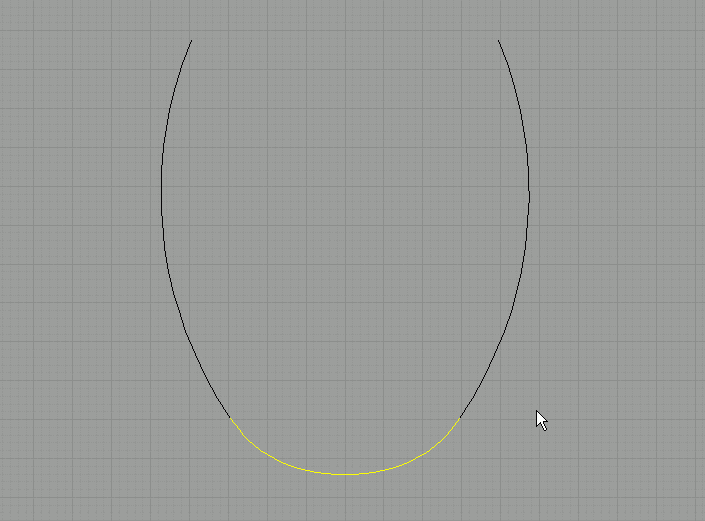
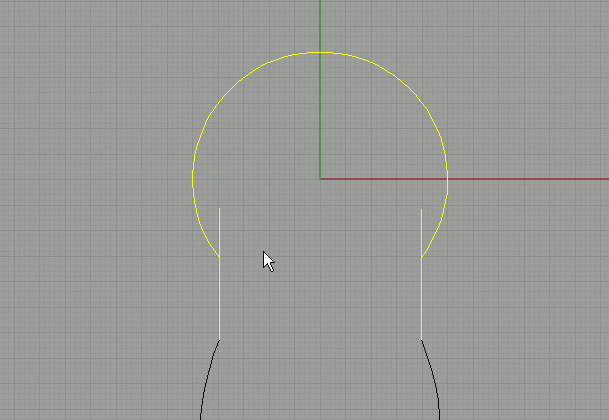
To close the curve opening at the bottom, we will use 'blend curves'. Blend makes a smooth transition between two open ends. By using blend, you can be sure there will be no sharp corner where the curves meet.
Go to the curve menu, and choose 'blend curves - quick curve blend'. Pick near the two end points and the blend will be created.
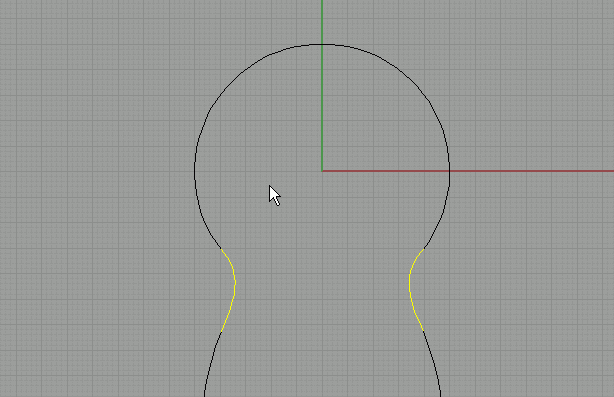
The shape is not 100% what it should be. |
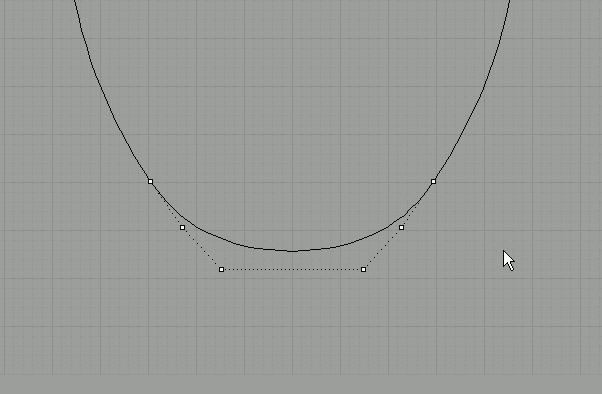
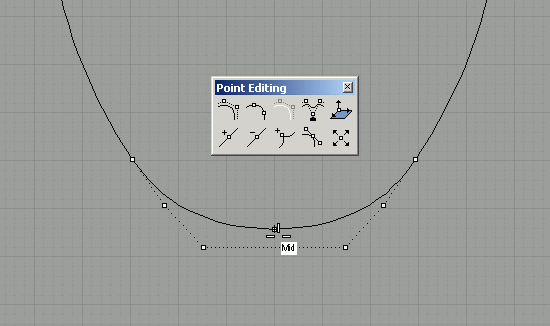
Select the blend and turn on its control points. We will add one more control point exactly in the middle of the curve. |
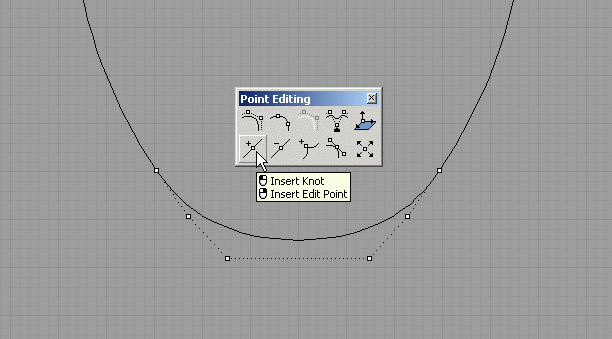
Press long enough on the 'control points on' button to let the underlying buttons fly out. Choose 'insert knot'. |
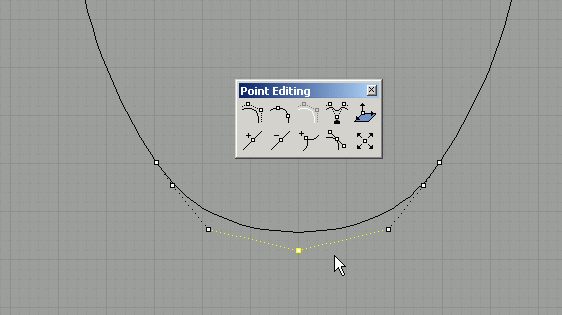
With mid snap turned on, click at the midpoint of the blend. A new control point is created. |
Select this new point. |
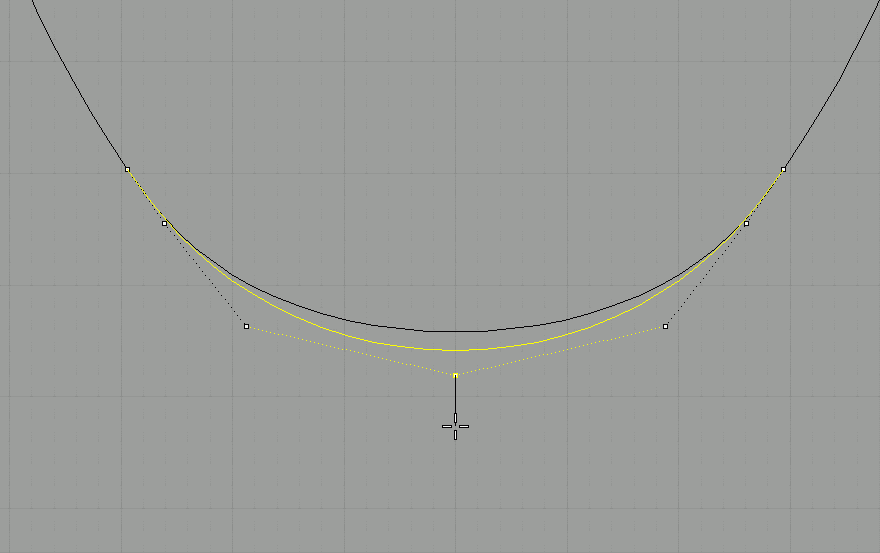
Move the point down, with ortho snap on (or leave it off and press 'shift' while you drag, this does the same as ortho snap). Move it downwards until the blend looks good.
NOTE:
In rhino v5, there is a new option called 'adjustable curve blend'. By using this new feature, you have more control over the curve blend while creating it. This removes the need for the previous steps where we insterted an extra point and edited that point. |
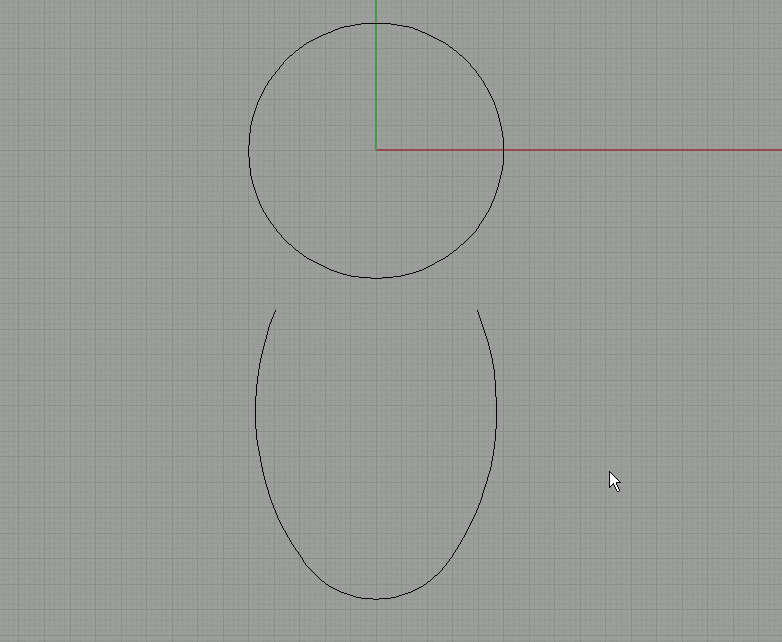
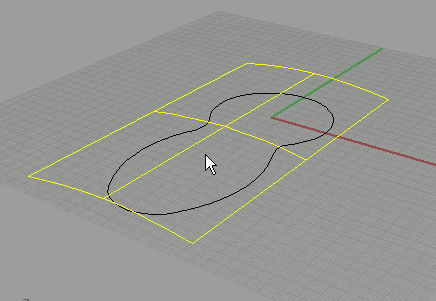
This is what we have so far. Join the 3 curves at the bottom. |
Draw a straight line from the endpoint of the left curve (use ortho or shift!). Mirror this line along the Y-axis (use grid snap). |
Select the circle and the two straight lines. |
Trim the inner part of the circle, and delete the straight lines. |
Close the gaps with blend curve-quick curve blend. |
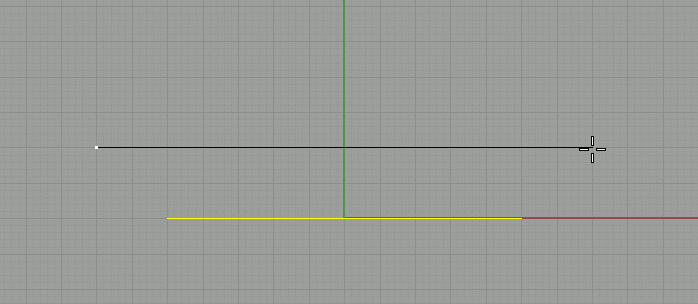
In the front viewport, draw an arc with 'start-end-direction' and use the grid to make sure it is symmetrical (count the units on each side of the green axis). Make sure it's wider than our top view curve. |
Make it something like this, don't curve it too much. This will become the top surface of our remote control.
In top view, move the curve upwards so that it is higher than the circles top. |
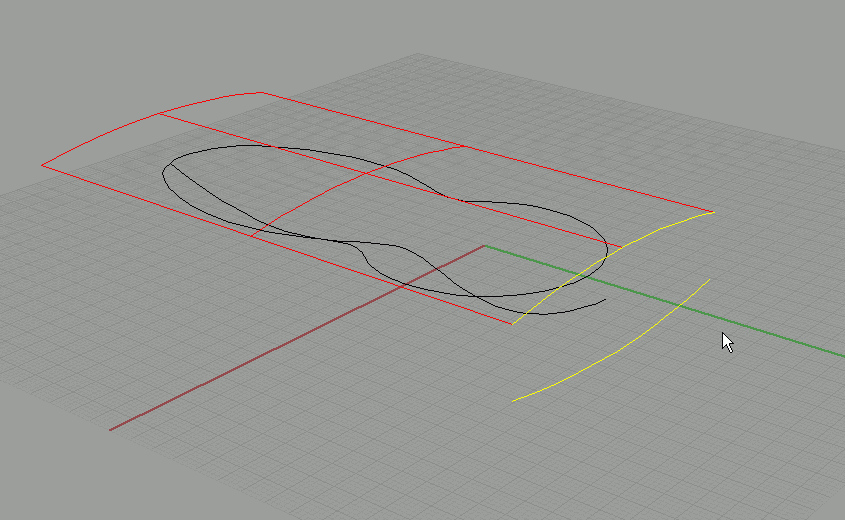
Extrude the curve like in the image on the right. Extrude it so it is longer than our top view shape. |
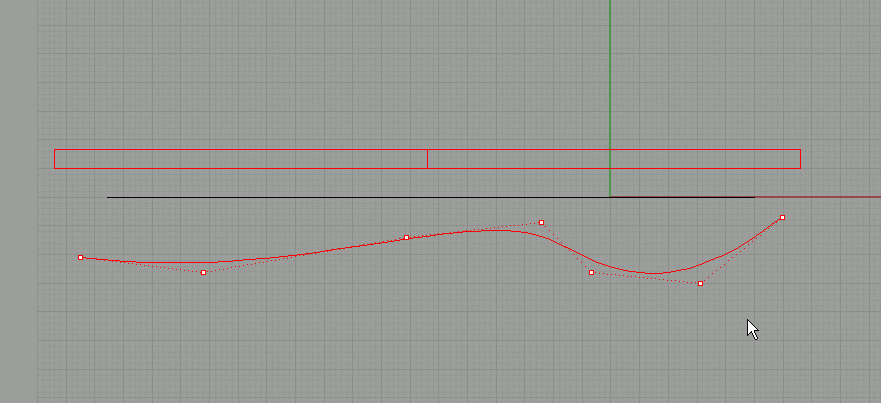
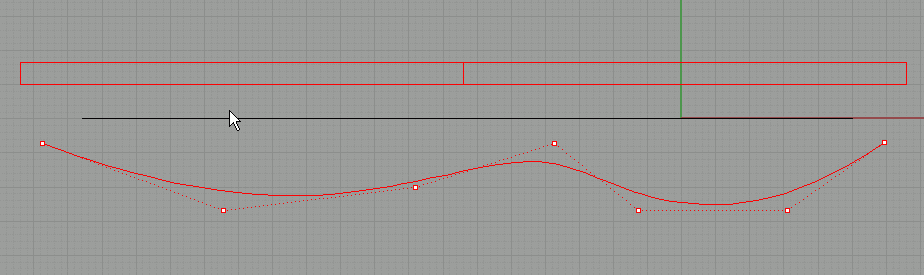
In the right view, draw a curve similar to this one. Use the 'control point curve' tool, don't mind about how accurate it is at first , we will adjust this later on. Don't use too many points! I used only 7 points.
Turn on control points for this curve.
|
Adjust the points by moving them in the right view until the shape looks smooth and clean. Make sure you don't accidentally snap to other curves while you are moving these points!
|
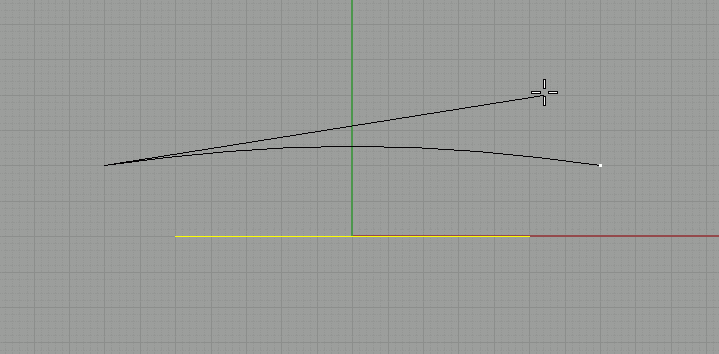
Select the arc you created earlier to create the top surface, and mirror it like this:
|
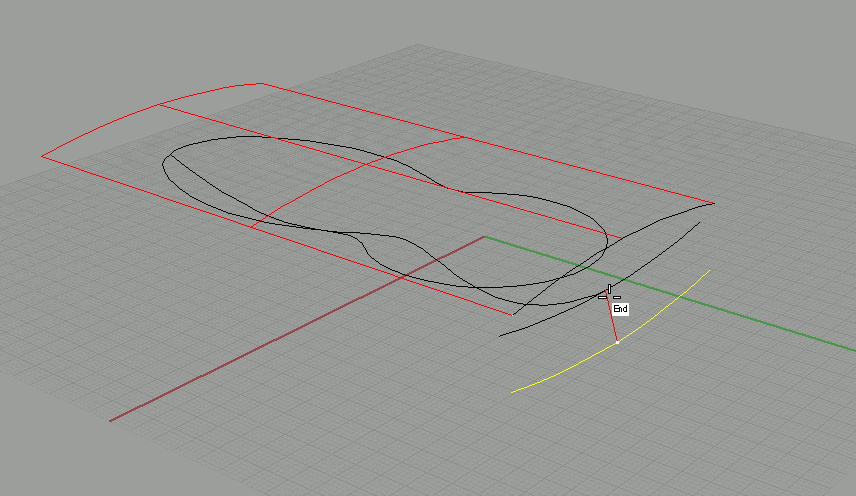
Use 'transform-move' together with object snaps to move this curve. You should move it from its midpoint, and move to the endpoint of your bottom curve (see image). |
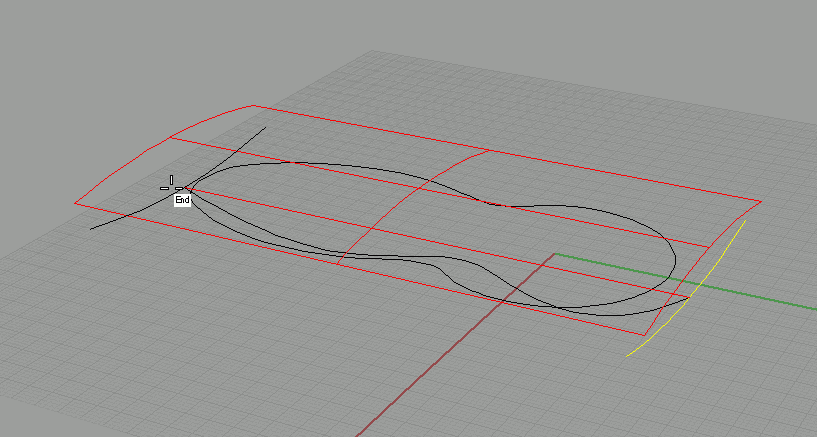
Now use 'transform-copy' to copy this curve to the other end of the bottom curve. Again, use object snaps for this!
Select this copied curve. |
|
| Page 1 - Page 2 - Page 3 - Page 4 |
| Back to Rhinoceros tutorials page |