Accurate 2D drawing with Rhino 3D - tutorial p2 |
| |
Please don't translate or copy these tutorials elsewhere. I don't like the tutorials to float around in 10 different versions and places on the net. Feel free to link to this page of course! (see also Terms of Use) |
| Back to Rhinoceros tutorials page |
|
|
| Page 1 - Page 2 - Page 3 |
| |
If you discovered this Rhinoceros 3D tutorial page through a direct link or search engine, please note that you're on page 2 of the tutorial! Please complete the previous page first if you haven't done so. |
Select both lines |
We will copy/rotate them two times by using the polar array function.
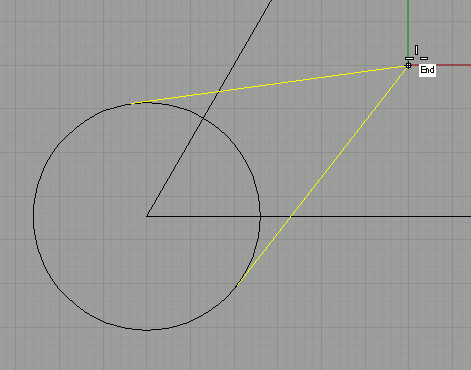
Go to transform/array/polar. You already selected the objects you want to array, so the command line will automatically ask you for the center point of the array. With end snap on, click on the corner of our two lines.
Then enter the number of times we want to copy the objects. In this case, enter 3.
Then enter 360 so the polar array will be built over 360° (a full circle). |
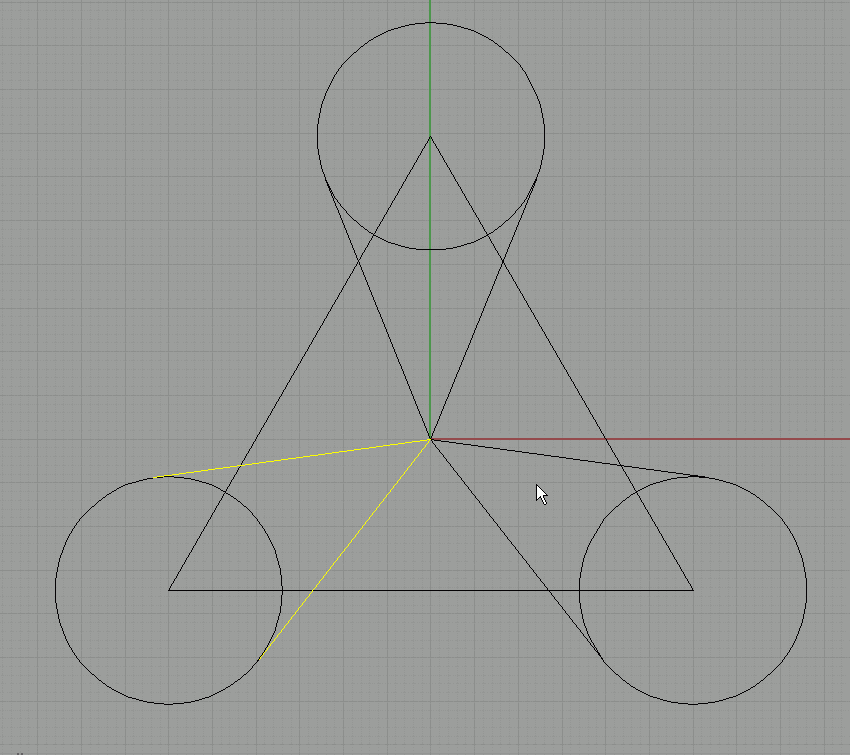
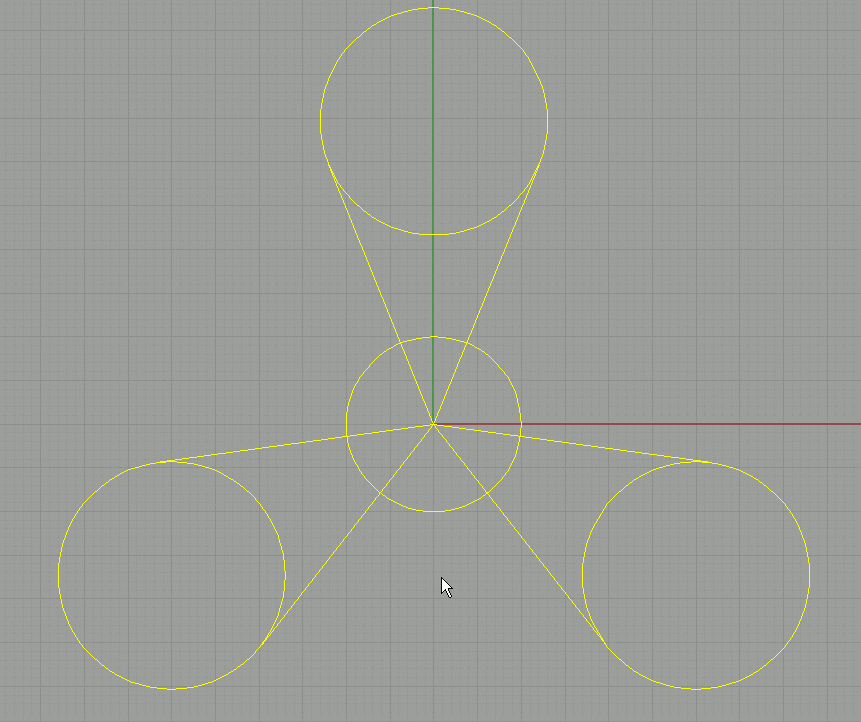
This should be the result. |
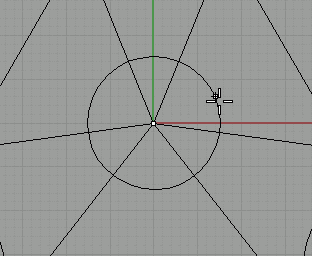
Next draw the inner circle with radius 10. Make sure you start to draw from the center by using grid snap or end snap!! |
Select the triangle and click the 'hide' button to get it out of the way. |
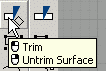
Select all the curves. |
Click the trim button. |
Now click on all the parts that should be removed. The result should be as in the image. When you're done, hit enter to shut down the trim command. |
While all curves are still selected, click the join button to attach all segments to each other. |
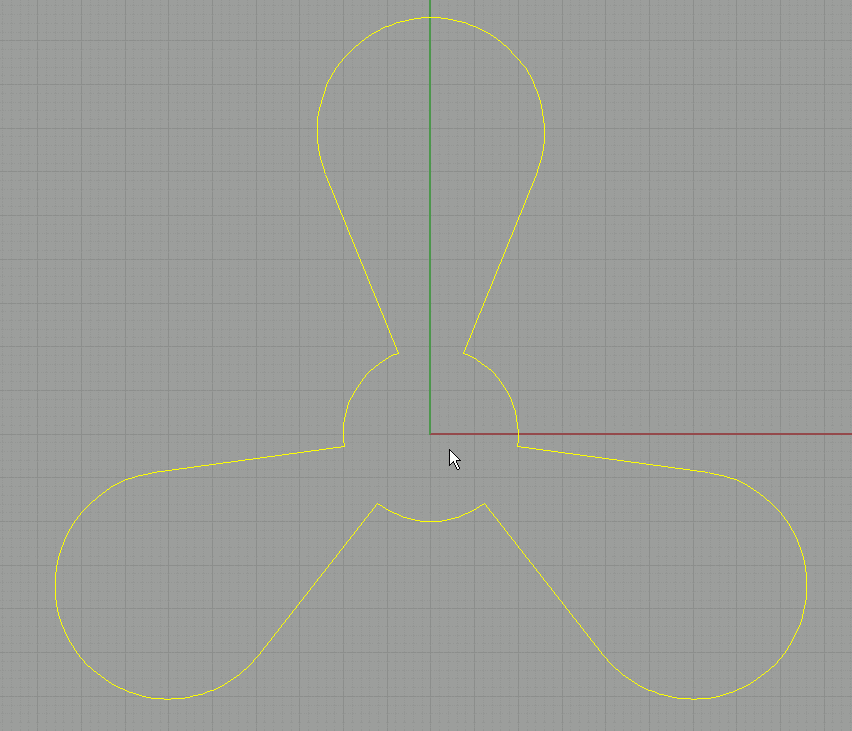
Right click on the hide button to unhide all objects. In this case, the triangle was hidden and will be visible again. |
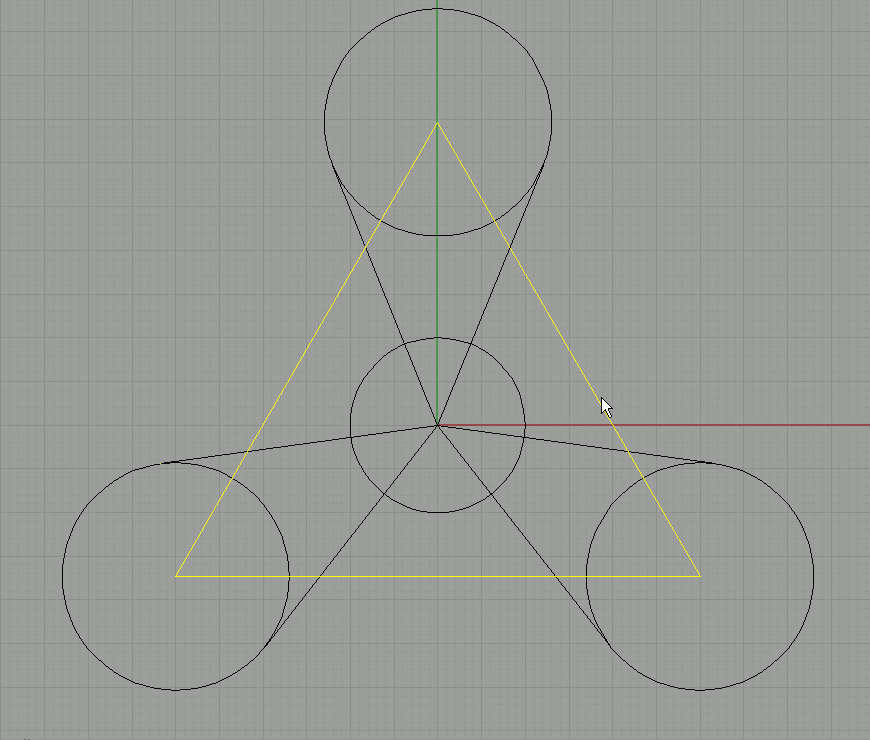
Draw a circle with radius 9 on the corners of the triangle (use end snap!). |
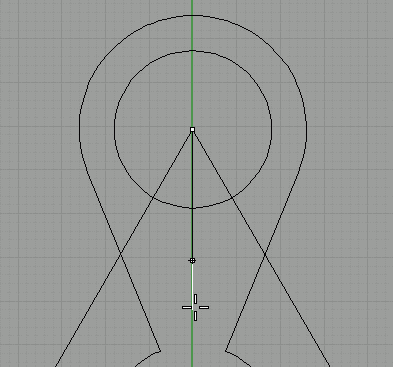
Use the polyline tool to draw a line from the center point, 15 units long, downwards. This is a guide for our next circle. |
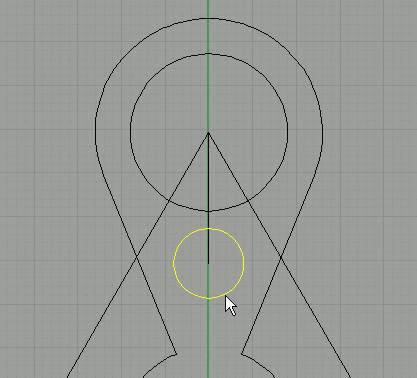
Use end snap to draw the small circle with radius 4. |
| Page 1 - Page 2 - Page 3 |
| Back to Rhinoceros tutorials page |
|