Accurate 2D drawing with Rhino 3D - tutorial p3 |
| |
Please don't translate or copy these tutorials elsewhere. I don't like the tutorials to float around in 10 different versions and places on the net. Feel free to link to this page of course! (see also Terms of Use) |
| Back to Rhinoceros tutorials page |
|
|
| Page 1 - Page 2 - Page 3 |
| |
If you discovered this Rhinoceros 3D tutorial page through a direct link or search engine, please note that you're on page 2 of the tutorial! Please complete the previous page first if you haven't done so. |
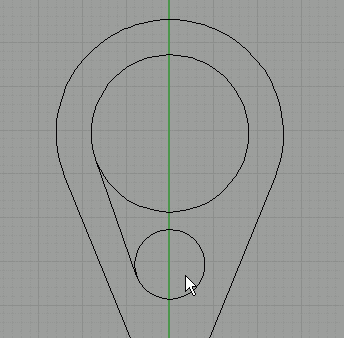
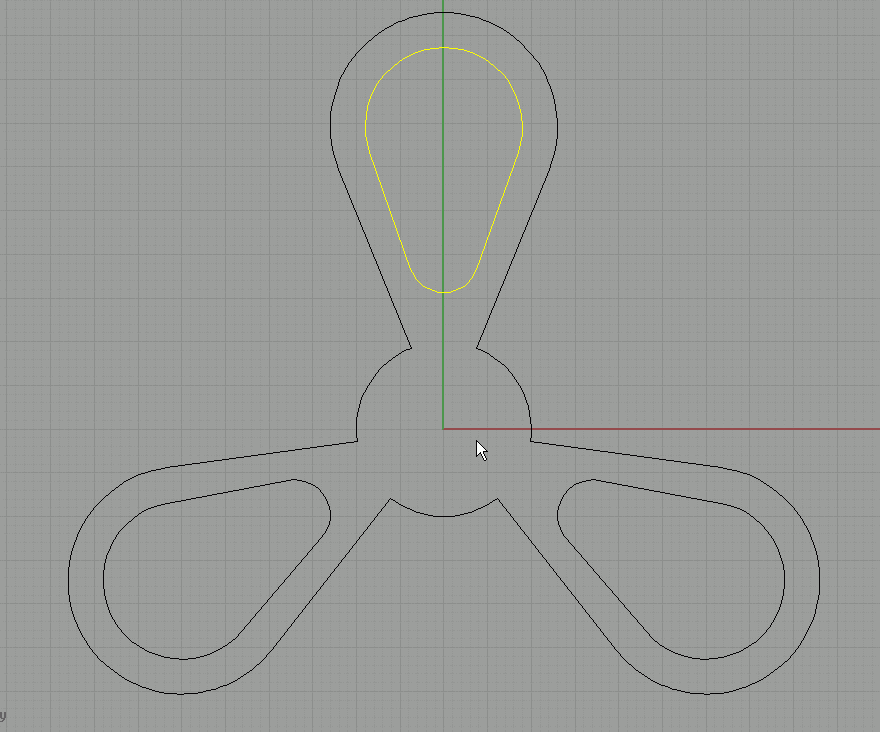
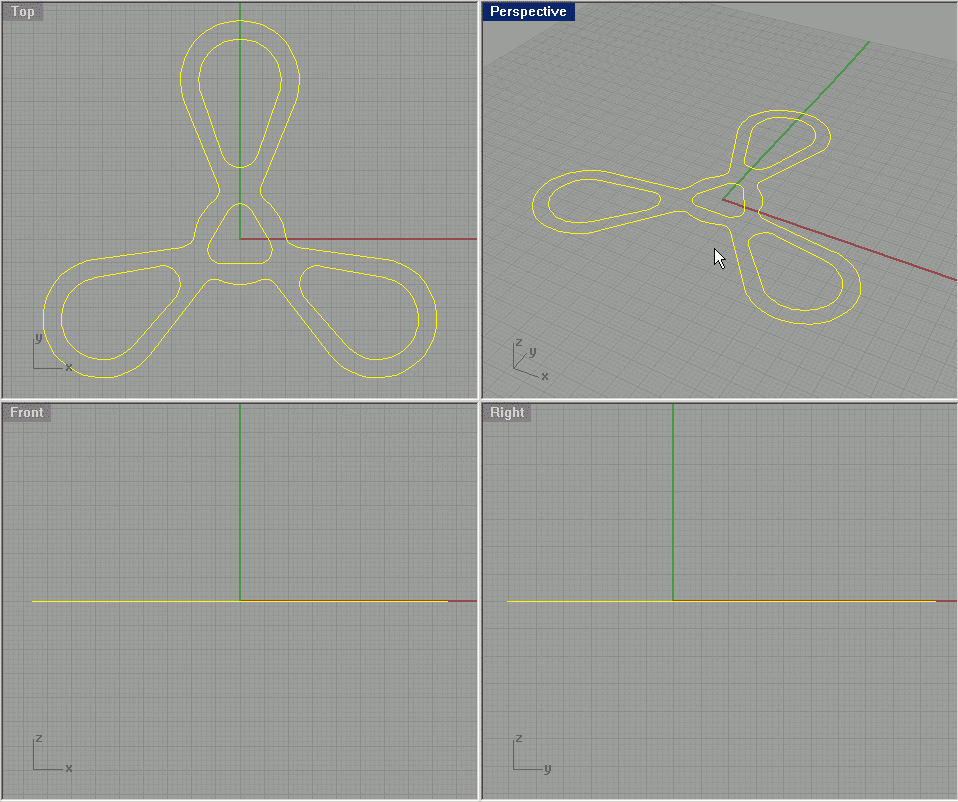
Delete the other two circles, we will first make the whole shape on the top and later array it over to the other two corners. |
Hide the rectangle and our small 15 units long line.
Next, go to 'curve/line/tangent to 2 curves'.
Click near the tangent point on the first circle, then do the same on the other circle for the second point. |
Do the same on the other side. |
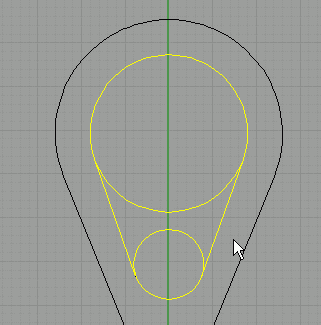
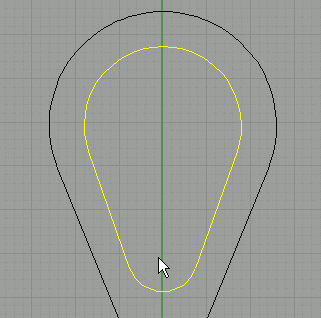
Select all these curves and use trim to cut away the inner parts. Join these curves into a single curve. |
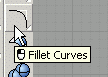
Use polar array to place this shape in the other 2 places. |
Click on the fillet curves button. |
Click on the radius option and enter 3. Also make sure you set the join option to yes. |
Fillet all the sharp corners by clicking on the two lines that make up a corner. |
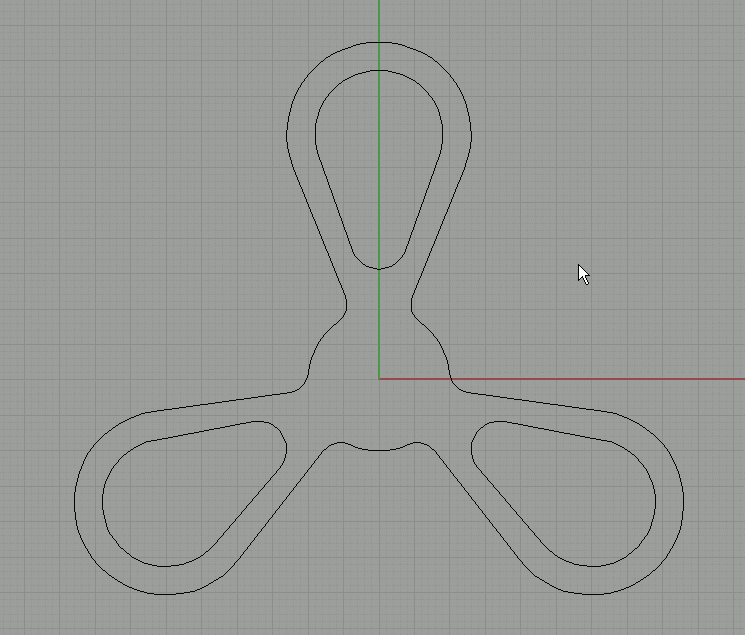
Again draw a triangle with and edge length of 18.5 units. |
Place it in the center. |
Fillet the corners with a radius of 3. |
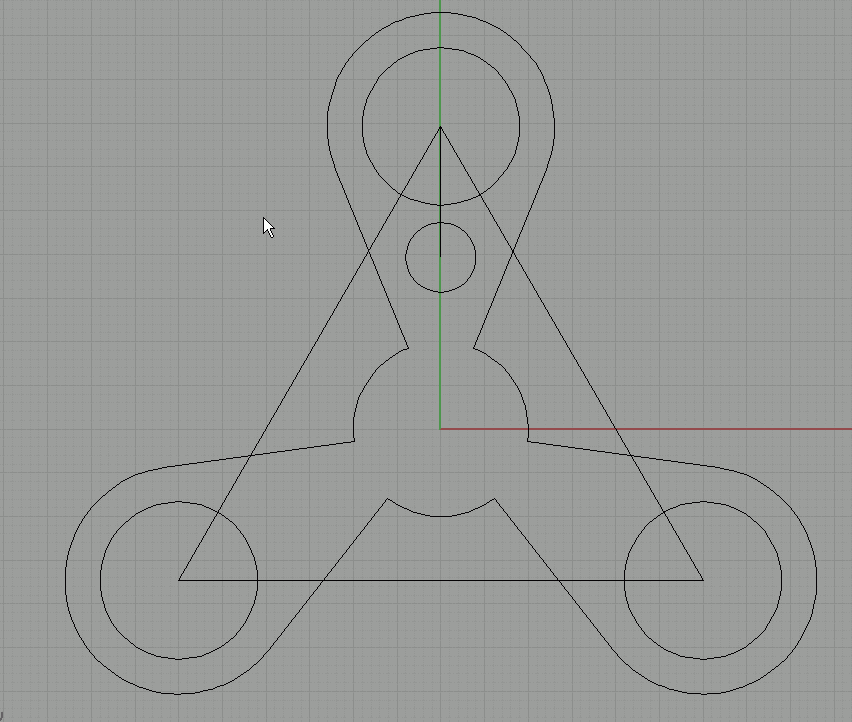
This is the final shape. |
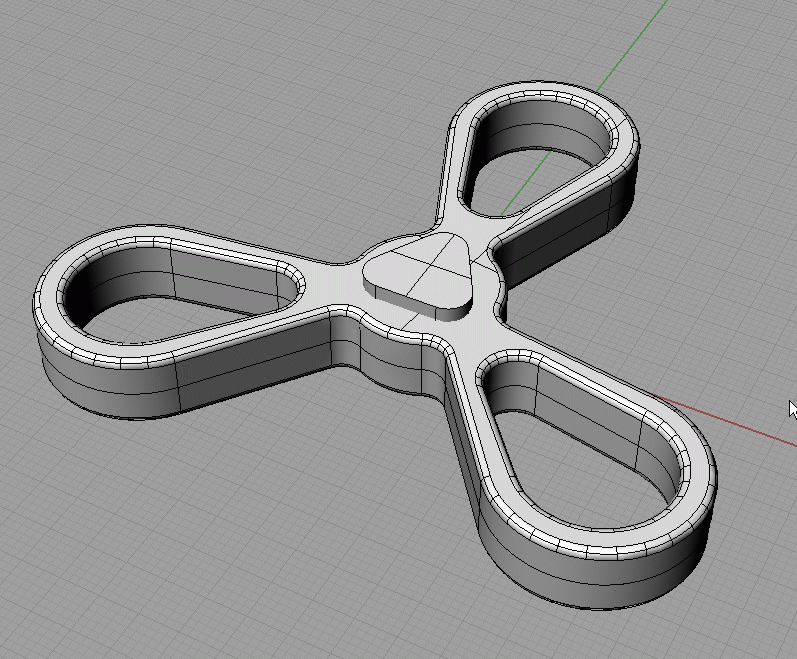
Experiment with some extrusions and boolean operations to make a 3d shape out of it. |
| Page 1 - Page 2 - Page 3 |
| Back to Rhinoceros tutorials page |
|