Modeling a trackball mouse with Rhino 3D - tutorial p4 |
| |
Please don't translate or copy these tutorials elsewhere. I don't like the tutorials to float around in 10 different versions and places on the net. Feel free to link to this page of course! (see also Terms of Use) |
| Back to Rhinoceros tutorials page |
| |
| Page 1 - Page 2 - Page 3 - Page 4 - Page 5 |
| |
If you discovered this Rhinoceros 3D tutorial page through a direct link or search engine, please note that you're on page 4 of the tutorial! Please complete the previous page first if you haven't done so. |
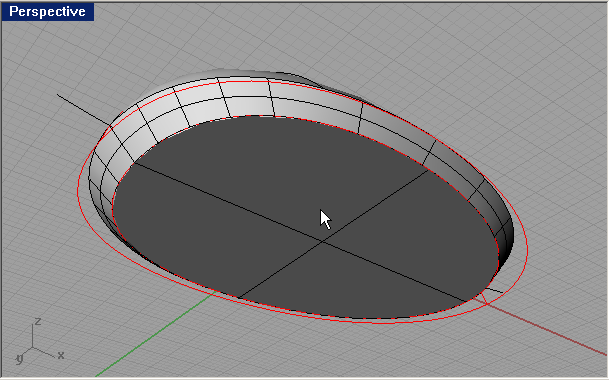
| Select the joined surface and use 'solid---cap planar holes' to close it at the bottom. (a planar hole is a hole of which edges all lay in one plane). |
Now we have our basic main shape of the mouse. This is a good time to make a copy of this surface and store it in another layer, so you can always go back to this stage if something goes wrong in the next steps.
Select the polysurface and use 'copy' (ctrl+c) and 'paste' (ctrl+v) to make an exact copy in the same location. Move this object to another layer with the 'change object layer command'. Then turn of that layer where you have put this object and rename it to 'spare parts'.
Use the same technique to move all your curves to the curve layer. Also turn this layer off. Moving your curves to another layer is better than simply deleting them, you never know when you need your original curves again! |
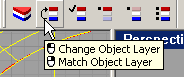
Use fillet edge command from the solids menu to fillet the sharp edges of the polysurface. (don't use very large fillet radius or it won't work!) |
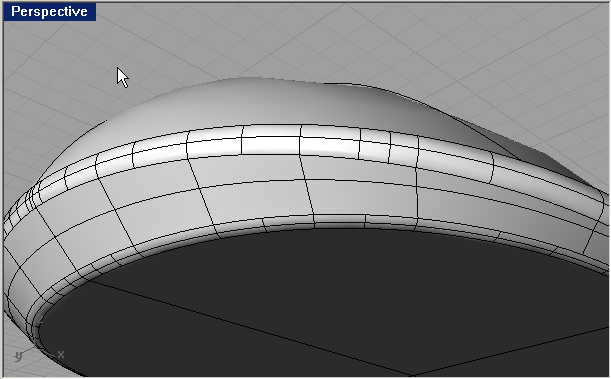
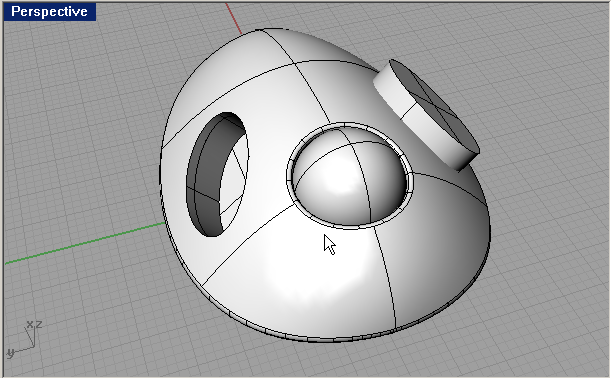
Now we will create the trackball.
In front view, draw a sphere. Give it a radius of your choice and place it somewhere half inside the big volume. (stay in front view!!)
If you draw in front view, you are sure your sphere will stay in the XZ plane, so it will stay perfectly centered. Remember we are drawing a perfectly symmetrical mouse here, so extreme accuracy is needed. |
Now we will use the solid---difference command to cut the ball out of the mouse. Select nothing, then go to solid-difference. First you have to select the surfaces that will be cut (=our mouse volume), hit enter. Then you need to select the cutting surfaces (the trackball). Click on 'delete input=yes' to change it to 'no'. By doing this, the sphere will not be deleted after the difference. Complete the difference. |
Hide the sphere and fillet the edges. Unhide the sphere and shade everything to see the result. It should look like this: |
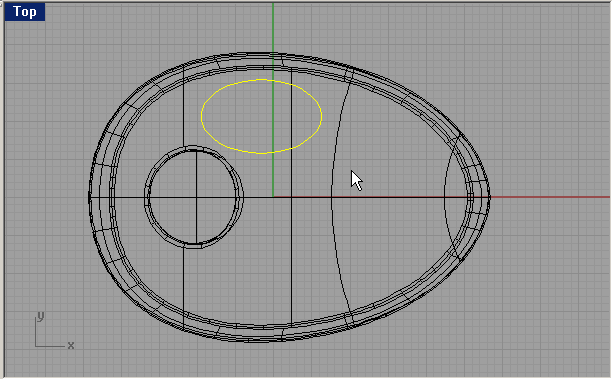
Now we will create the buttons.
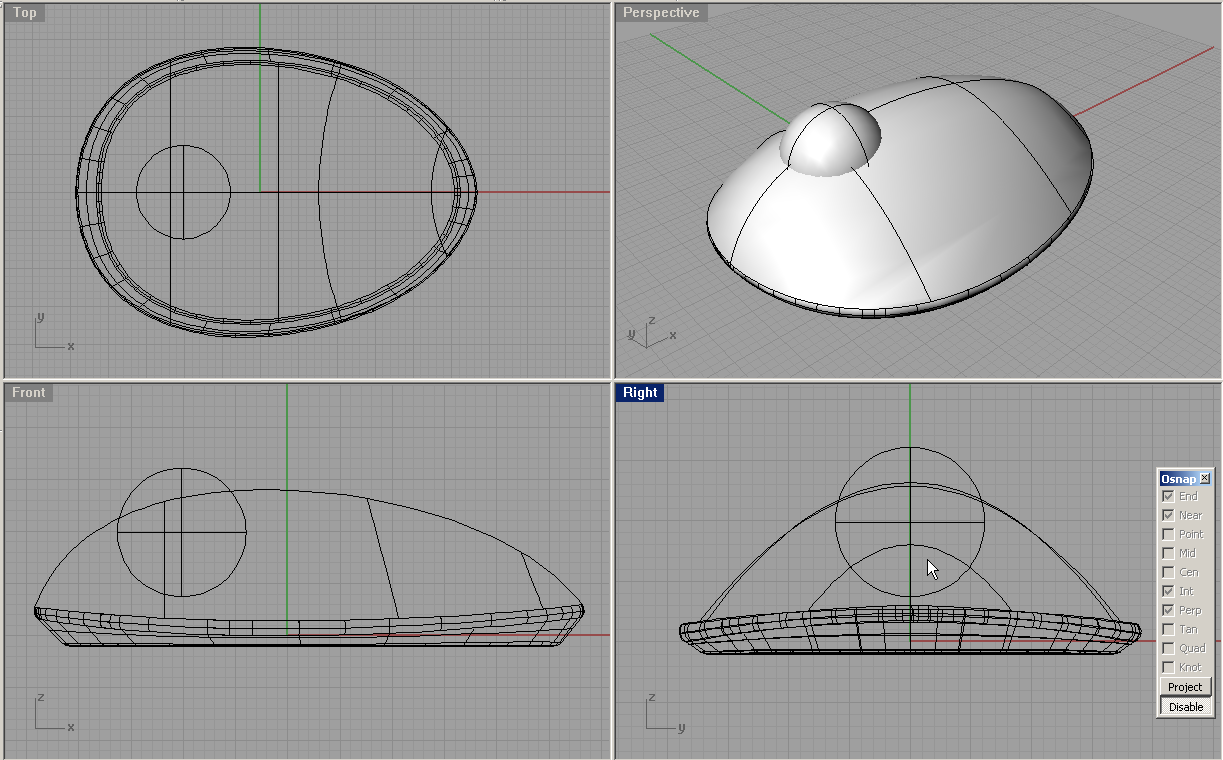
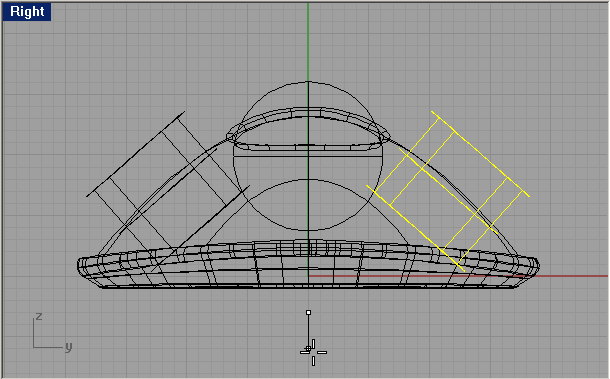
Draw an ellipse (with the ellipse tool!) in the top view like this: |
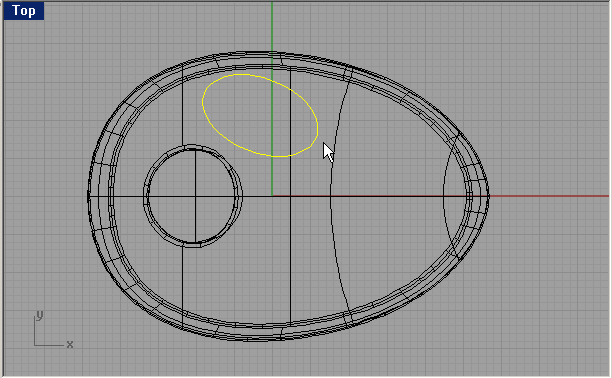
Use transform-rotate to rotate it in top view like this: |
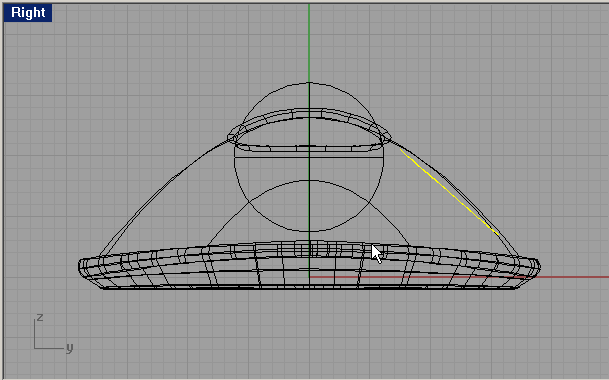
Now in right view move and rotate it like this: |
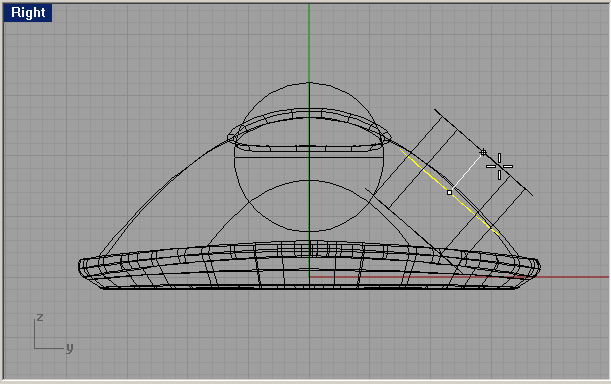
Use "solid-extrude solid-straight" and turn on both sides and extrude like this: |
Use mirror to mirror this solid to the other side, remember to use grid snap to maintain perfect symmetry!!! |
Use solid difference and cut out this solid out of our mouse using delete input=no |
|
| Page 1 - Page 2 - Page 3 - Page 4 - Page 5 |
| Back to Rhinoceros tutorials page |