Photoshop Free Tutorial - lens effect: specular bloom |
| |
Please don't translate or copy these tutorials elsewhere. I don't like the tutorials to float around in 10 different versions and places on the net. Feel free to link to this page of course! (see also Terms of Use) |
| |
Before you start
This tutorial assumes a basic photoshop knowledge. It is however a very easy to follow and small exercise.
Specular bloom, glows or flairs usually appear in real photography around very bright objects. This can have various reasons, and is sometimes even done on purpose to give the image something extra. In CG it is very hard to render in one pass, but is very easy to do in post. That is what we will do here, with the help of Adobe Photoshop. Any other digital imaging package will probably be able to do the same thing though. In many renderers this is also available as a post process filter.
|
|
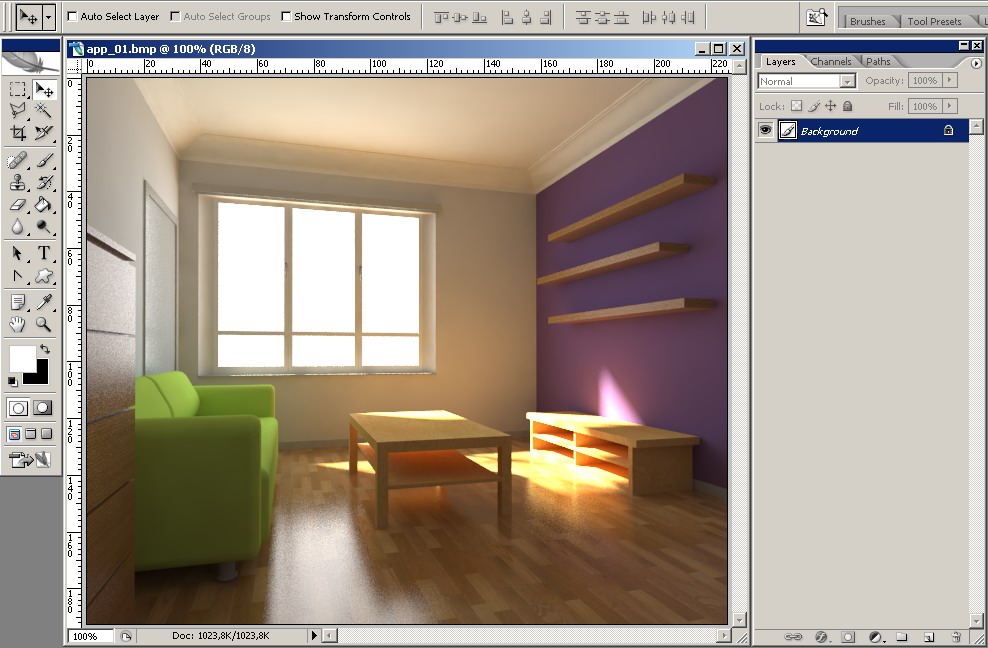
Start by opening the original untouched rendering in Adobe Photoshop. You can download the image here, or use your own image to start with. |
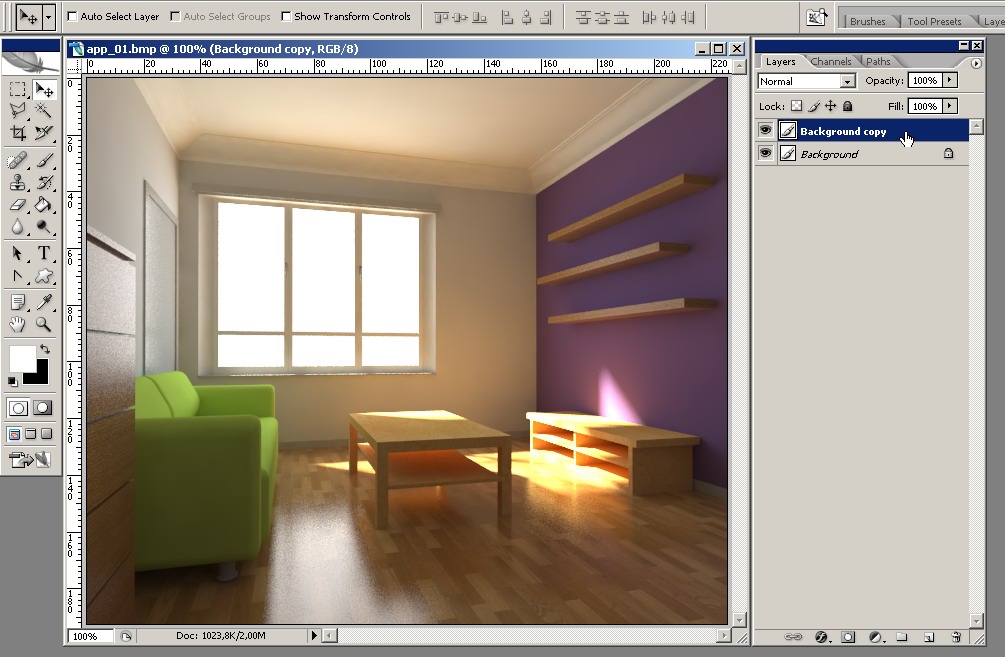
First duplicate the only layer by dragging it to the 'new layer' icon at the bottom of the layer palette. |
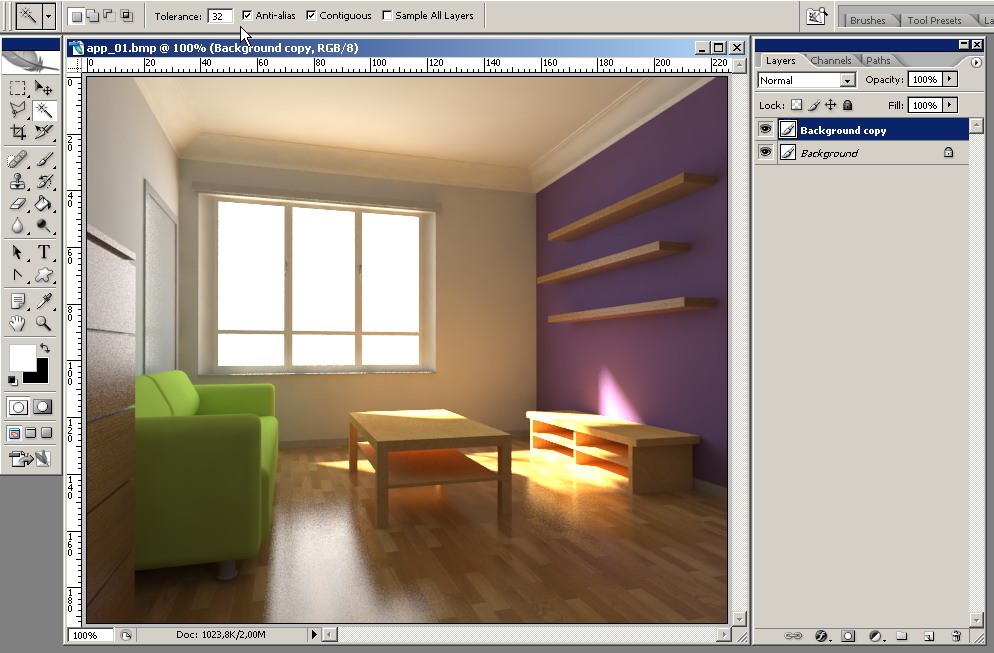
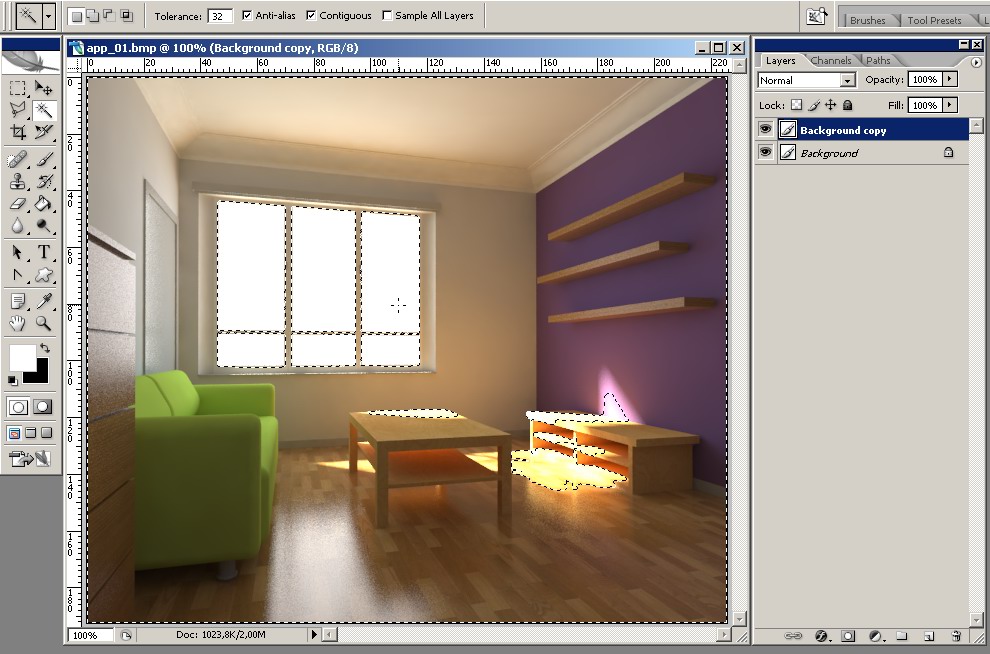
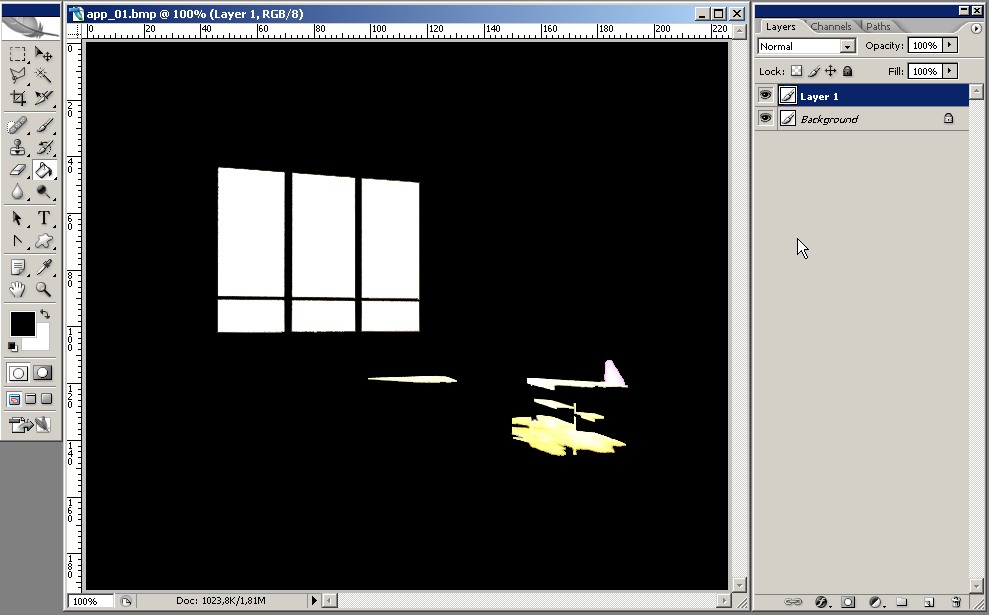
Select the magic wand tool, and look at its settings. I used the default tolerance here, but you can adjust this as you wish. We will use this tool to make a selection of some bright parts in the scene. For example click inside the white of the window. To select additional parts, hold down shift while you click. |
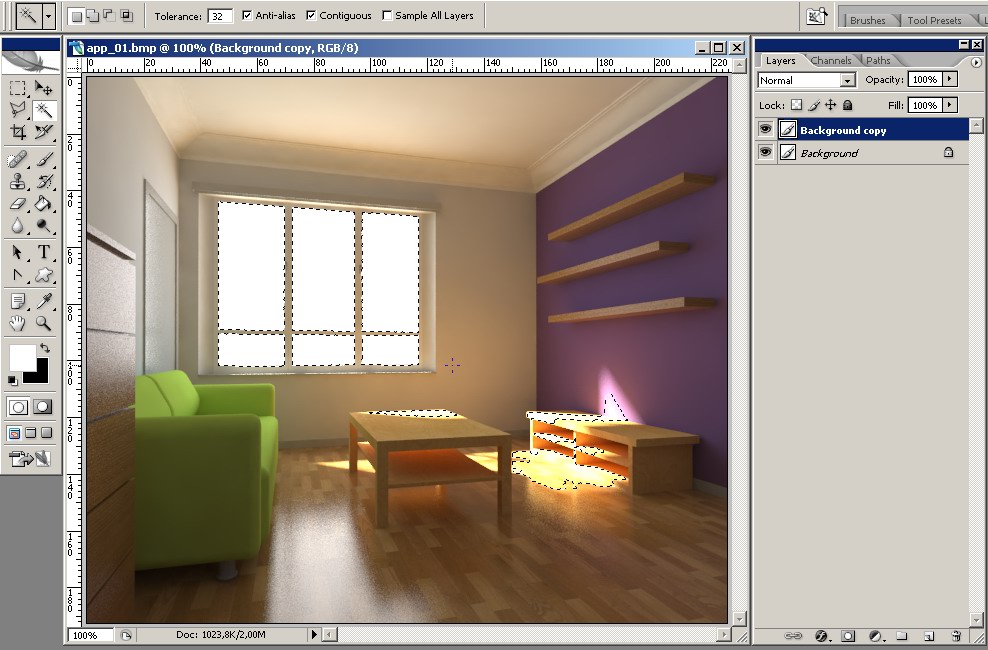
This is what I selected (click image to enlarge!). |
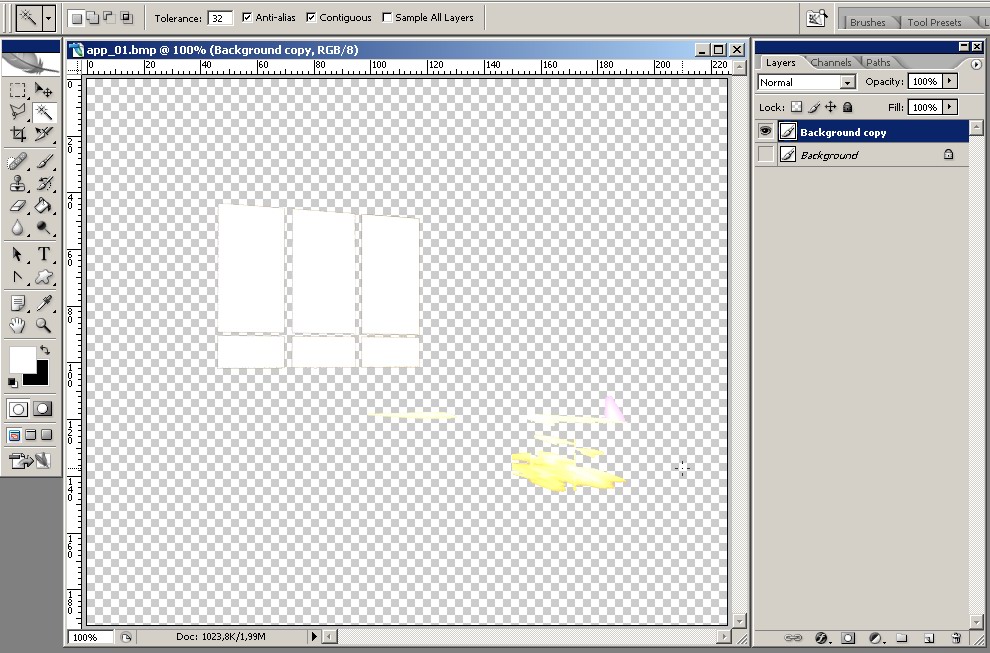
Press ctrl+shift+i on your keyboard. This will invert our selection. |
Turn off the bottom layer, make sure the top one is still selected and hit delete. Everything is deleted, except for our original selection. |
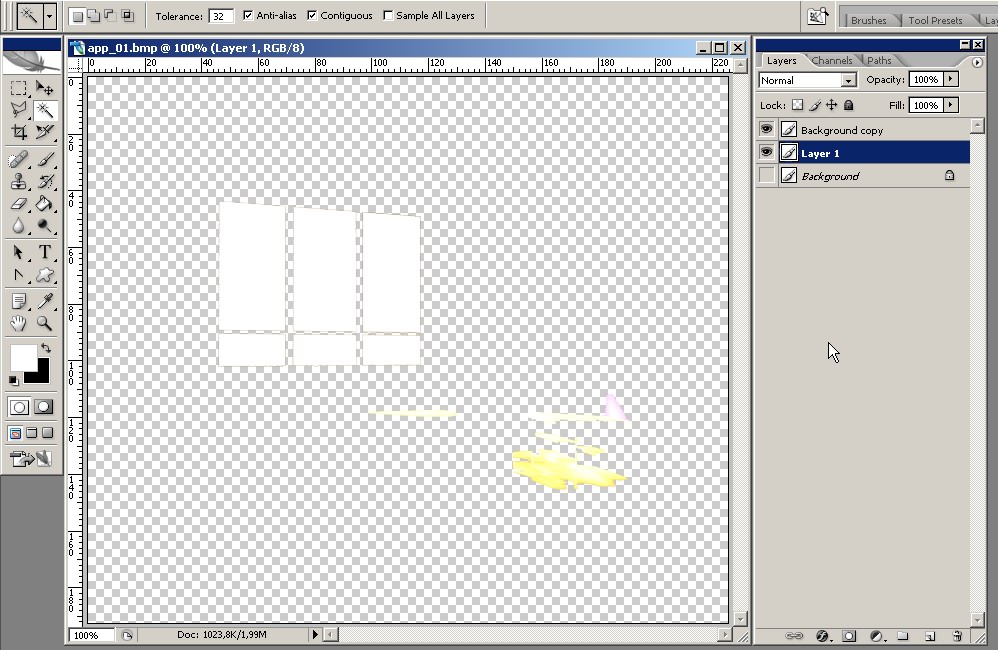
Create a new layer, and make sure it sits between the two existing layers. |
Fill this new layer with a pure black color. |
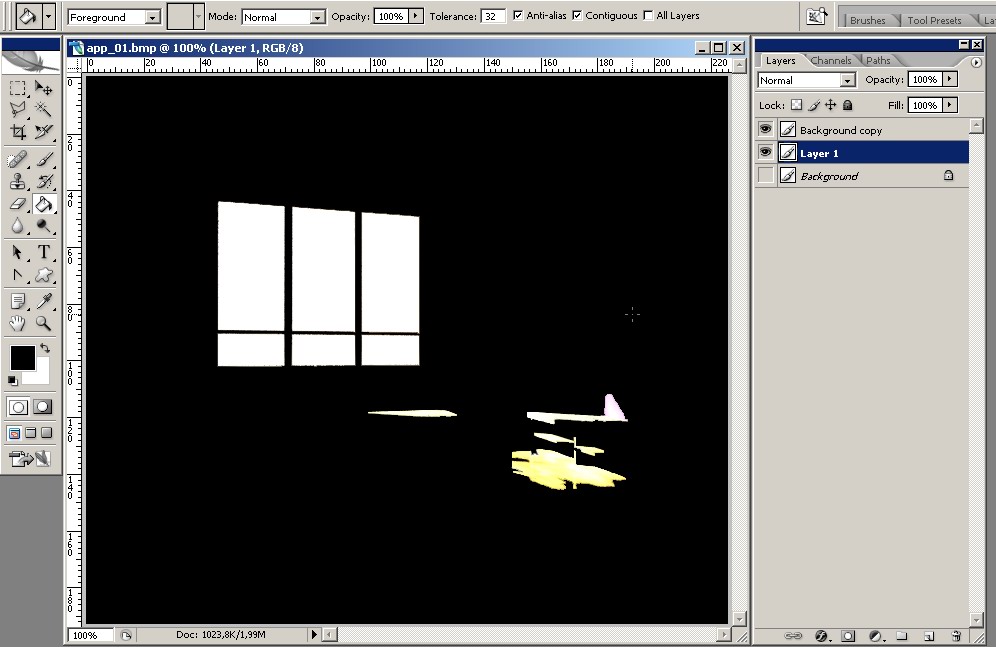
Merge the top layer with the black layer. |
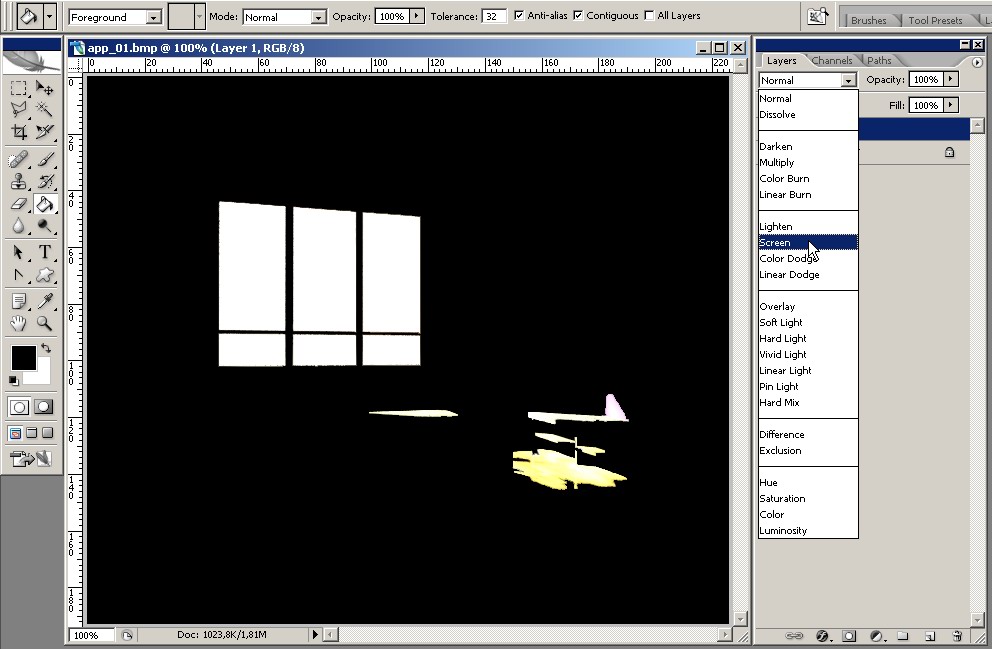
With the top layer selected, change the blending type of this layer to 'screen'. |
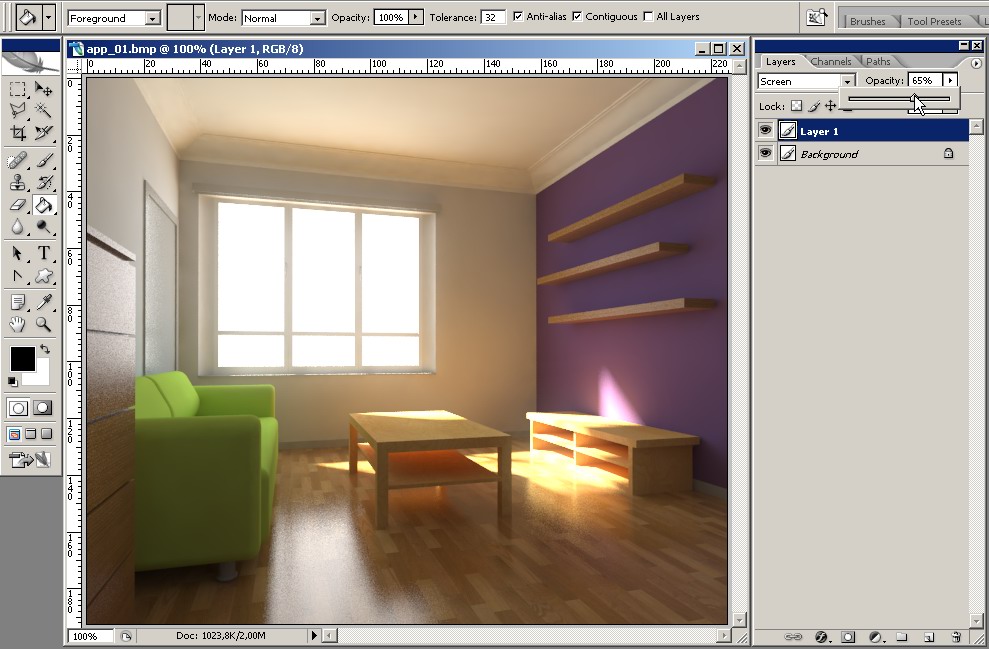
Now the magic will happen :-)
Go to 'filter-blur-gaussian blur'. Use the slider to adjust the size of the glow. Press ok if you're satisfied. |
As a final tweak, use the opacity slider of this blurred layer to control the amount of glow. You shouldn't overdo it, a subtle glow is usually best. |
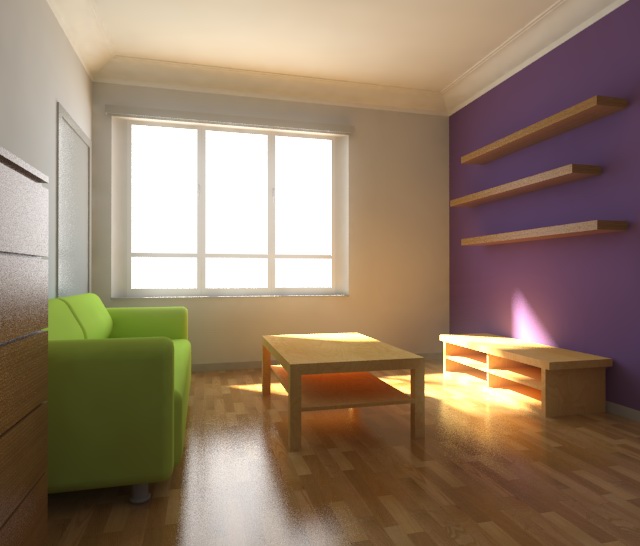
This is the final image.
If you want, you can use different layers for different parts. For example I could have used a different layer for the windows, so that I could blur them more than the sunny parts in the image.
You can use the same technique to let lights glow, or to let highlights on products glow. |
| |
| |
| Back to Photoshop tutorials page |