FREE Vray Tutorial - Render glass and liquid [3] |
| |
Please don't translate or copy these tutorials elsewhere. I don't like the tutorials to float around in 10 different versions and places on the net. Feel free to link to this page of course! (see also Terms of Use) |
|
|
Before you start
If you discovered this Vray tutorial page through a direct link or search engine, please note that you're on page 3 of the tutorial! Please complete page 1 and page 2 first if you haven't done so. |
|
| Page 1 - Page 2 - Page 3 |
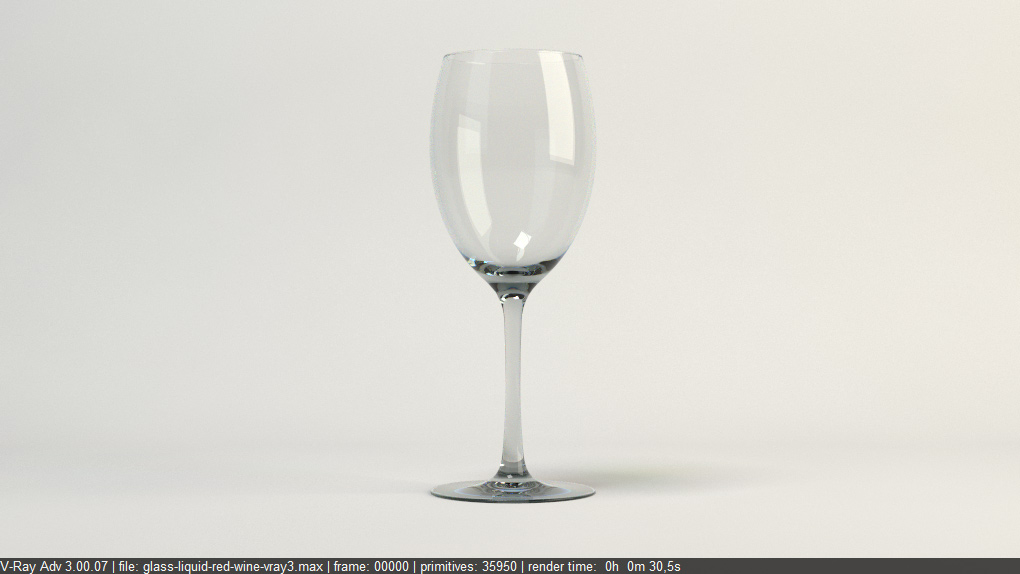
Empty the glass
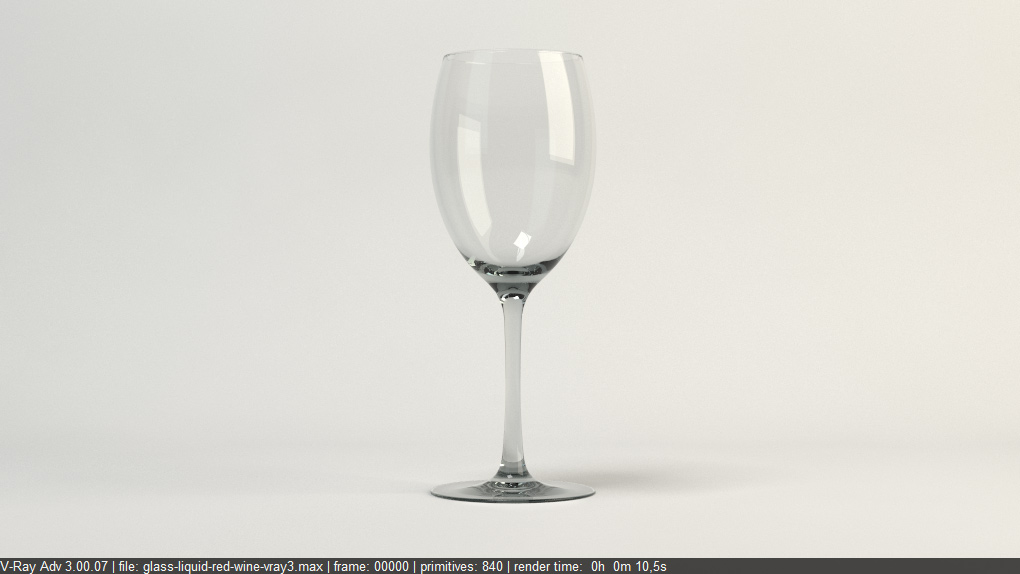
Select and hide the 'water' object. Hit render and you should get an image of an empty glass again.
|
Dispersion
Dispersion is a subtle effect seen sometimes in pictures of glass, where the glass will color like a rainbow in some areas.
I will not go into detail why this effect occurs, we have wikipedia for that:
http://en.wikipedia.org/wiki/Dispersion_(optics)
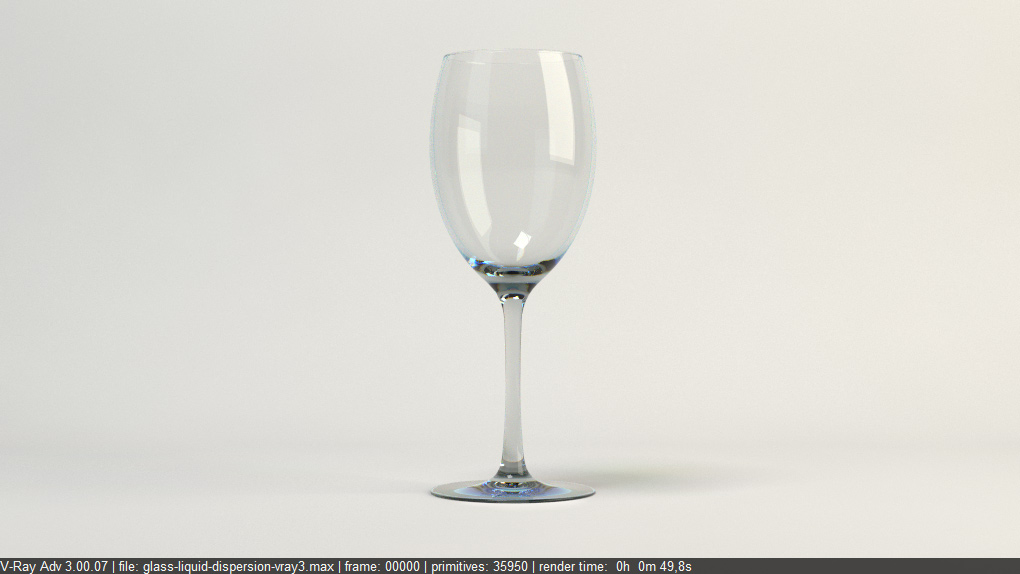
Since V-ray 2.0, rendering dispersion is as easy as ticking a checkbox! So that's what we'll do, just enable the dispersion checkbox and hit render.
Note that the effect is very subtle, and render times increase a lot (10s vs 25s).
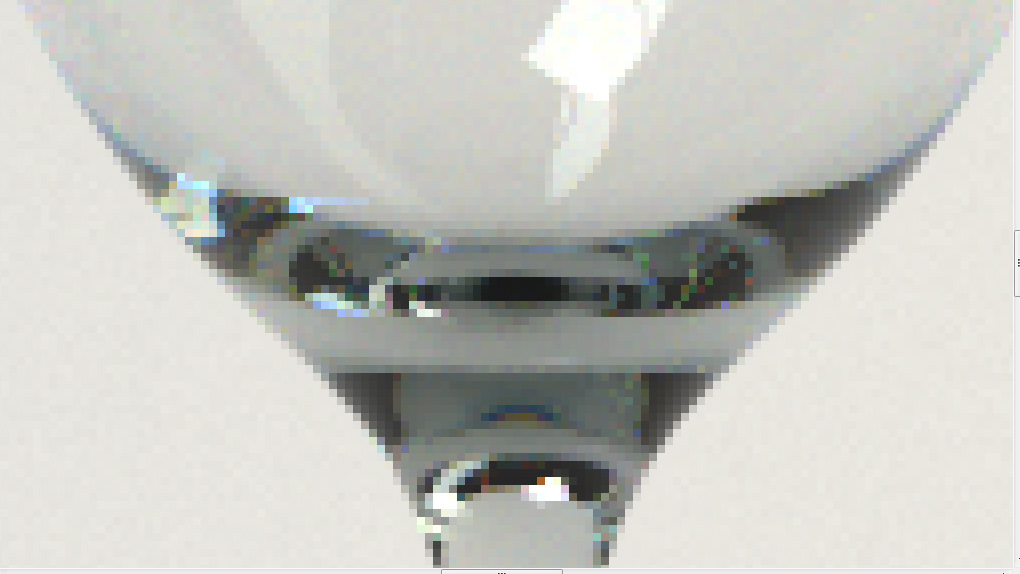
When zoomed in, the effect becomes more visible. Even though the effect is subtle, it will add to the realism of your image. Especially if you're doing close ups in highres, dispersion can be very beatifull.
|
Dispersion - abbe
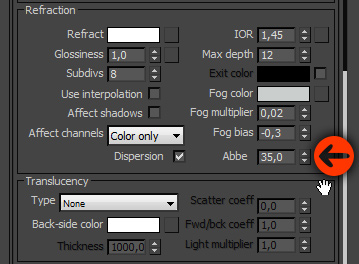
Dispersion only has one setting: abbe. Lower it to 10 and render. You'll see the effect becomes more visible now, but a bit too much.
|
Final render
Set abbe to 35, to get something in between.
You can find this end scene here. |
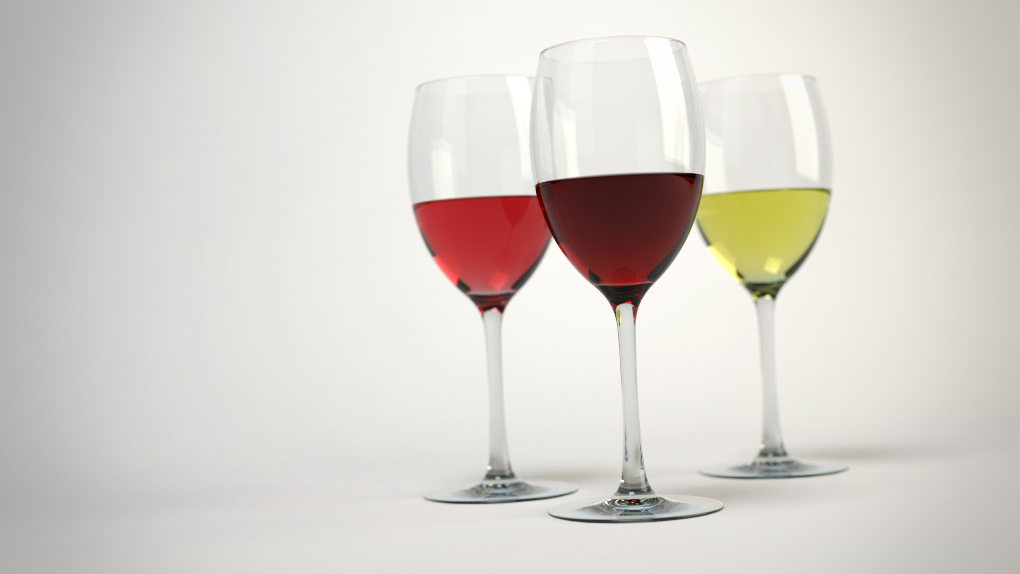
Play around with the scene
Here's an extra scene with a few copies of the glass and wine.
We changed the materials slightly to create 3 types of wine. Added a different camera angle, used some vray DOF to focus on the front glass and then added a little bit of contrast and a vignette in photoshop.
Also the render settings have been altered for higher quality. Note that this image rendered 11 minutes, while the previous one was only 30 seconds. So depending on your machine this scene can take a while to render.
You can download this final max scene here.
Or download the PSD file with layers here.
|
|
| Page 1 - Page 2 - Page 3 |
|
| Back to Vray tutorials page |
|