FREE Vray Tutorial - Vray rollouts: a basic overview |
| |
Please don't translate or copy these tutorials elsewhere. I don't like the tutorials to float around in 10 different versions and places on the net. Feel free to link to this page of course! (see also Terms of Use) |
|
|
Before you start
This tutorial is a brief overview of all the rollouts that Vray adds to the 3DS Max render dialog. It's not intended to explain all the settings, the goal is to introduce you to all the rollouts so you know what to find where. Even if you don't understand everything, it is important you become familiar with some terms so that when you come across it later on, it will ring a bell.
This tutorial was created with Vray version 3.0, please do not email me with questions about this tutorial if you are using a Vray version prior to V-ray 3.0, since the answer to your question is most likely that you're using a older version.
First learn 3D Studio Max, then start with Vray. It is an extension to 3DS Max, not a replacement! For example things like the material editor, creating and manipulating objects, modifiers etc should all be familiar before trying to learn Vray. |
|
 |
Rollouts in different tabs!
Since Vray 3.0, the position of the rollouts have been changed. Users coming from V-ray 2.4 or lower will need some time to adjust!
As you can see in the image below, there are 3 tabs that belong to Vray:
- Vray
- Indirect illumination
- Settings
|
Basic - advanced - expert
Vray 3.0 also tries to make artists life a bit easier by only showing the most important settings. In many of the rollouts, you'll find a button saying 'basic'. You can click it to cycle through 3 versions: basic, advanced and expert.
In this introduction tutorial, we're just showing screenshots of the 'basic' settings. You'll notice that in most other tutorials we'll be using the expert mode. Not because we'll need all these expert settings, but simply to have full control over every parameter when needed.
|
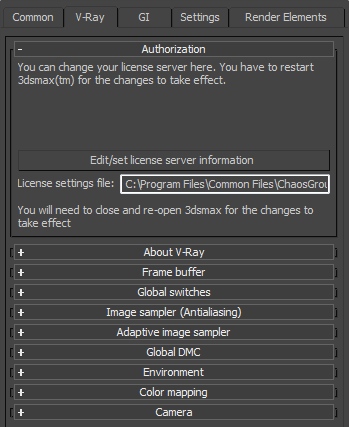
Vray Authorization
The authorization rollout is used to correctly set your VrayLicense server information. This is something you normally should only do once, just to make sure Vray can access your license. If something is wrong, you'll notice that no other Vray rollout will show any information. Please refer to the installation instructions for more information.
|
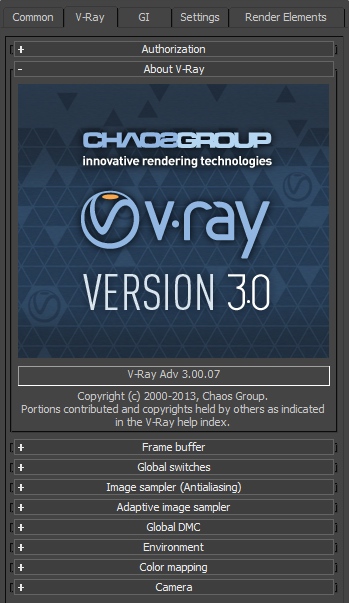
About Vray
Some copyright info :-) Useful if you don't know what version you have installed!
|
Vray Frame Buffer
Vray has its own frame buffer, that can replace the max VFB. The virtual frame buffer is the window that holds you render, from where you can save your image. Since Vray 3.0 this will be selected by default, so you shouldn't worry about it too much.
With the Vray VFB, you can do lots of stuff like color corrections for example. It can also show different render elements (like the alpha channel), you can even control how buckets are rendered by letting them follow your mouse!
This rollout also allows you to render to the specific V-ray raw image file format, usefull for advanced users. Many users will never touch this rollout, as it takes the resolution settings from max (found in the Common tab).
|
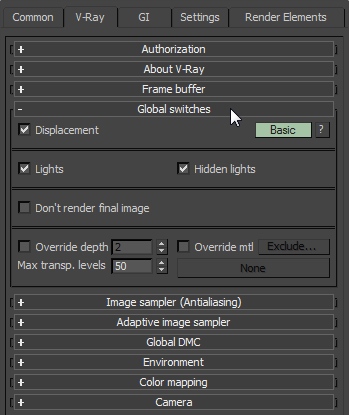
Vray Global switches
Title says it all, a lot of global 'switches' can be found here. A useful tab for test renders, for example with one checkbox, you can turn off displacement in the scene, or all textures, or all lights, glossies, etc... Also a very good one is the override material button. You can assign a material to all your scene objects at once, very useful for troubleshooting a scene, or to evaluate pure lighting.
|
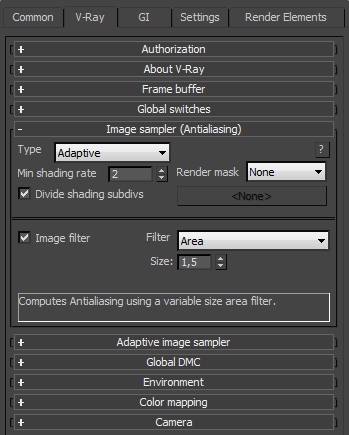
Vray Image sampler (anti-aliasing)
I already briefly explained what anti-aliasing is in the 'What is V-ray' tutorial. This is one of the most important rollouts regarding image quality. The image sampler smooths out your image so you don't get jagged edges, or noisy shadows or reflections etc...
You can choose between 4 image samplers, of which the Adaptive is the most useful 99% of the time. That's why it is now set as the default method. Adaptive subdivision can be usefull is some rare cases, but it is even announced that it may disappear in future versions, so better leave this one alone.
A special one is the new 'progressive' method. This is a special function inside Vray that used a 'progressive' approach to rendering instead of working with the usual 'buckets'. It very quickly displays a low quality image, that it starts to refine more and more. With this option you can very quickly see the global lighting and colors for the whole image, so it's usefull for test rendering.
On top of that, you can choose an anti-aliasing filter. Especially when dealing with fine textures, these can prevent what is called 'moire patterns'. Take a look in the Vray help files for more information about filters.
|
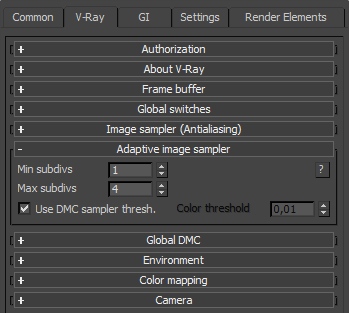
Vray Adaptive image sampler
This rollout only exists because in the previous rollout 'Adaptive' was selected. So this rollout changes depending on which sampler you choose.
It contains settings specific to the Adaptive image sampler, but in many situations the default settings work just fine.
|
Global DMC
This Global DMC rollout is one of the most important rollouts of them all!!! This is where you can turn a 2 seconds preview render into a 3 hour high quality image. These settings work together with the image sampler settings, and it controls the quality of EVERYTHING in Vray.
Changing values here has an effect on GI calculations, anti-aliasing, shadow quality, DOF, motion blur, blurry reflections and refraction, etc... Here's a more in depth tutorial on Image samplers and their effect on render times and quality.
|
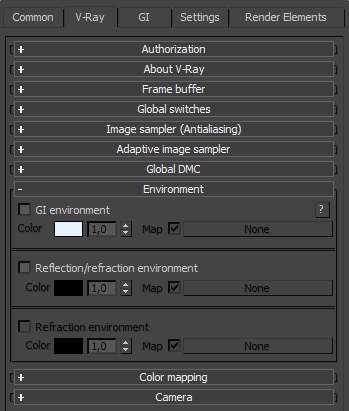
Vray Environment
Here you have 3 controls for your scene environment. Each can be controlled with a color or texture map, mapped to an 'infinite' sphere wrapped around the complete scene.
The first one is the GI environment, which needs Global Illumination enabled to work. It's also sometimes called 'skylight', as it is in fact a light source surrounding the scene, just like the sky would do. Simply choose a solid color, or add a texture map to the map slot, usually a hdri image. When turned off, the 3dsMax environment color is used for the GI environment.
Turn on the reflection/refraction environment if you want to use a different coloror texture map to show up in reflections/refraction.
To have even more control, you can also override the refraction environment by enabling this option.
|
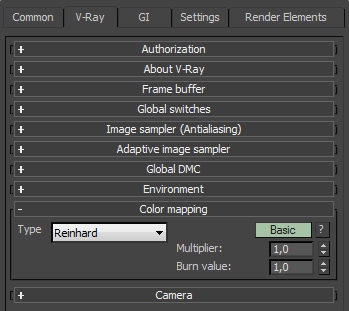
Vray Color mapping
Color mapping can apply some kind of color 'corrections' to an image. For example by choosing different types, you can prevent burnt out areas in your image created by bright lights.
The clamp output and sub pixel mapping options can be used to clamp pixels to the 0-255 range and can therefore help to better anti-alias very bright lights or reflections. (options only visible in expert mode)
Depending on the type you choose, color mapping can also be used to brighten or darken the complete image, instead of having to alter every light source in the scene.
Last but not least, there is also a gamma control, which is in fact very very important. See the Gamma 2.2 setup tutorial for more info on this! Since V-ray 3.0, gamma 2.2 is enabled by default, and should not be changed. That's why it will not show up in basic mode.
|
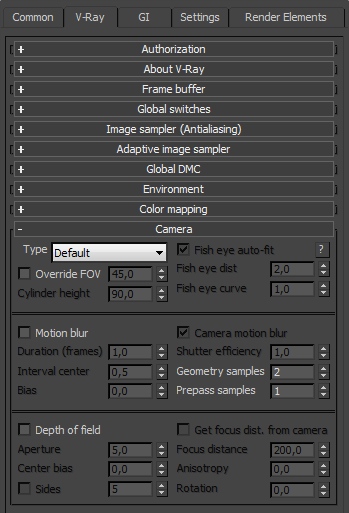
Vray Camera
Need a fish-eye, cylindrical or spherical camera? Here you can specify all this. These camera types override the settings of your camera in the scene.
This tab also controls depth of field and motion blur in your image.
DOF is the the effect when objects appear out of focus outside a certain range. This is caused by the camera's aperture, the bigger the aperture, the bigger the DOF effect.
Motion blur is caused by the shutter speed of the camera. With slow shutter speeds, moving objects will become very blurry. Mostly used in animations, but it can be used in stills too of course (just like in real photography).
|
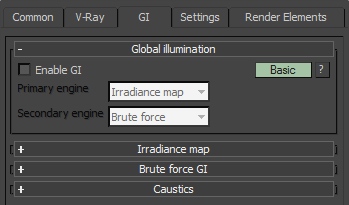
Vray Indirect illumination (GI)
GI or global illumination controls, very important to create realistic lighting. Please refer to this tutorial for more info on global illumination and the different methods used to calculate it.
|
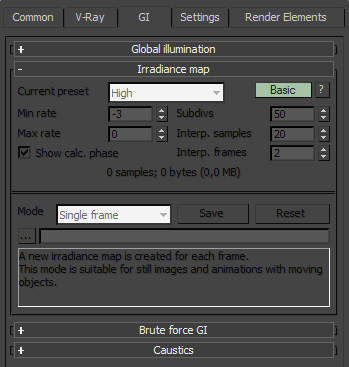
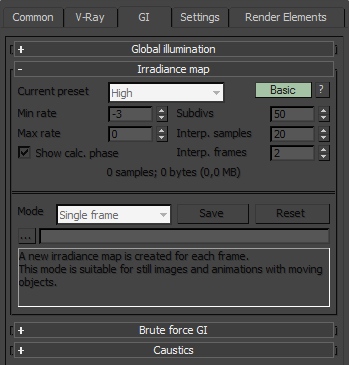
Vray Irradiance map
This is also a variable rollout. Depending on the GI engines you choose in the previous rollout this one will change. By default the Primary GI engine was Irradiance Map, so the IR map rollout is shown. Please also refer to the GI methods tutorial for more info.
A more in depth tutorial about all the IR map settings can be found here.
|
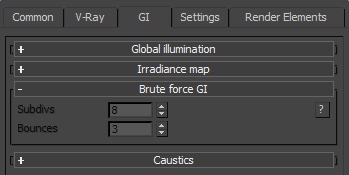
Vray Brute Force GI
yet another variable rollout, currently brute force is selected as the secondary GI engine so this will show up. Other secondary bounce rollouts can be Lightcache and photon map.
Please also refer to the GI methods tutorial for more info.
|
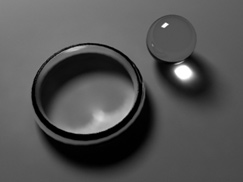
Vray caustics
Caustics are light patterns formed by refracted/reflected light. Take a look at the rendered image, these are caustics. There are two types of caustics: GI caustics and direct light caustics.
Setting up caustics can be quite confusing, because the outcome depends on several other settings, for example in each lightsource. Also the type of lightsource has a big impact on caustics (for example a 3dsMax spotlight vs a V-ray planar light).
Setting up caustics is probably a subject for an upcoming tutorial.
|
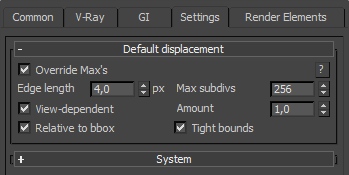
Vray Default displacement
Check out the "What is Vray?" tutorial for a bit of info about displacement. This rollout controls the default values for displacement, which will kick in when you specify displacement on a per material basis.
When you use a vray displacement modifier on an object however, the modifier will override these settings.
|
Vray system
Another 'behind the scenes' rollout. Here you can control for example how Vray handles your RAM while rendering, which can become very important when dealing with extremely high polygon scenes.
You can also change the render bucket size, or how you want these buckets to appear while rendering the image.
The frame stamp lets you 'stamp' all kinds of info into your image, like for example render time or V-ray version.
Distributed rendering is also set up here. By using this, you can render a single image using multiple computers. You need to have your network set up correctly of course to do this...
|
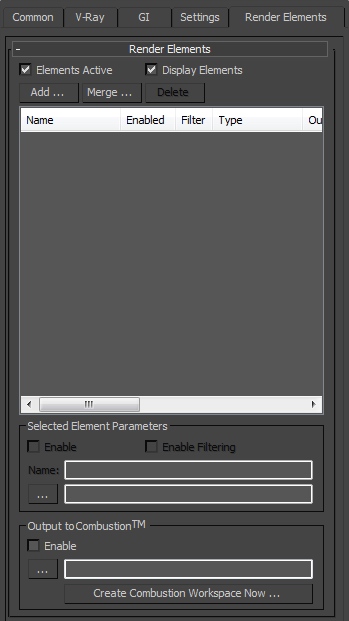
Vray Render elements
Render elements are used to split an image into all kinds of layers which can be composited later. Vray uses 3dsMax's render elements interface, but it adds its own types, and doesn't support max's render elements.
For example you can split the image into a diffuse component, reflection layer, refraction, GI light only, direct light only etc...
This kind off stuff is pretty advanced, and you also need a decent compositing program to put all the layers together again.
|
| Back to Vray tutorials page |
|
 |