Modeling an ashtray with Rhino 3D - tutorial page 2 |
| |
Please don't translate or copy these tutorials elsewhere. I don't like the tutorials to float around in 10 different versions and places on the net. Feel free to link to this page of course! (see also Terms of Use) |
| Back to Rhinoceros tutorials page |
| |
| Page 1 - Page 2 - Page 3 - Page 4 |
| |
If you discovered this Rhinoceros 3D tutorial page through a direct link or search engine, please note that you're on page 2 of the tutorial! Please complete the previous page first if you haven't done so. |
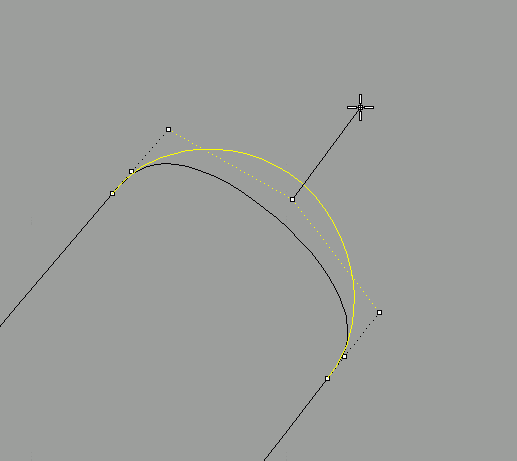
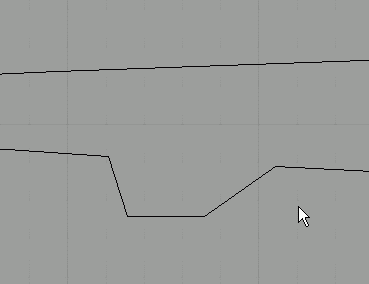
You can simply move this point around by clicking and dragging. The reason for inserting this point, is that it doesn't matter how much you move it, the two ends of the curve will keep connected smoothly to our existing curves. If we would have dragged the points around that already existed, this would not have been true. |
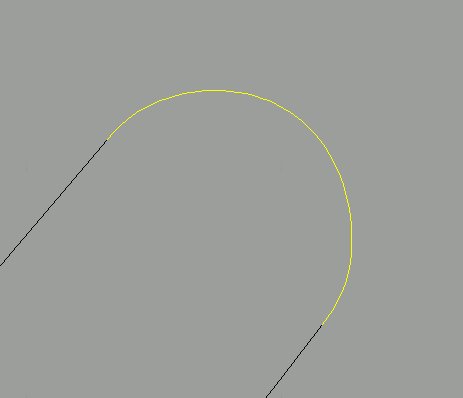
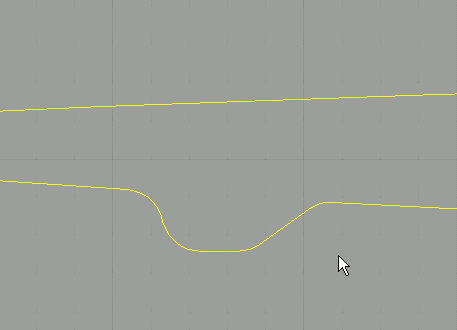
Press escape to turn of point editing mode. Now the top section looks more round. |
This is the shape we have right now. Join all the curves into one. |
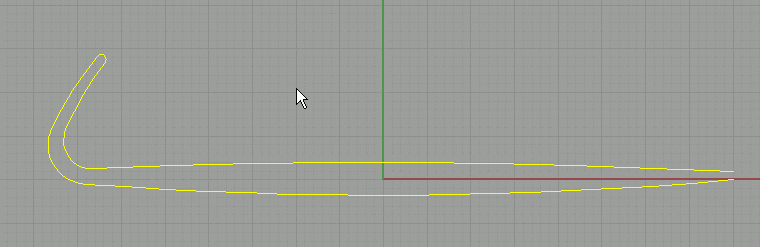
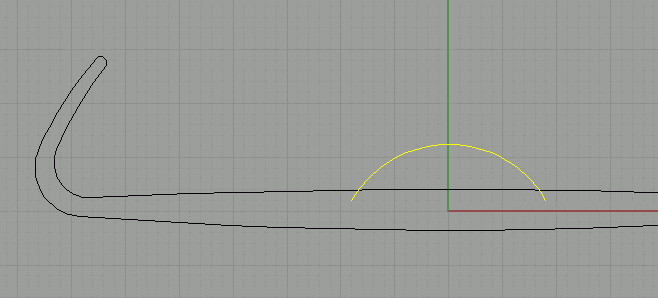
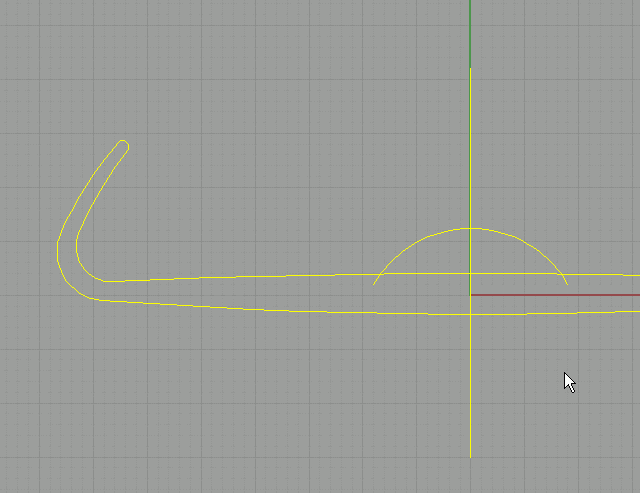
Again using the same curve tool as before, draw another arc, symmetrically!!! (use grid snap) |
Using grid snap, draw a line perfectly on the green axis. Select all the curves. |
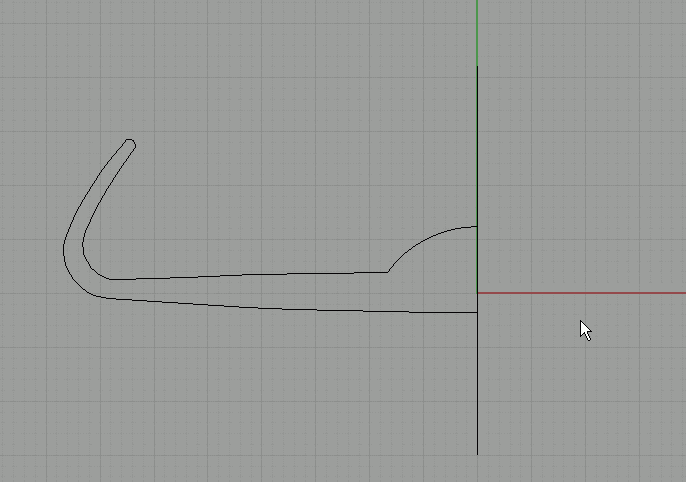
Click the 'trim' button and trim away all the parts on the right side. |
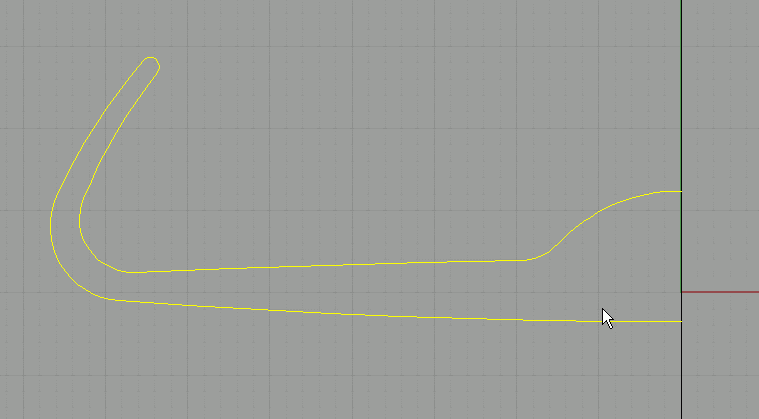
Fillet the corner as shown here. |
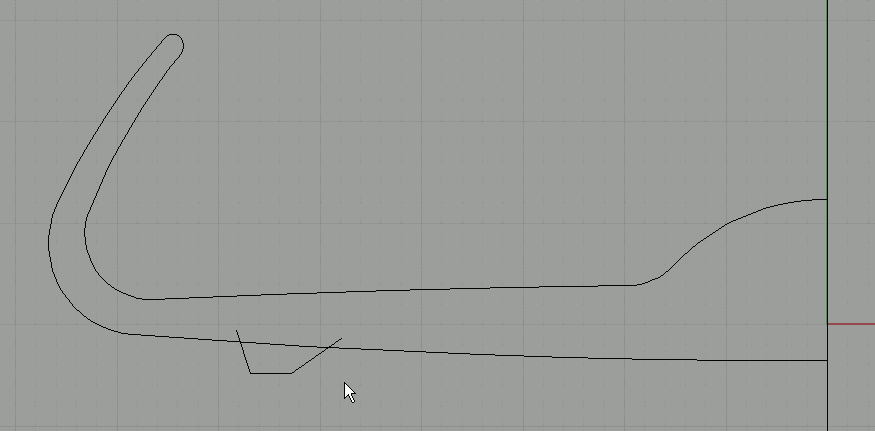
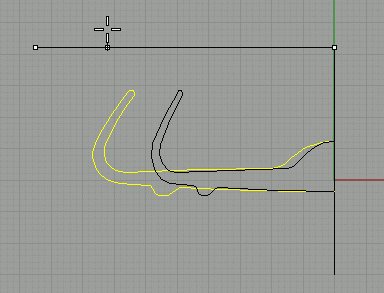
Using the line tool, draw a shape like this. Make sure its bottom is lower than the lowest part of our ashtray. This will become a ridge to stabilize the ashtray on the table. |
Trim away the unnecessary parts. |
Round the corners using fillet curve. Join everything. |
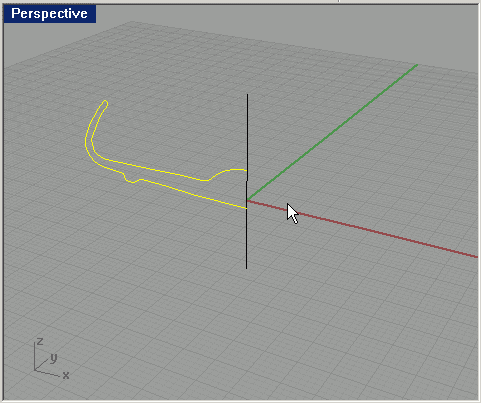
This is what it should look like in perspective viewport. |
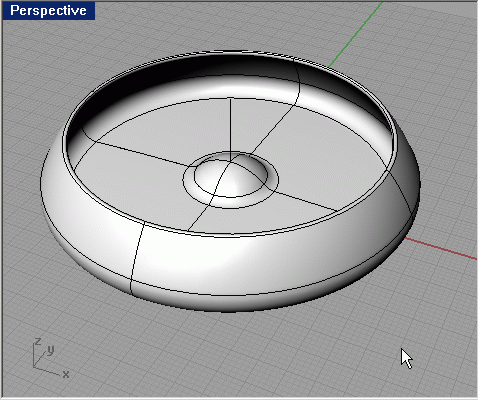
Revolve the curve around the axis (use end snap or grid snap, as you prefer). |
Undo that revolve, the ashtray looks to big.
Select the section curve, and use scale 1D together with end snap to scale the complete curve into one direction. |
|
| Page 1 - Page 2 - Page 3 - Page 4 |
| Back to Rhinoceros tutorials page |