Gamma 2.2 setup or linear workflow - [1] |
| |
Please don't translate or copy these tutorials elsewhere. I don't like the tutorials to float around in 10 different versions and places on the net. Feel free to link to this page of course! (see also Terms of Use) |
|
|
Before you start
This tutorial deals with gamma correcting your images in Vray. There has been a big fuzz about this, you might also know the term LWF (=linear workflow). I will try to shed some light on this subject, and give you MY workflow. So I'm not telling that this is the way to go, it just shows what I do to improve my renderings.
This tutorial was created with Vray version 1.5, but all settings are still the same in version 2.0. Please do not email me with questions about this tutorial if you are using a Vray version prior to V-ray 1.5, since the answer to your question is most likely that you're using a older version.
First learn 3D Studio Max, then start with Vray. It is an extension to 3DS Max, not a replacement! For example things like the material editor, creating and manipulating objects, modifiers etc should all be familiar before trying to learn Vray. |
|
| Page 1 - Page 2 - Page 3 |
What's it all about?
To start, I will simply show an example. Also note that this tutorial especially applies when you use GI in your scene.
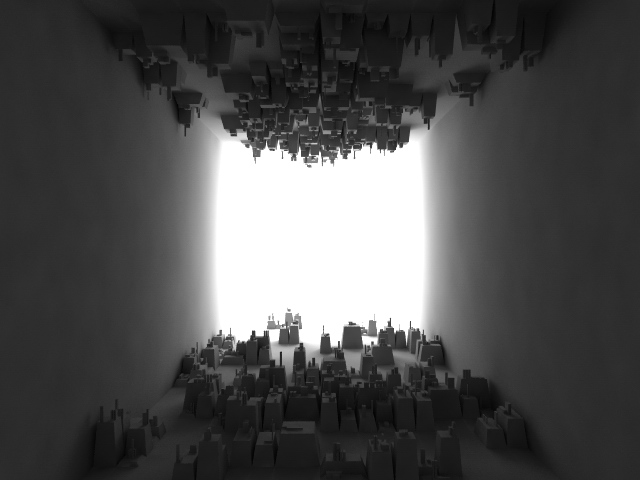
The image below is an interior, with one very large opening. As you can see, there is bright light coming in, resulting in blown out areas around the opening, and very dark regions closer to the camera.
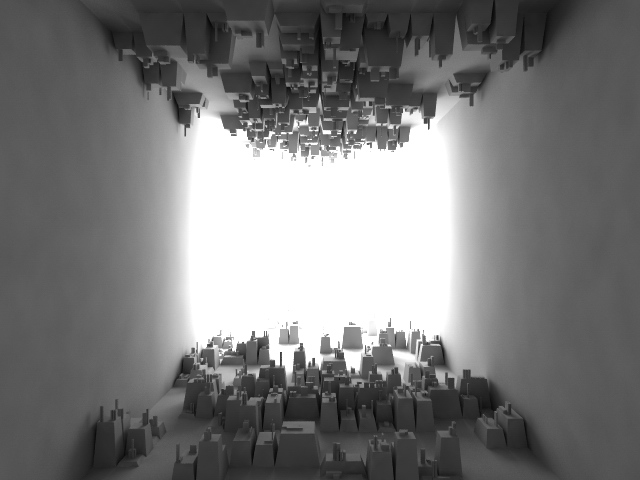
I would like to brighten the image up, so I increase the light strength. Result is even more blown out areas, and still not that bright in the foreground.
You would expect an interior with such a big opening to let the light travel much deeper into the scene...
|
Gamma 2.2 - wow!
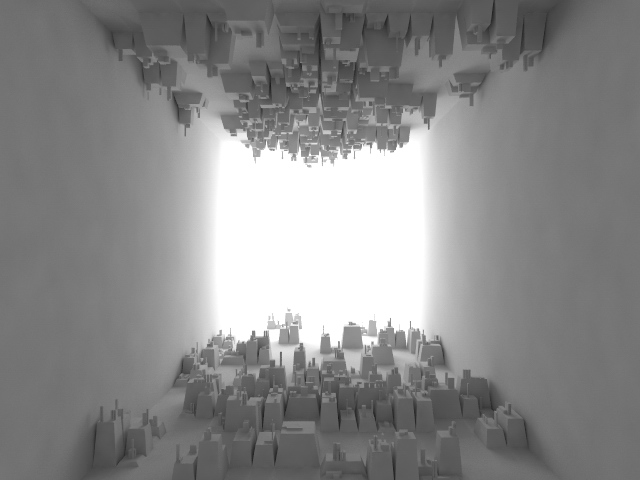
The image below is the same as the first one, but I applied a gamma 2.2 curve to it (for example in photoshop you can easily change the gamma of an image). After this conversion, note that there is in fact much more visible detail in the image than you would think at first glance.
After this photoshop gamma correction, the image does look a bit flat and washed out. This is because I didn't change anything to the materials in the scene. The material in the gamma corrected image is in fact much brighter compared to the material used in the first image (the material is also gamma corrected, so it gets brighter).
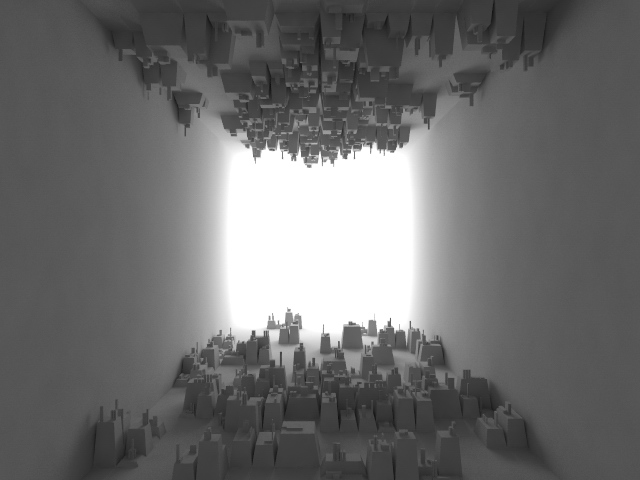
So I adjust the material to be a similar grey for the gamma 2.2 version, render again and apply the gamma 2.2 curve again. That's already better, and now the lighting looks pretty decent, much more what you would expect in an interior scene with such a big opening and only bright materials.
|
So what's happening?
The base problem is simple. Vray and 3ds Max do their calculations in 'linear space'. The vray camera has a 'linear' response to light. This means that it is working in gamma 1.0 space. All this is no problem, but since max and vray are set up to work in gamma 1.0 space, it also assumes that you view the output on a device that has a linear curve or gamma 1.0...
However your computer monitor is not gamma 1.0 at all, in fact most CRT monitors are by default gamma 2.5! Since we didn't tell max and vray about this, our images are actually displayed much darker!!! (Gamma changes the midtones of your images, it's not simply a brightness control.)
Max does have the tools to specify what gamma our monitor has, so it can counteract for this and display our images correctly - in other words 'brighter'. |
How do I know what gamma my monitor has?
This is where the problems for most people start. It is different for every monitor, and there is also a difference between CRT and LCD monitors... It is possible to calibrate your monitor with a hardware tool, so you can exactly choose a desired gamma.
Calibrating your monitor is also good for accurate color management. It's never a bad thing to calibrate your monitor to a certain standard. For gamma, this is 2.2 (even though many crt's are by default 2.5).
Although it is recommended to calibrate your monitor to the gamma 2.2 standard, it is not strictly necessary to benefit from this tutorial. Even if your monitor is for example 2.38, using this gamma 2.2 tutorial will still provide good results. |
Old habits die hard...
When this gamma 2.2 setup first popped up, many people (including me) didn't see the point of using it. This is because we were so used to applying all kinds of tricks and fakes to our scenes to make sure the output looked ok.
For example with interior scenes. There was always a problem that light didn't travel far enough into the scene. Increasing the environment light resulted in very burnt out areas around the window openings. To brighten things up, invisible lights were placed in the rooms, or things like exponential color mapping was invented to remove the burnt out areas.
There was also always an extreme color bleed. If you put a red table in the room, the lighting in the room tinted red because of the strong color bleed. So we started using desaturation on the GI solution, override the materials with white and use saved IR maps with the red color back in place, etc... In the end, all this adds to the render time but also to the scene set up time! And while using a physically accurate renderer, we had to trust in all kinds of fakes to make it look real...
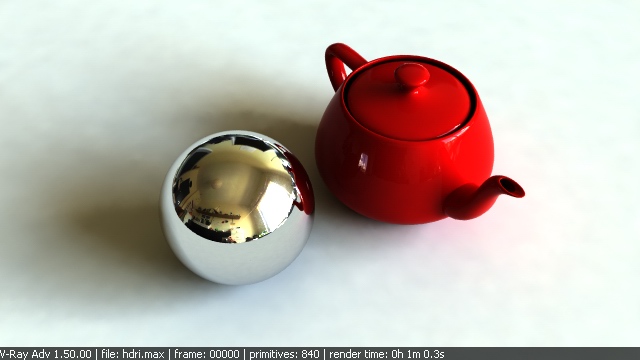
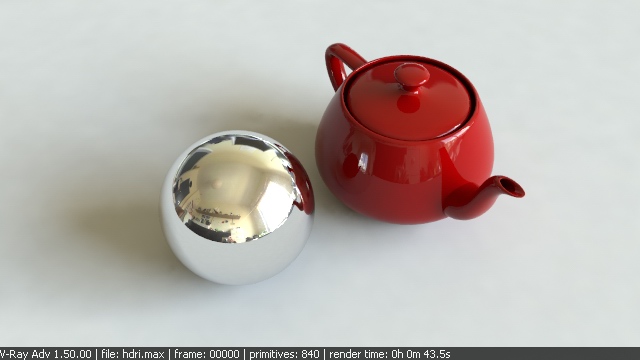
Another common problem were hdri maps. Below are two examples of the same scene lit by the same hdri map. The first one is the old habit, the second one is with my gamma 2.2 setup.
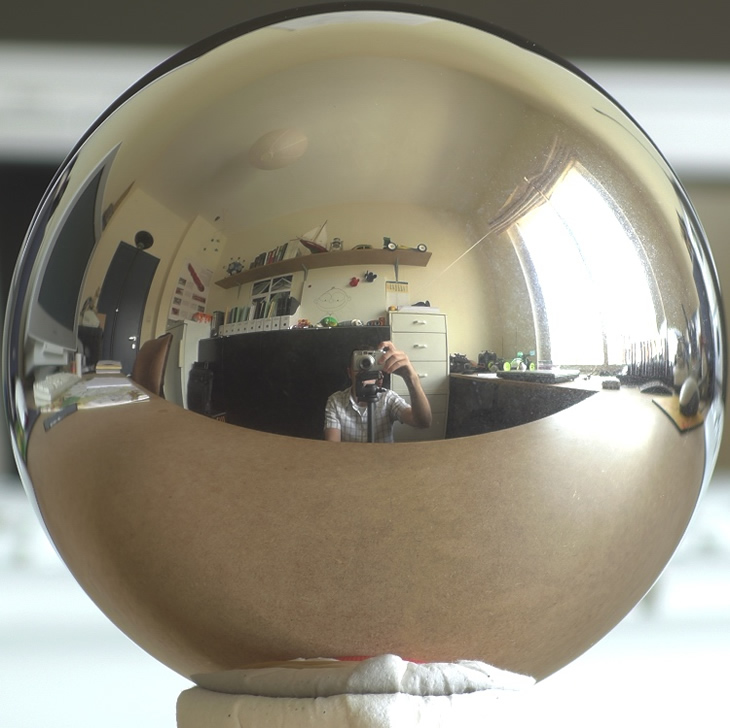
The last image is how the original hdri map looks like. I think it's clear that the second render looks a lot more like the lighting in the original hdri map, compared to the over saturated, high contrast first image. Also note the reflection in the sphere in the first render, it doesn't look like the hdri map at all (way more contrast!)
The gamma 2.2 setup changes your workflow only slightly, but it makes your life a lot easier! It does require you to grasp some basic concepts, explained over the next two pages. |
|
| Page 1 - Page 2 - Page 3 |
| Back to Vray tutorials page |
|